Final Fantasy 16 has one of the more bombastic beginnings in its celebrated series. Steel clashes as two mighty arms collide, with their monstrous Eikons trading elemental blows high above. It’s a spectacle. But before we know it, we’re peering some 13 years into the past, where adolescent Clive Rosfield is soon given a mission of grave importance.
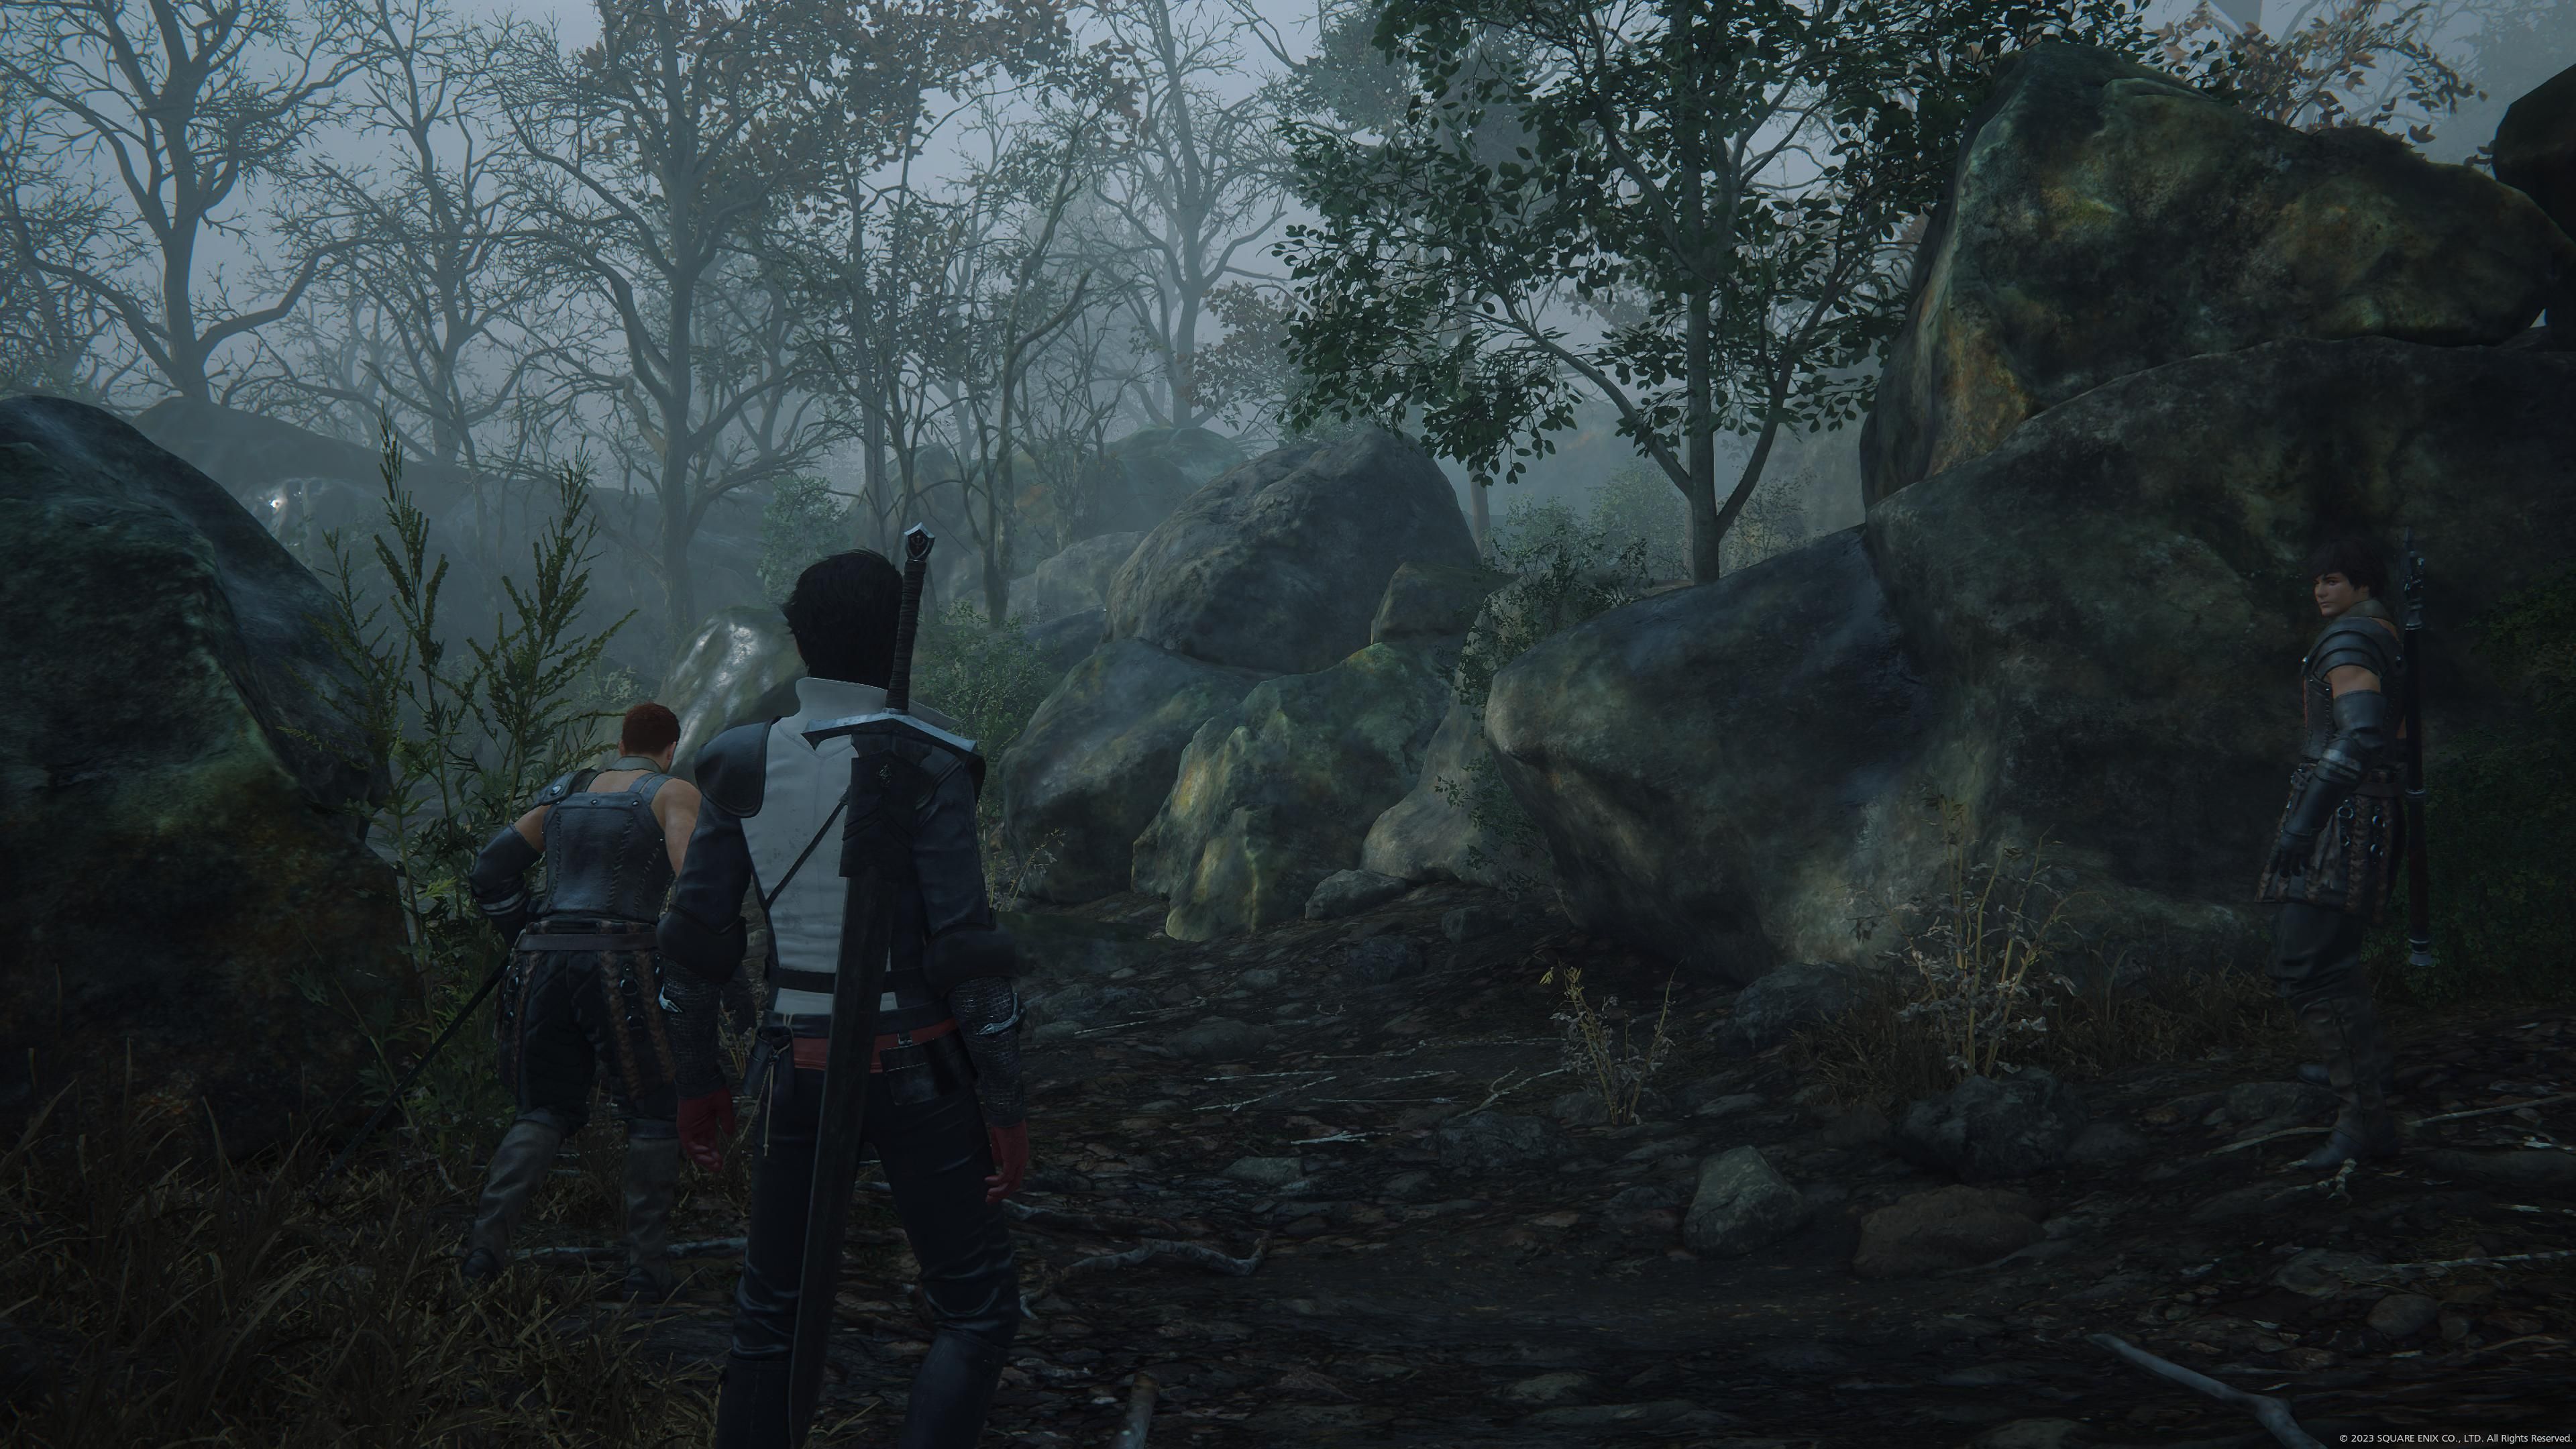
Accompanied by Tyler and Wade, a pair of steadfast fellow Shields, young Clive heads into the abandoned swamp of Stillwood to put an end to an alleged goblin incursion. We’re here to show you how to do exactly that, and how to do it in style.
The Stillwood Approach And Timely Advice
The opening portion of Final Fantasy 16’s prologue involves a tutorial-based spar with Clive’s mentor, Lord Rodney Murdoch, followed by some castle-traipsing and a slew of important cutscenes. After Clive retires for the evening, and Sir Tyler and Sir Wade are introduced as Clive’s allies for the mission, ‘Lost in a Fog’ formally begins.
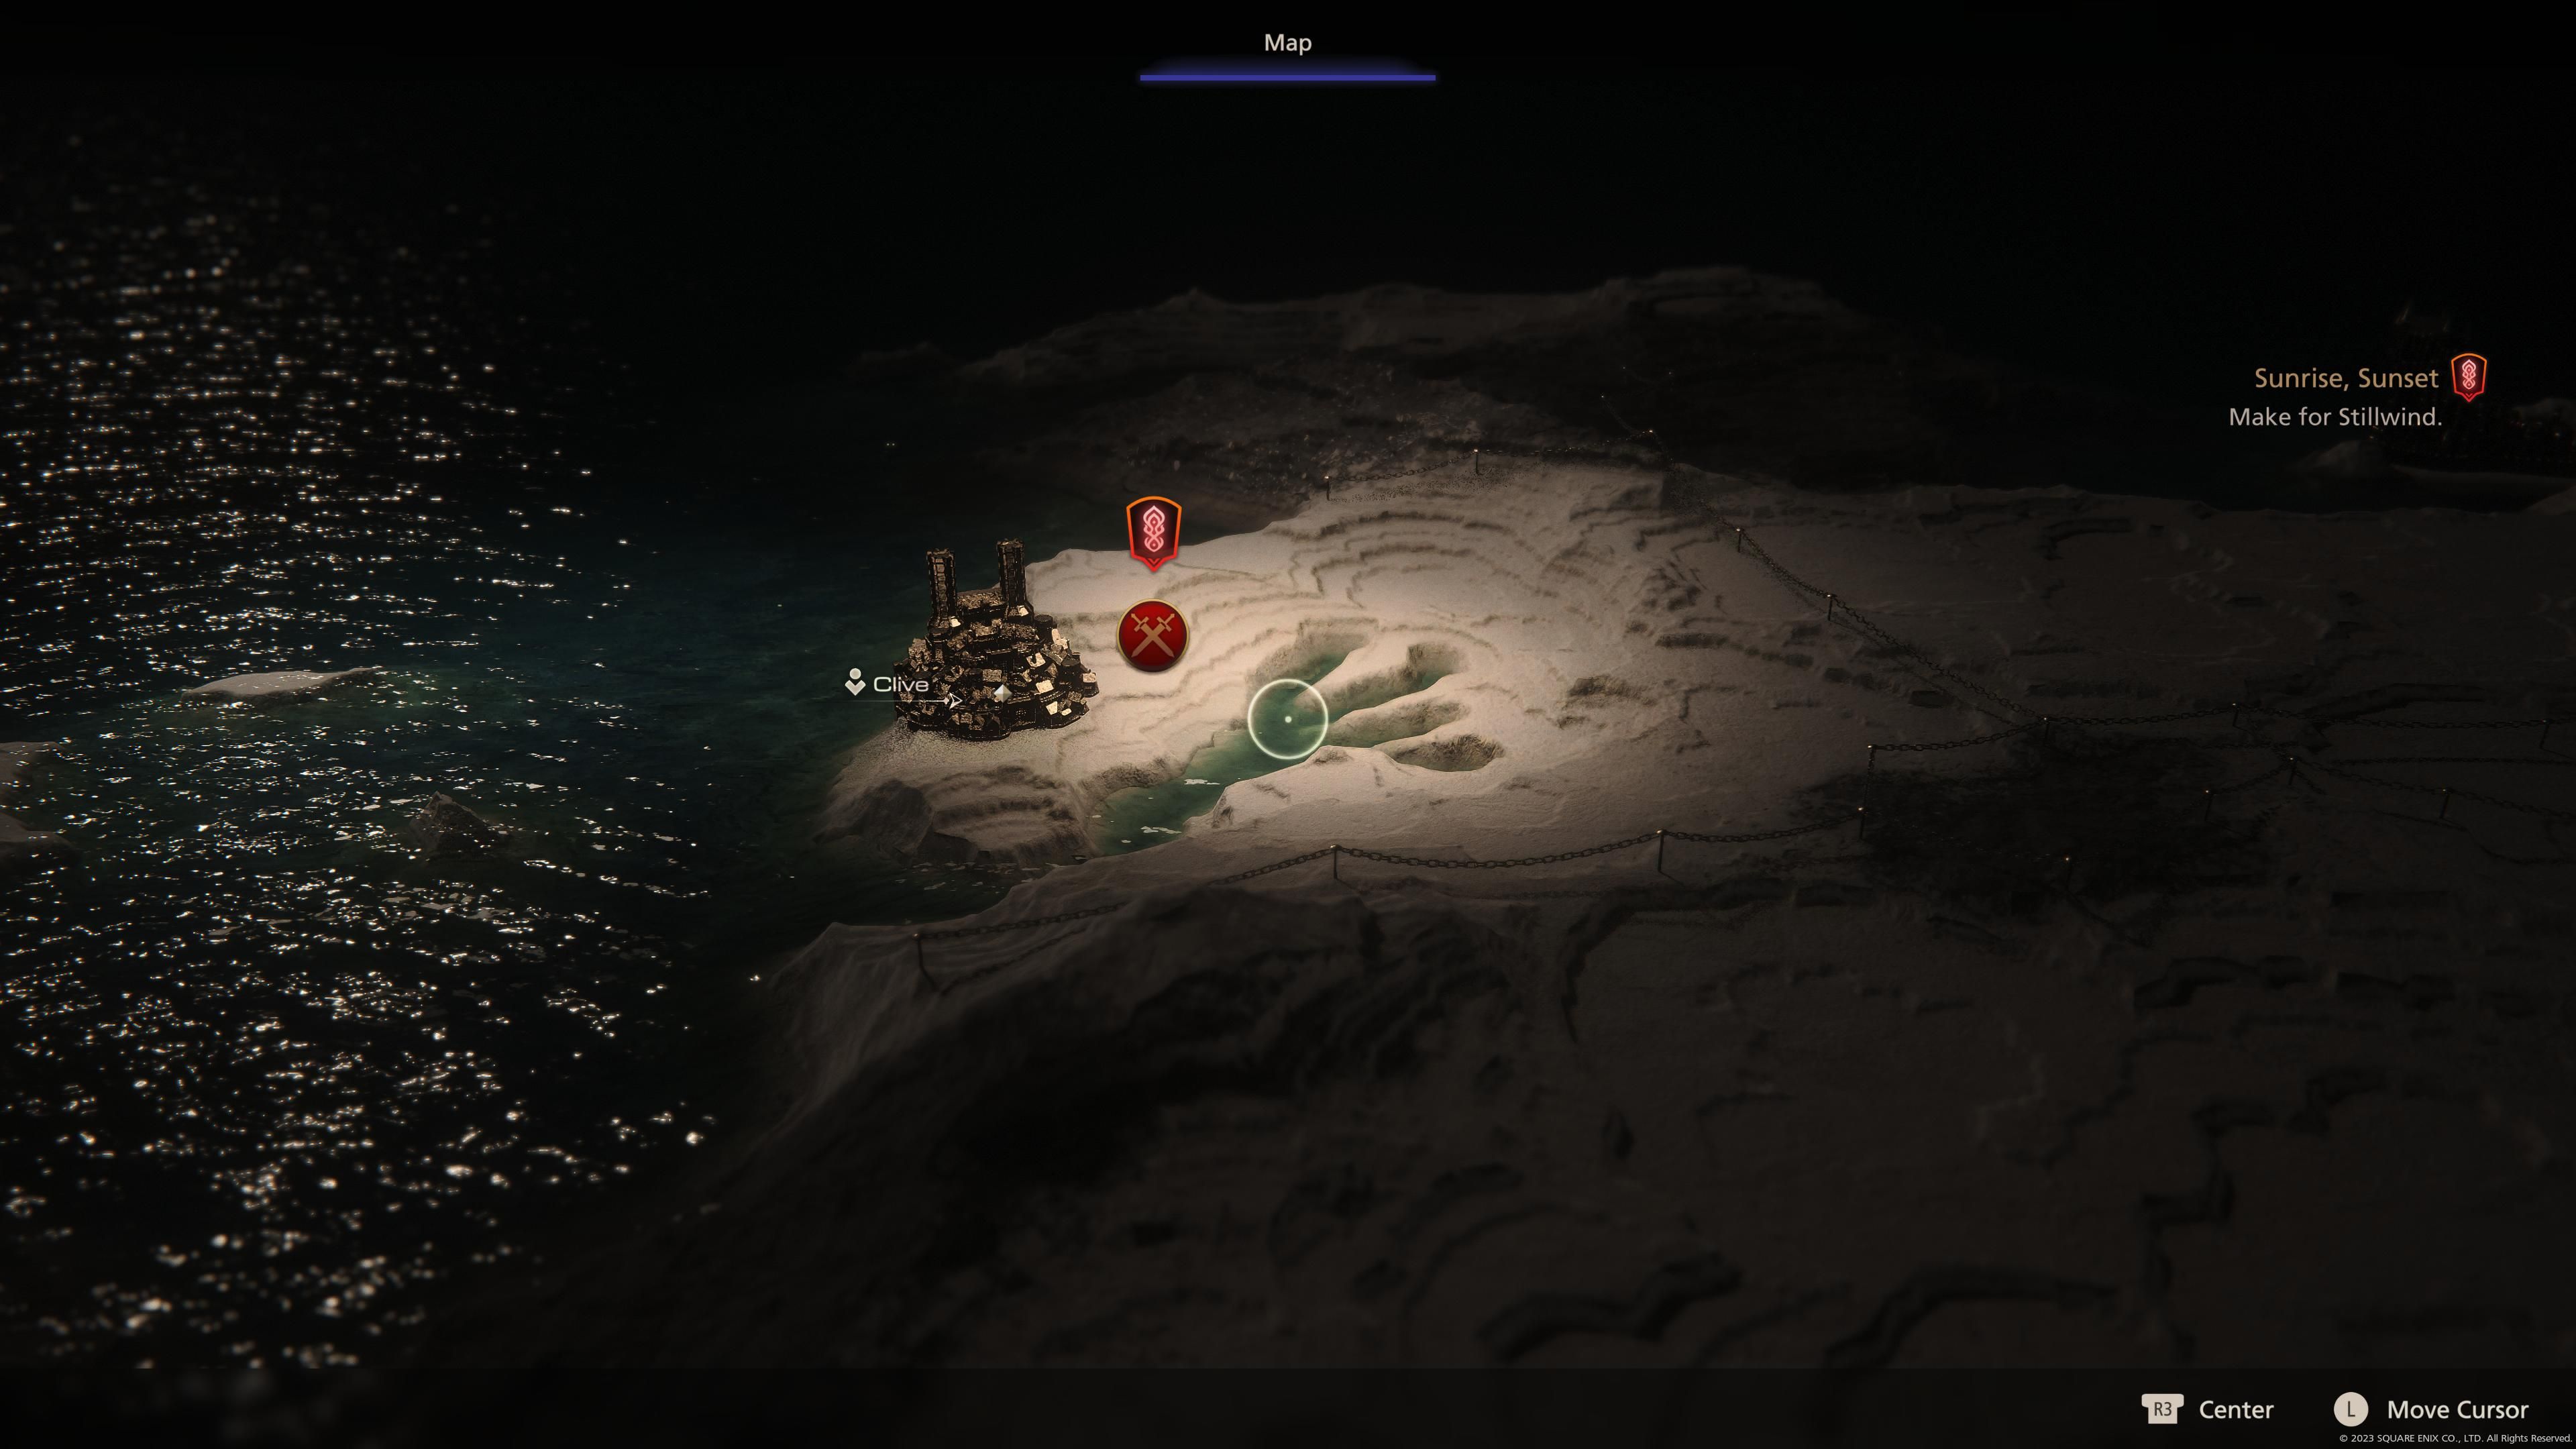
At this point, the game introduces players to its rather stylish world map. Travel across Valisthea involves selecting one’s destination, and since the vast majority of the realm is presently roped-off for plot reasons, your only available option is Stillwood. Select Stillwood and you’re there.
The Shields comment on their environment, and in turn, the game’s pop-up screen comments on your ability to equip or unequip Timely Accessories. Depending on whether you chose Story-Focused Mode or Action-Focused Mode when making your initial choices upon booting up the game, you’ll either already be equipped with a couple of them or have them in your inventory but unequipped.
Your choice is purely yours, and there’s nothing wrong at all with playing through FF16 with Timely Accessories if you’d prefer not to deal with the potential rigors of a purely action-based RPG experience. You can even go ahead and equip the Timely Accessories that aren’t there for Clive – well, one of them, anyway, since you only have three slots.
For the record, we kept the Timely Accessories on for a few battles and then removed them from thereon out in order to get a feel for how they operate whilst still doing our duty of covering FF16’s combat scenarios in full.
Marching Through The Marsh
Follow the not-so-well-maintained path that Wade complains about. If you missed all the sparkly spots back at the castle, you might not know what to make of the one up ahead – glowing blue spots are basically Final Fantasy 16’s treasure chests, and merely walking up to them nets you their reward. In this case, that reward is a measly two gil (Final Fantasy’s currency), but hey.
Remember, you can use L3 to reposition the camera toward your destination, a handy little trick that’s immediately useful here. Head left where a fallen log rests above a narrow passage and the party will crouch down to reach the other side. And no, this isn’t another hidden loading screen – Final Fantasy 7 Remake, we love you, but we’re looking at you.
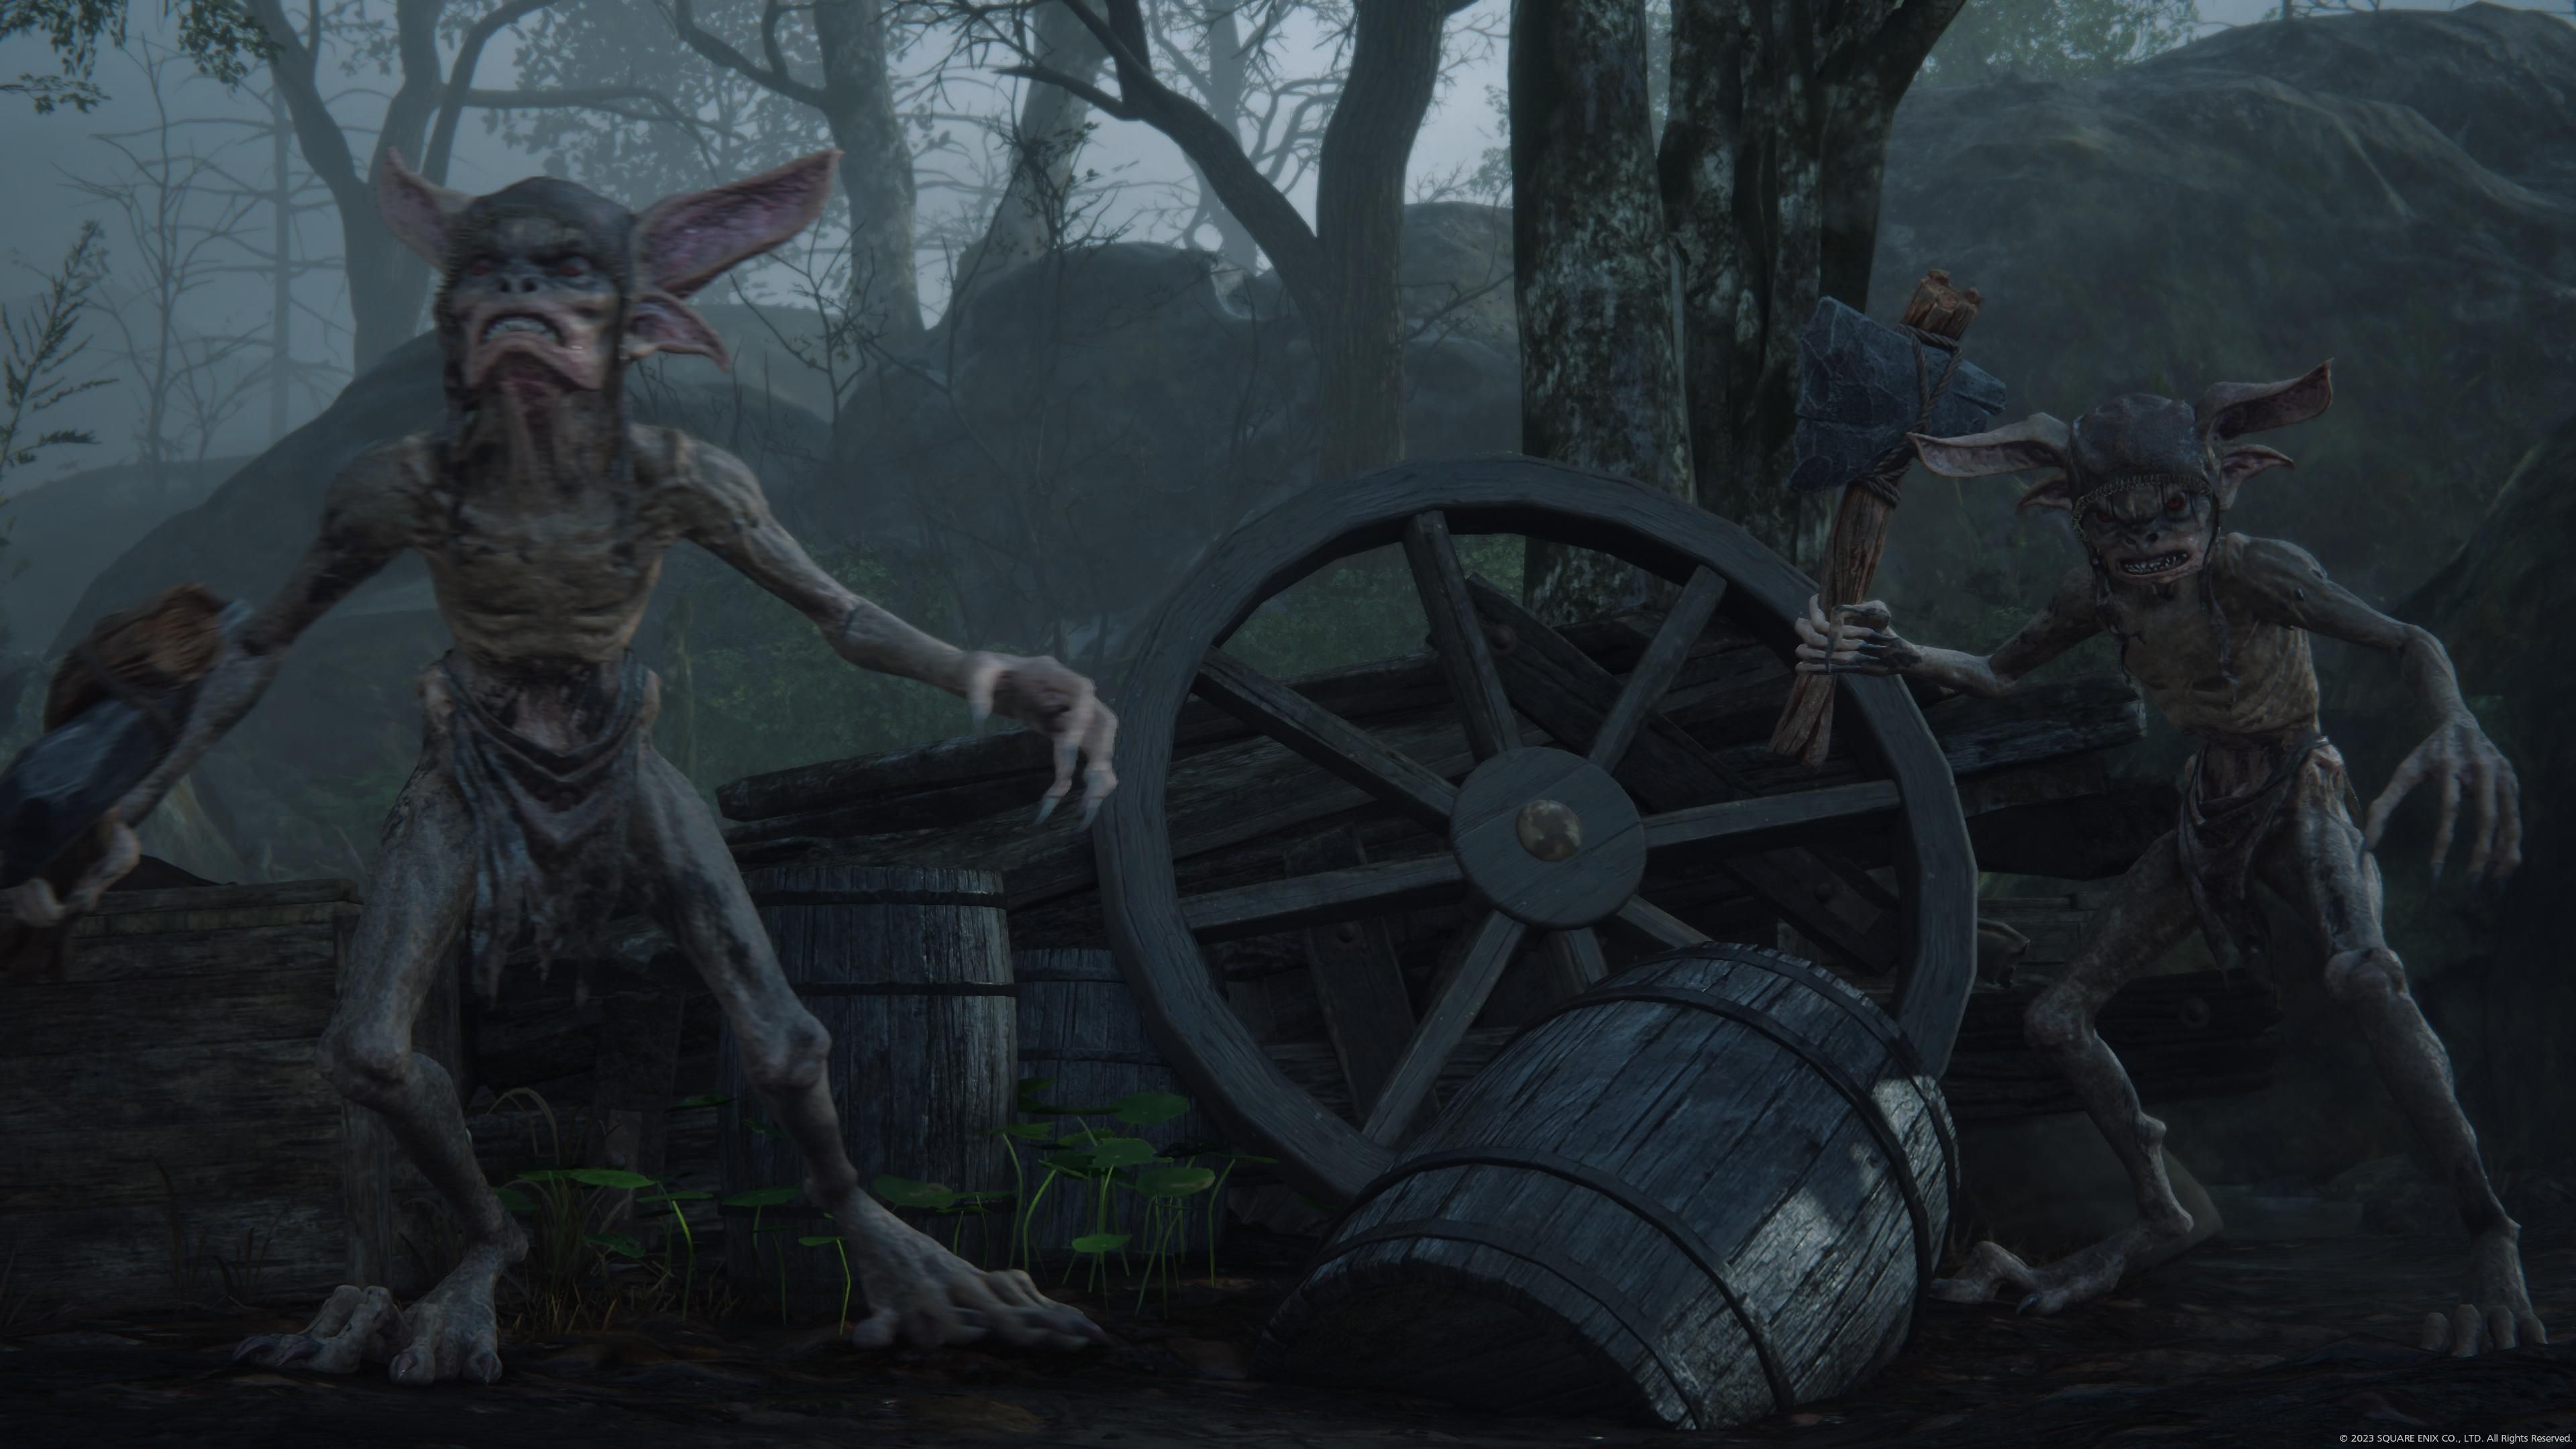
On the other side, Clive and company will come face-to-face with the dreaded goblins for the first time. Dispatch these pests with simple melee strikes and magic. As your initial encounter with enemies that are, broadly speaking, rather weak in general, you shouldn’t break a sweat.
You’ll already have enough Ability Points stocked up in the game’s menu to purchase a handful of new skills. We strongly suggest spending the 20 points on Charged Magic, which increases spell potency considerably when the triangle button is held for a couple of seconds. This early in the story, Charged Magic is fantastic.
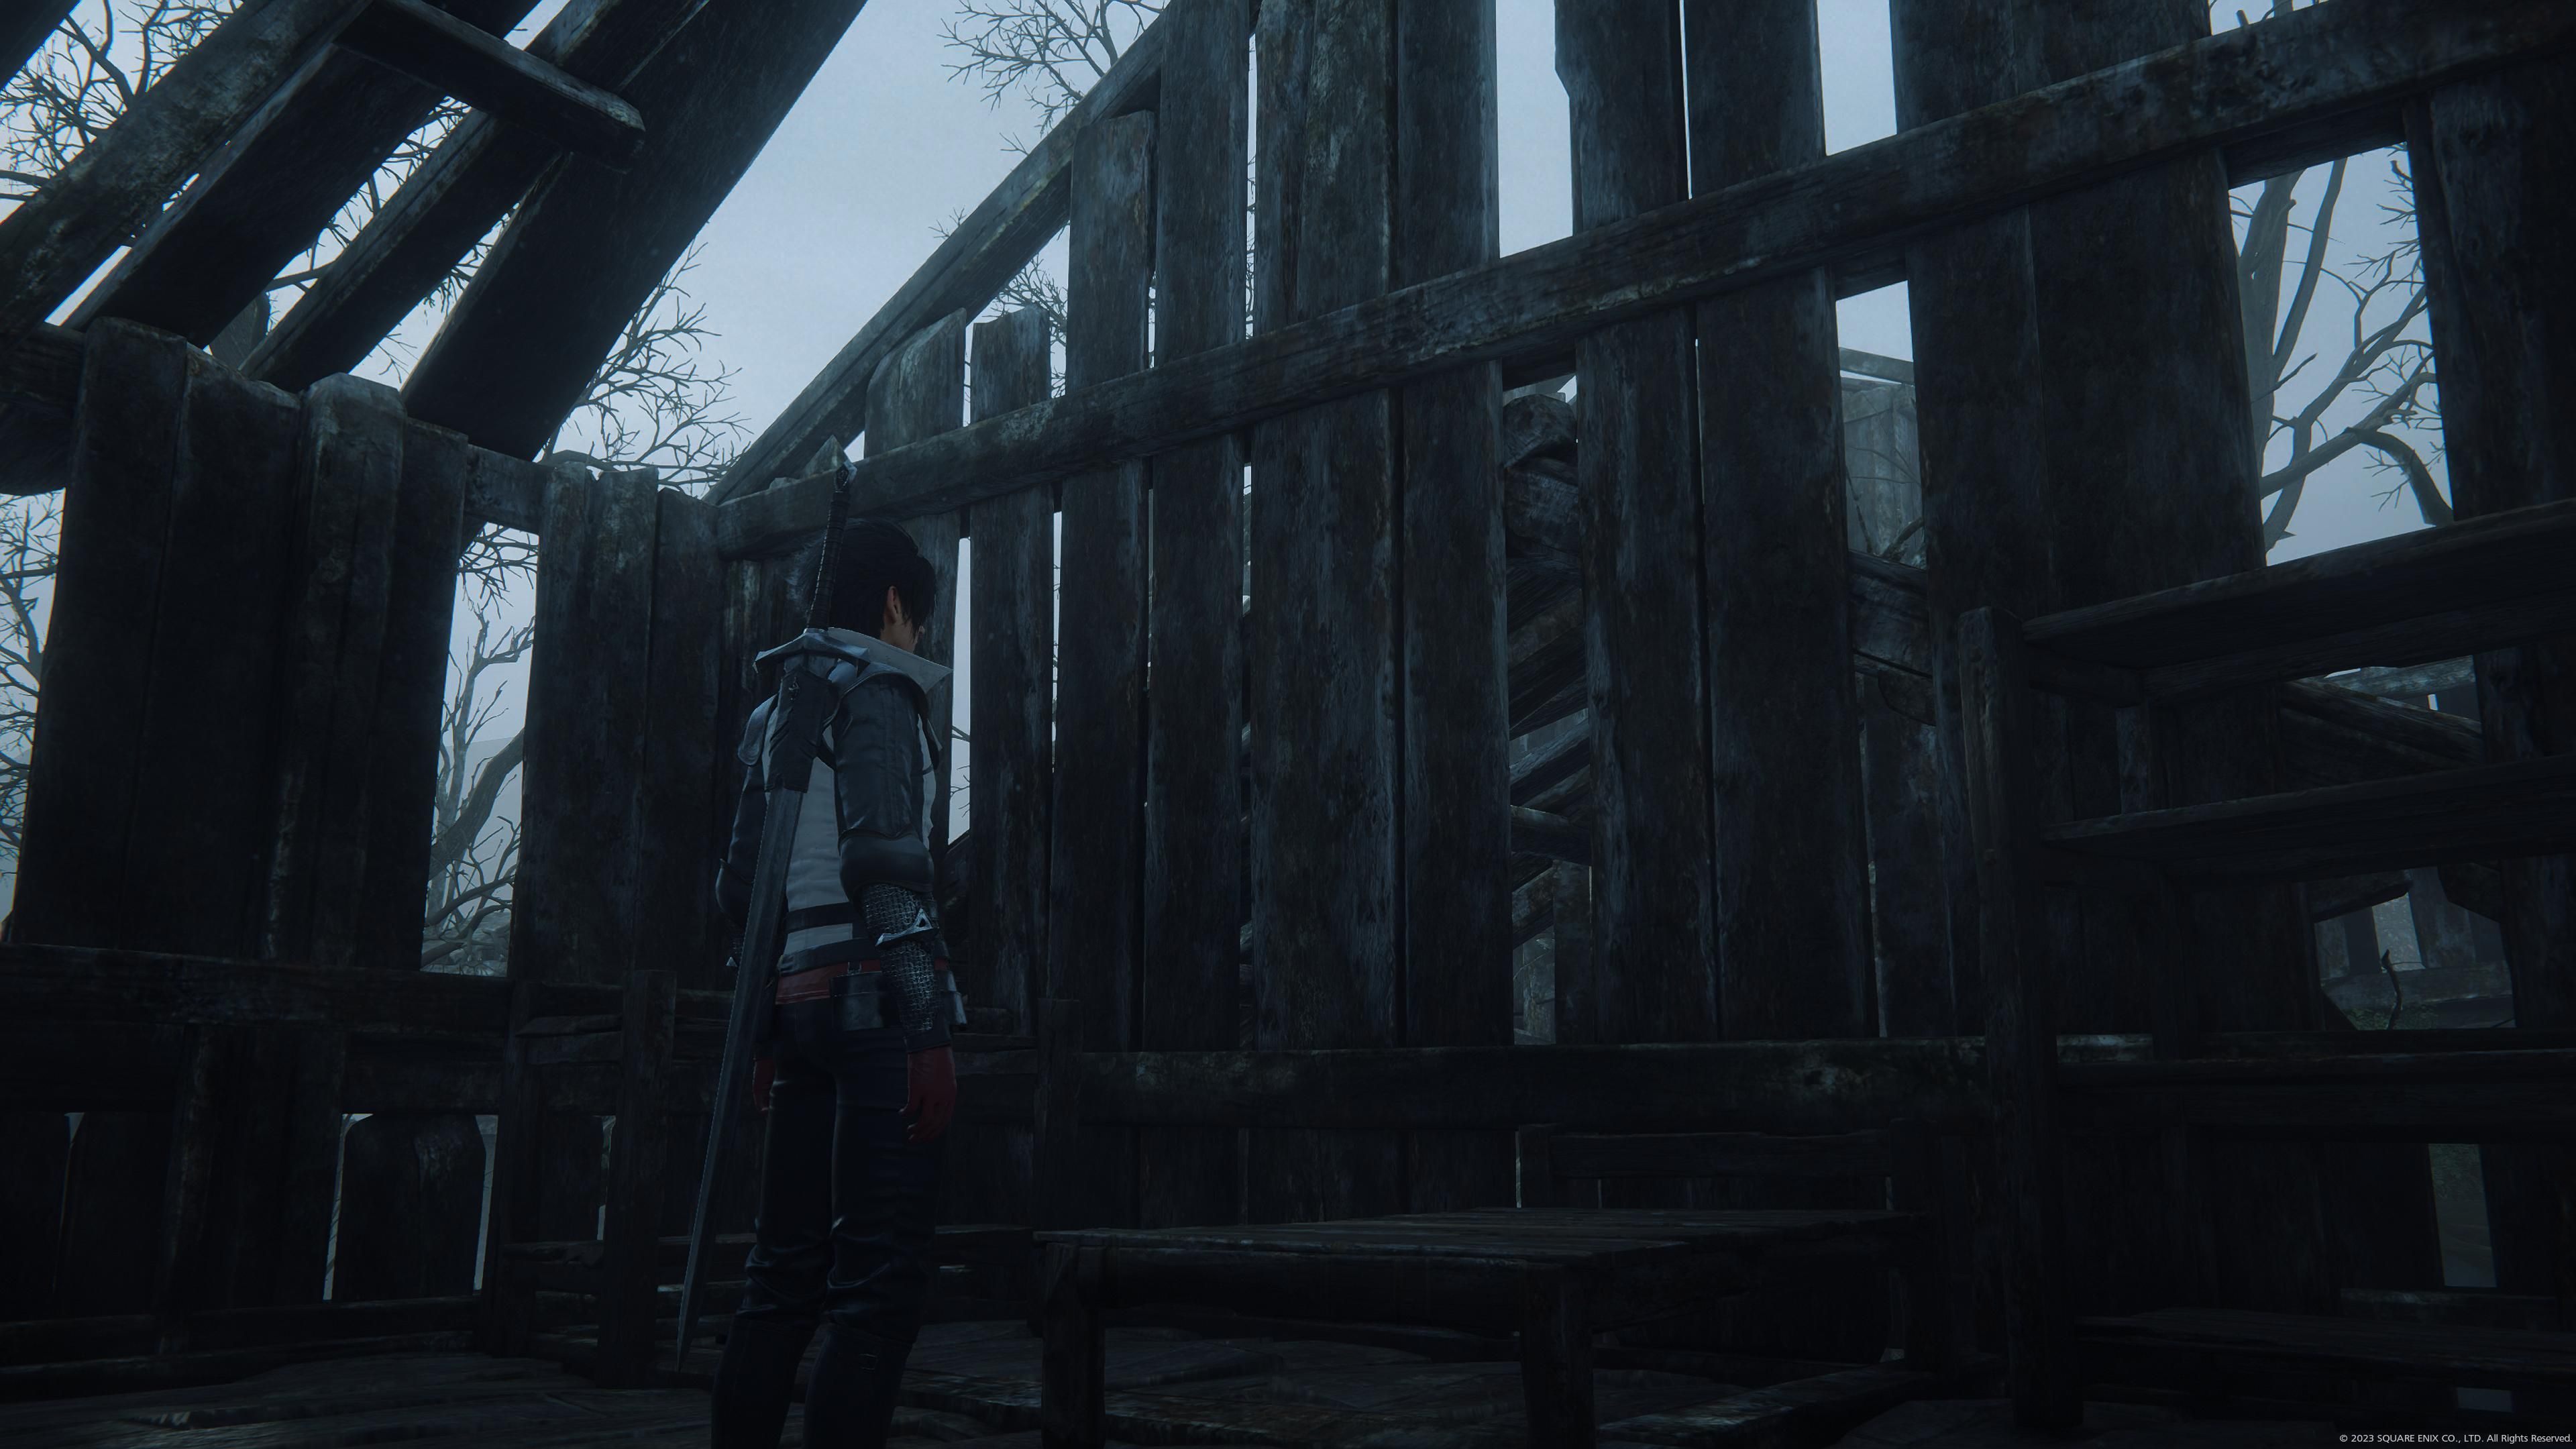
Go right after the ordeal ends and grab the Strength Tonic inside the abandoned shack. If you’re feeling confident, you can remove either Potion or High Potion from the quick use menu on the bottom-left of the screen in favor of Strength Tonic – don’t worry, you can still use whatever healing bit you replaced by entering the menu.
Follow the town’s path some more, and you’ll come upon a small pack of goblin muggers. More small fry. There’s an item on the broken wheelbarrow at the center of the area here.
To your left is another shack; you can climb the stairs to find a second Strength Tonic. Now, descend and go back from whence you came. Your goal is to reach the nearby watchtower; feel free to use L3 for some lock-on context if you’re struggling to place it. Once you’ve gotten your bearings, climb its ladder, and you’ll see more goblins on the ground below. Jump down and prepare to put an end to their pitiful existence.
Goblin Rush And The Gigas
The goblin muggers here are joined by goblin weavers who can cast rudimentary spells. They’re fairly slow spells, and you can pretty easily stay out of their way if you keep moving while dispatching each foe. Bash a nearby shack’s door afterwarrd for a Potion. Now head forward, bash the rubble to drop a bridge, and cross.
Tyler will note you’re nearing the village square. If you’ve not yet done so, put the 20 Ability Points into Charged Magic, as it will be quite handy soon. Onward to the square.
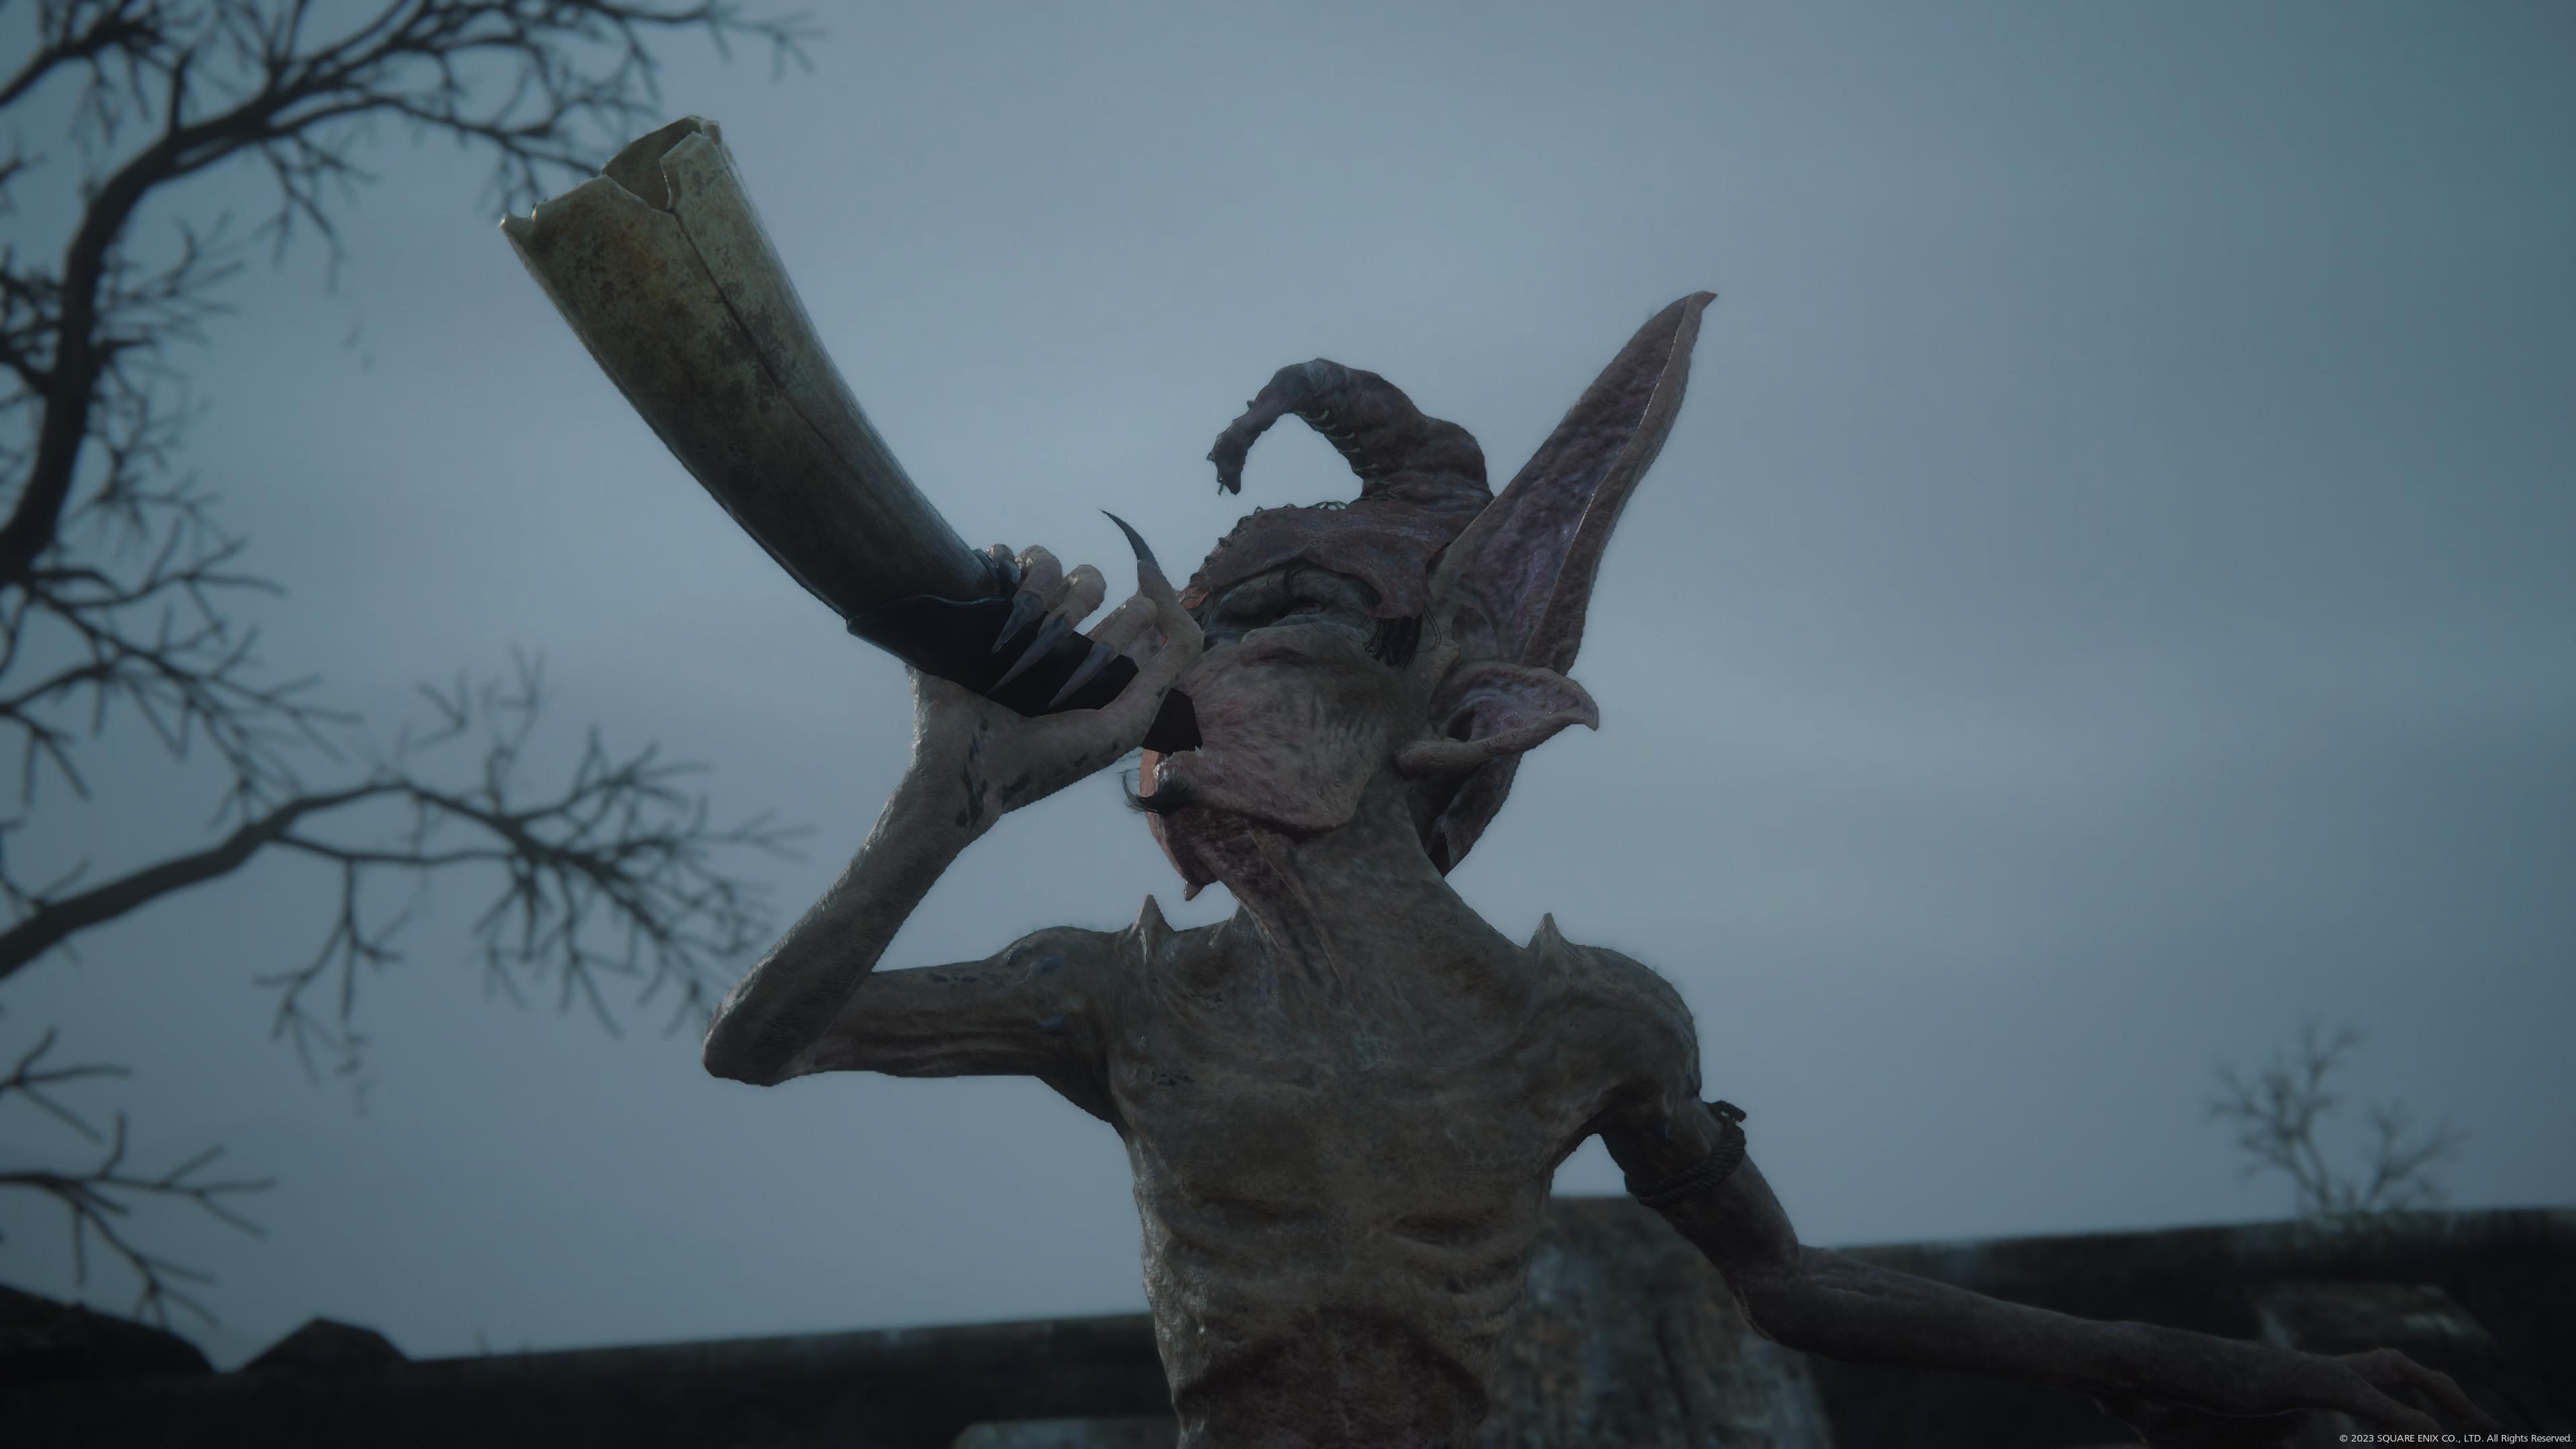
The goblin leader will arrive, sounding his horn to summon some flunkies. Use the same tactics you’ve tapped into to eliminate the muggers and weavers. This is where things get interesting.
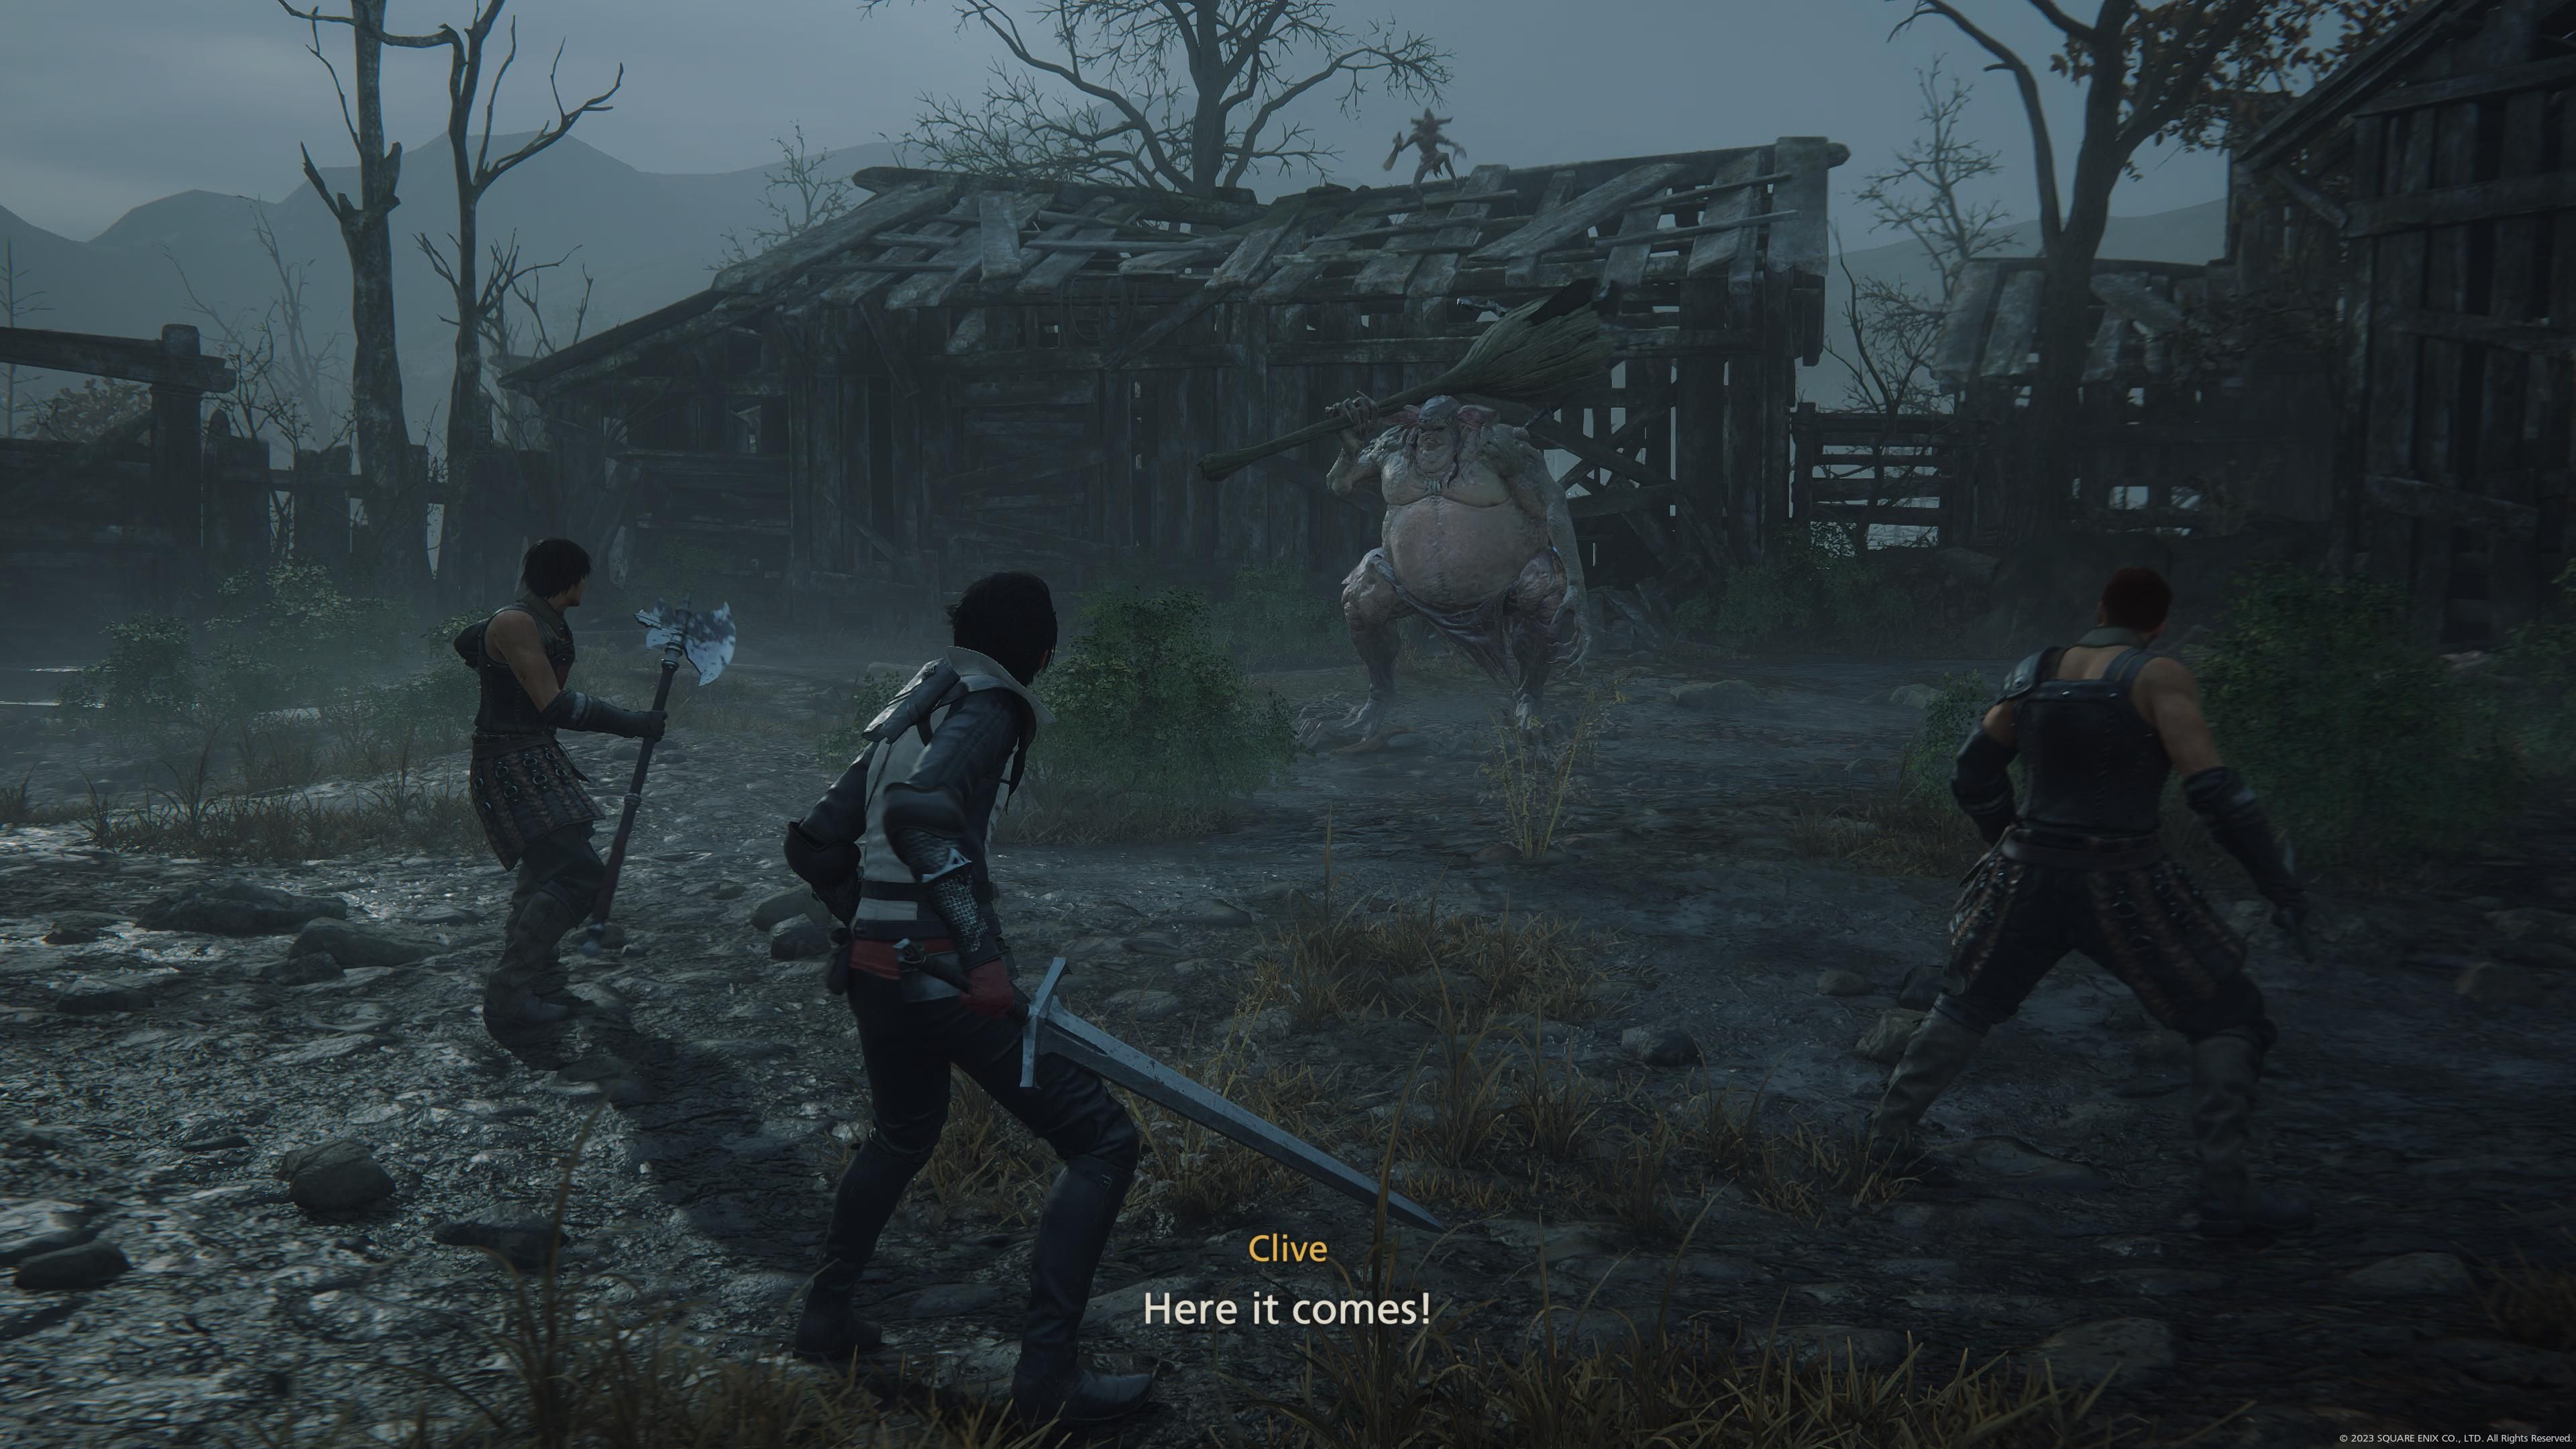
Unwilling to accept defeat, the goblin leader summons Gigas, your first formidable foe in Final Fantasy 16. Gigas doesn’t have a ton of HP, nor is his bite quite as bad as his faintly bark-like war cry, but since this is your first foray against something that doesn’t drop in two or three hits, he may feel like a real threat until you get a handle on things.
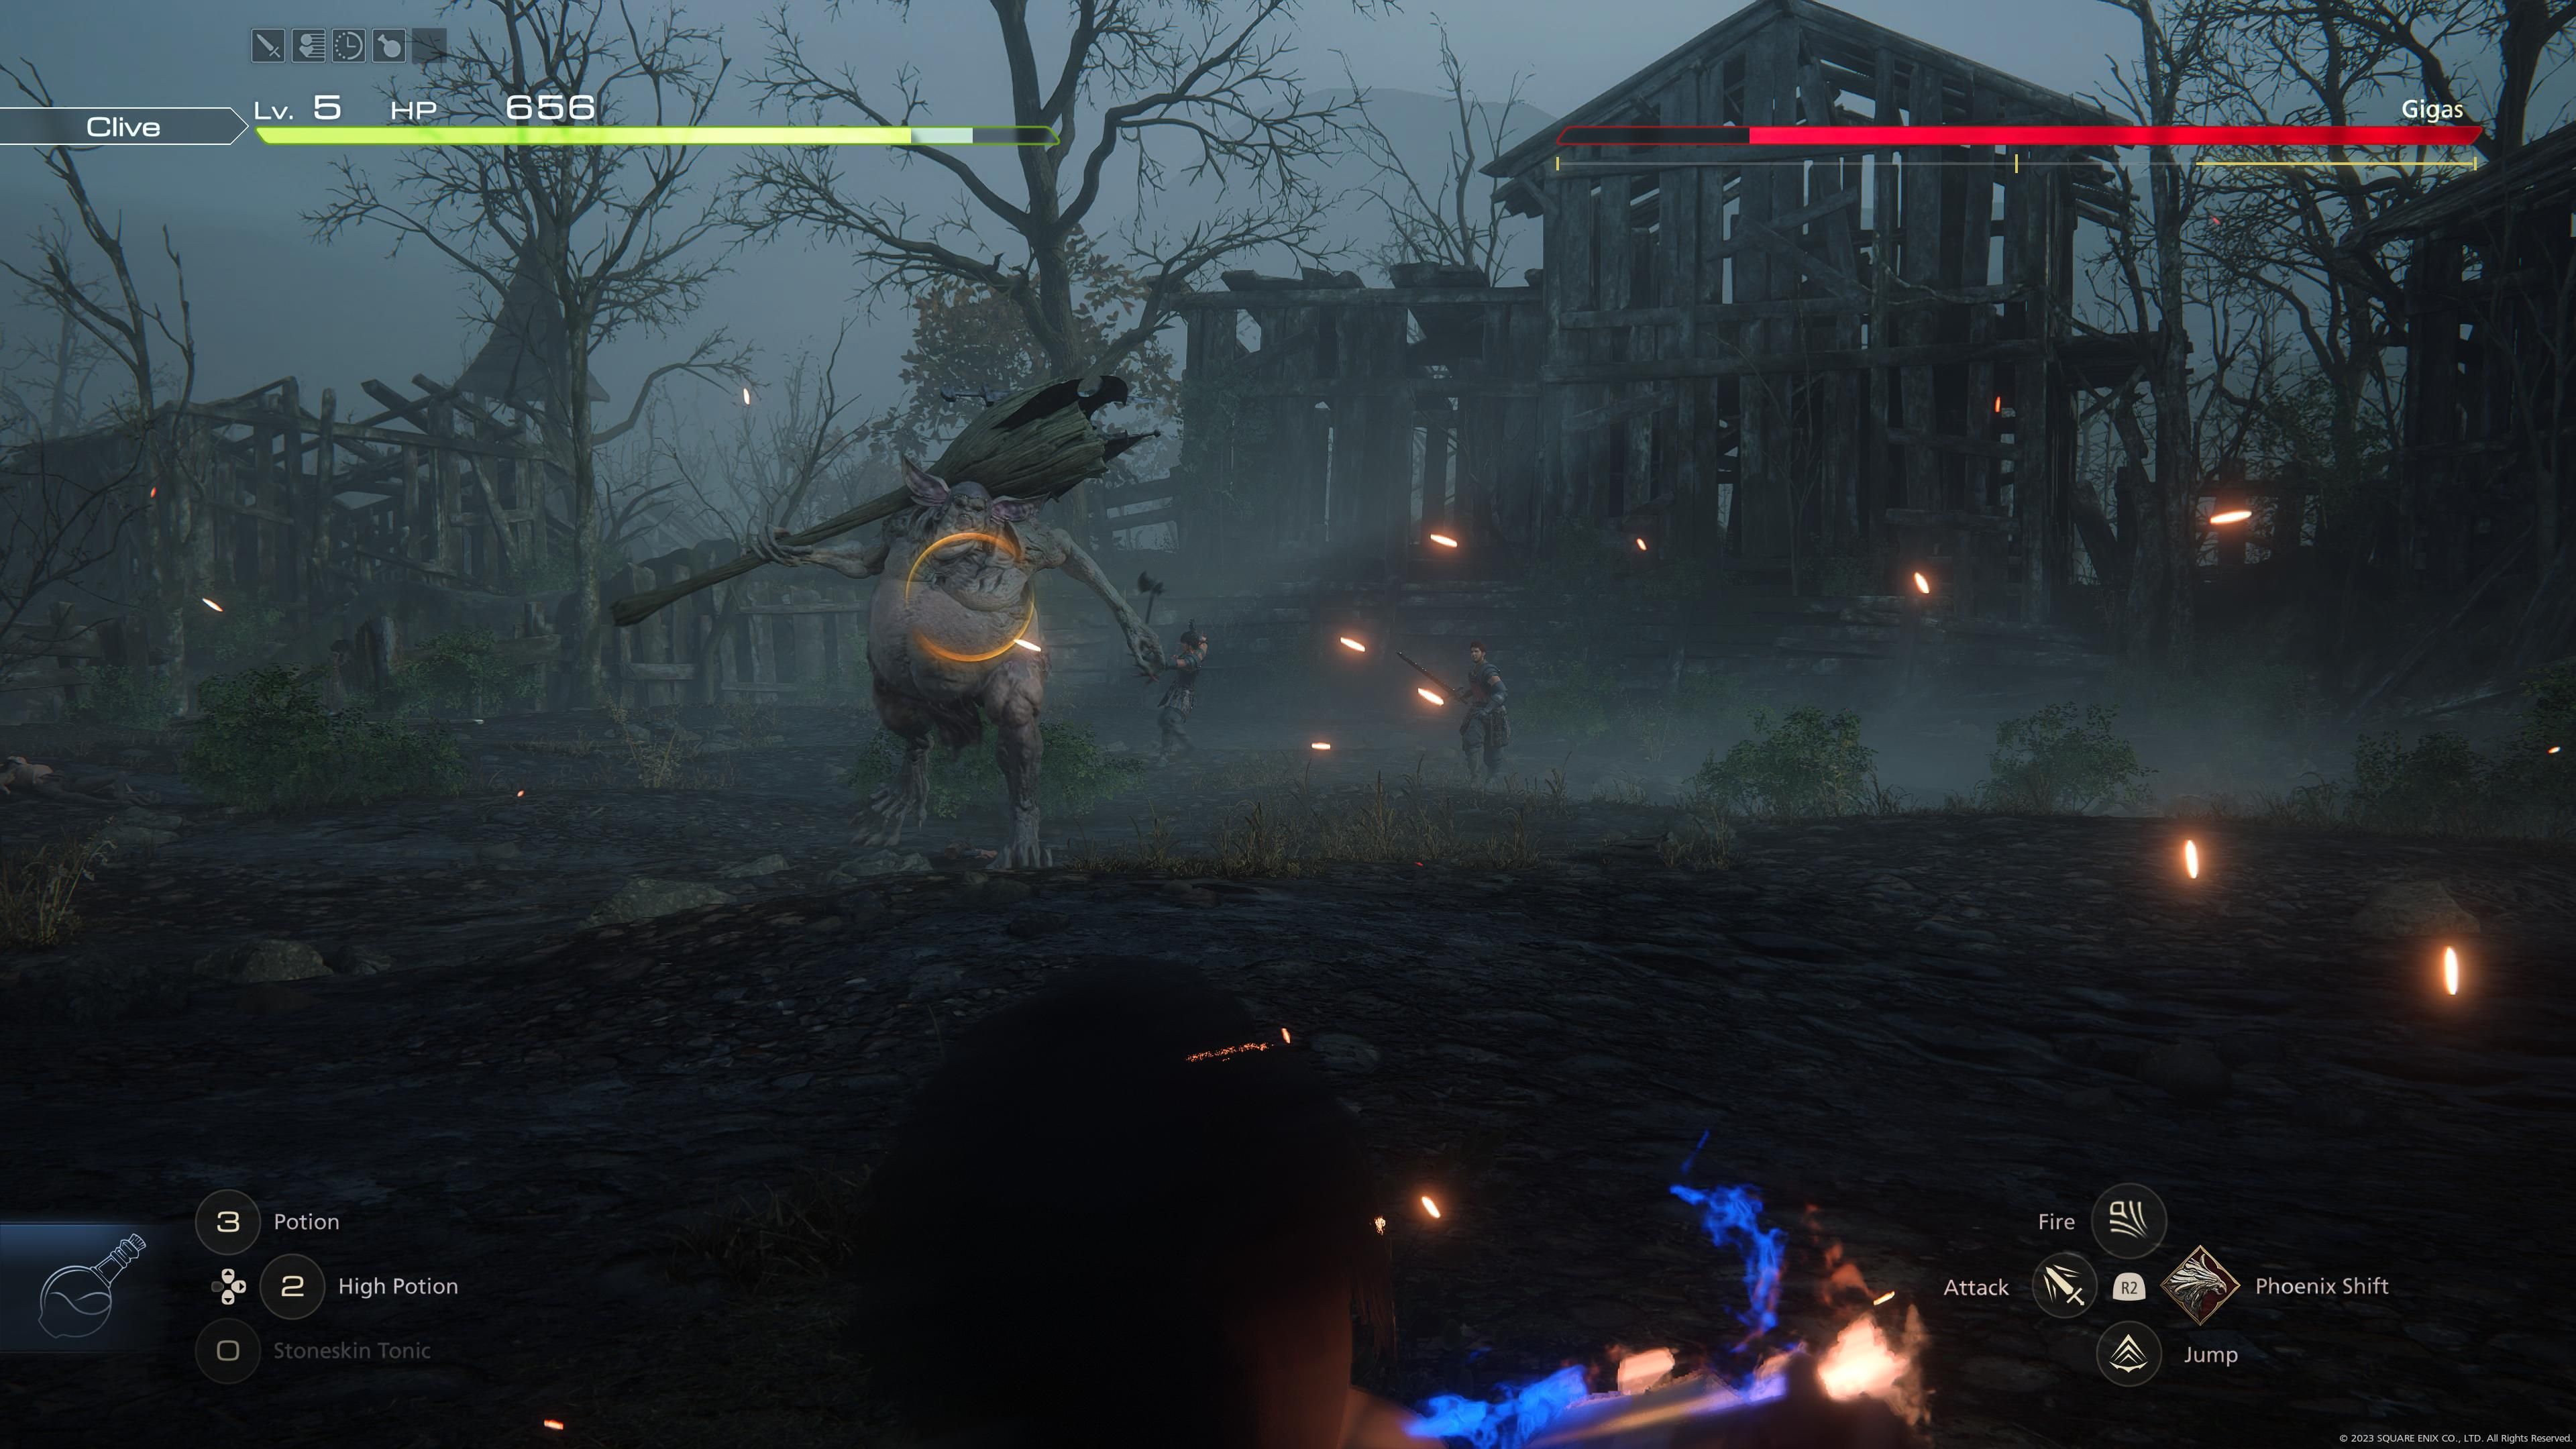
Let’s get that handle. If you have Charged Magic, spam it to your heart’s content. You should be able to fire off at least one full charge before the Gigas catches up to you at pretty much any given point in the fight. Make sure to use Rising Flame once he’s staggered, as it will be the biggest source of your impressive damage spread during this pivotal moment.
When the Gigas begins his Big Swing animation, stay evasive – mash R1 if necessary – and mourn for Tyler and Wade, whose AIs seem incapable of taking a hint and will get smacked around several times. Don’t worry. They’re fine.
Snag that High Potion as the team gives chase to the fleeing goblin leader, who’s now out of servants to toss at you. This isn’t a timed chase or anything; feel free to fiddle around with the menu, save your game, whatever you’d like to do.
This is also where we’ll be ending the ‘Lost in a Fog’ guide, because the upcoming first major boss fight in Final Fantasy 16 is against a type of enemy you’ll encounter multiple times in the future – the dreaded Morbol. Thus, we’ve given the Morbol its very own guide page, so to finish up ‘Lost in a Fog’, follow the link below!
#Complete #Lost #Fog #Final #Fantasy #XVI

Comments