Exploring the four corners of Hyrule to awaken the Sages of Fire, Water, Wind, and Lightning serves as the major way to progress the story of The Legend of Zelda: Tears of the Kingdom. It doesn’t end there, as following the main quest makes it clear there is a fifth sage to find.
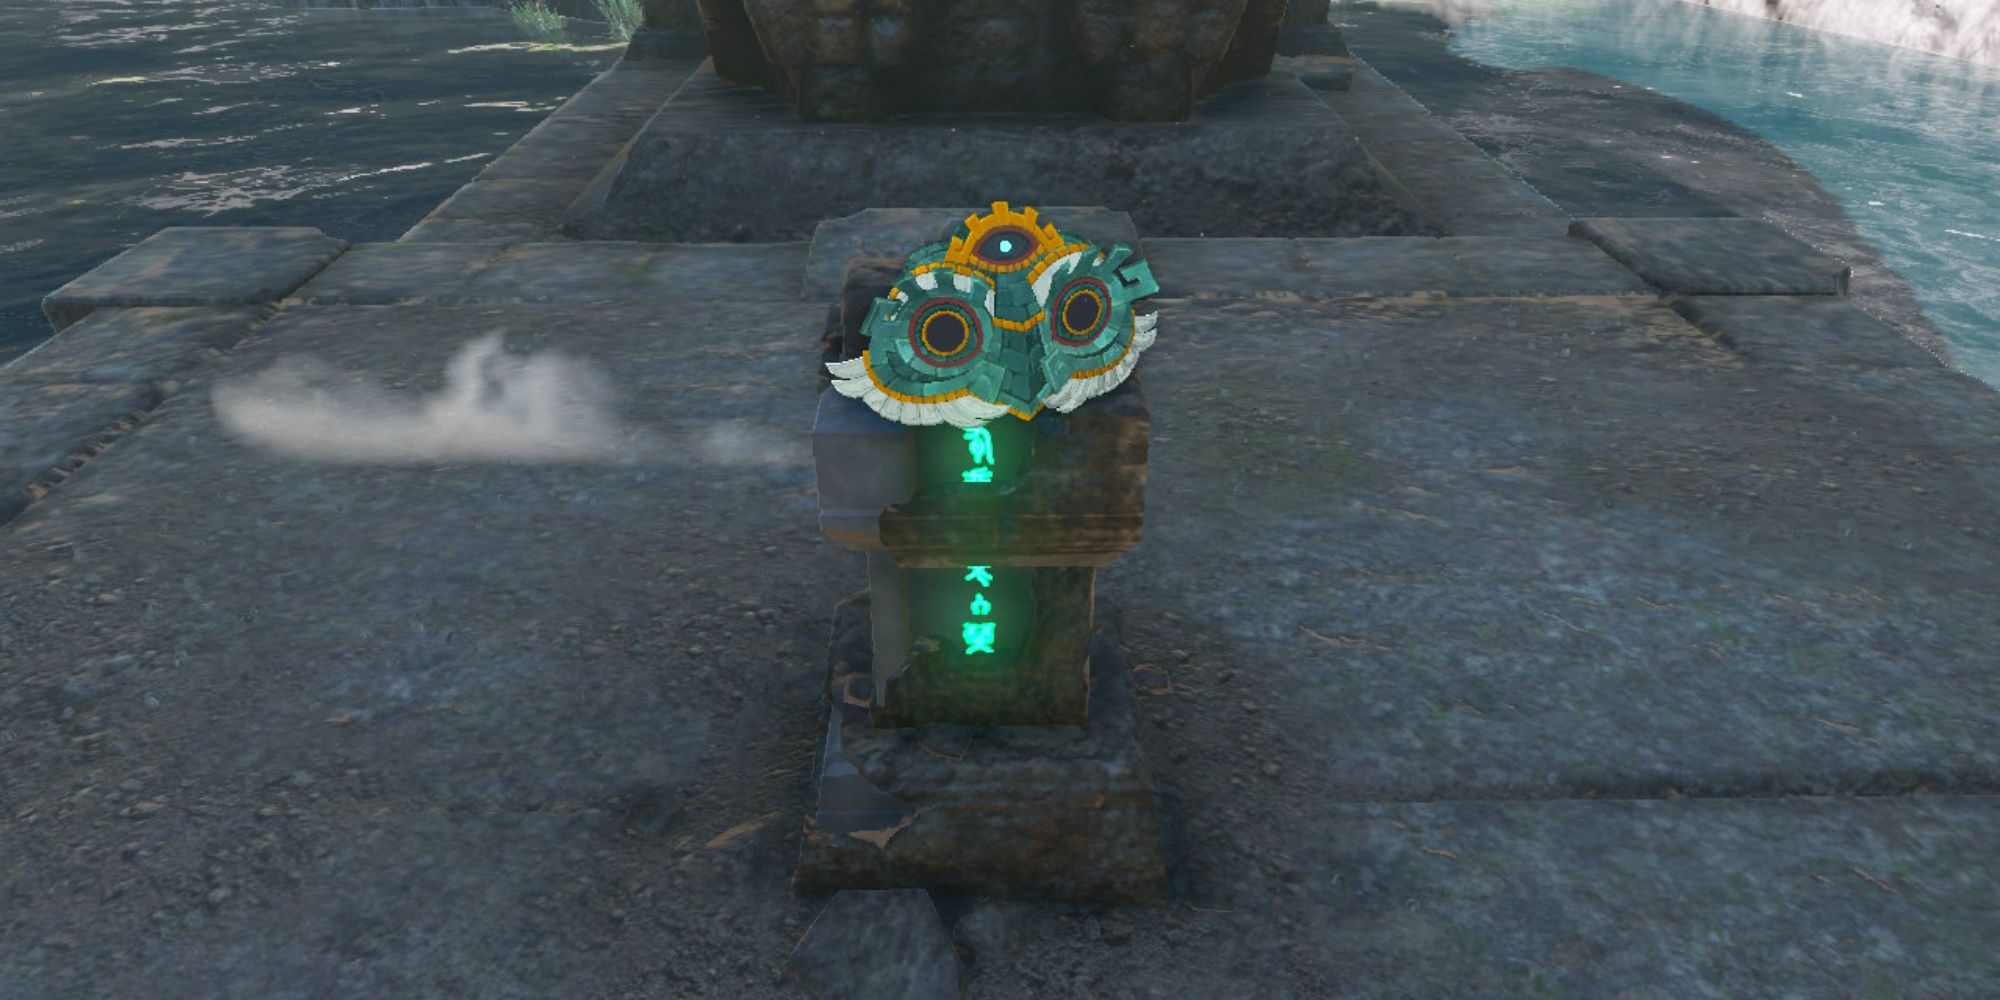
Completing the Secret of the Ring Ruins quest will guide you to the stormy Thunderhead Isles above the Faron region, and, ultimately, Dragonhead Island. Once you’ve found a Zonai relic that resembles a mask, the Guidance from Ages Past quest begins.
Get To The Construct Factory
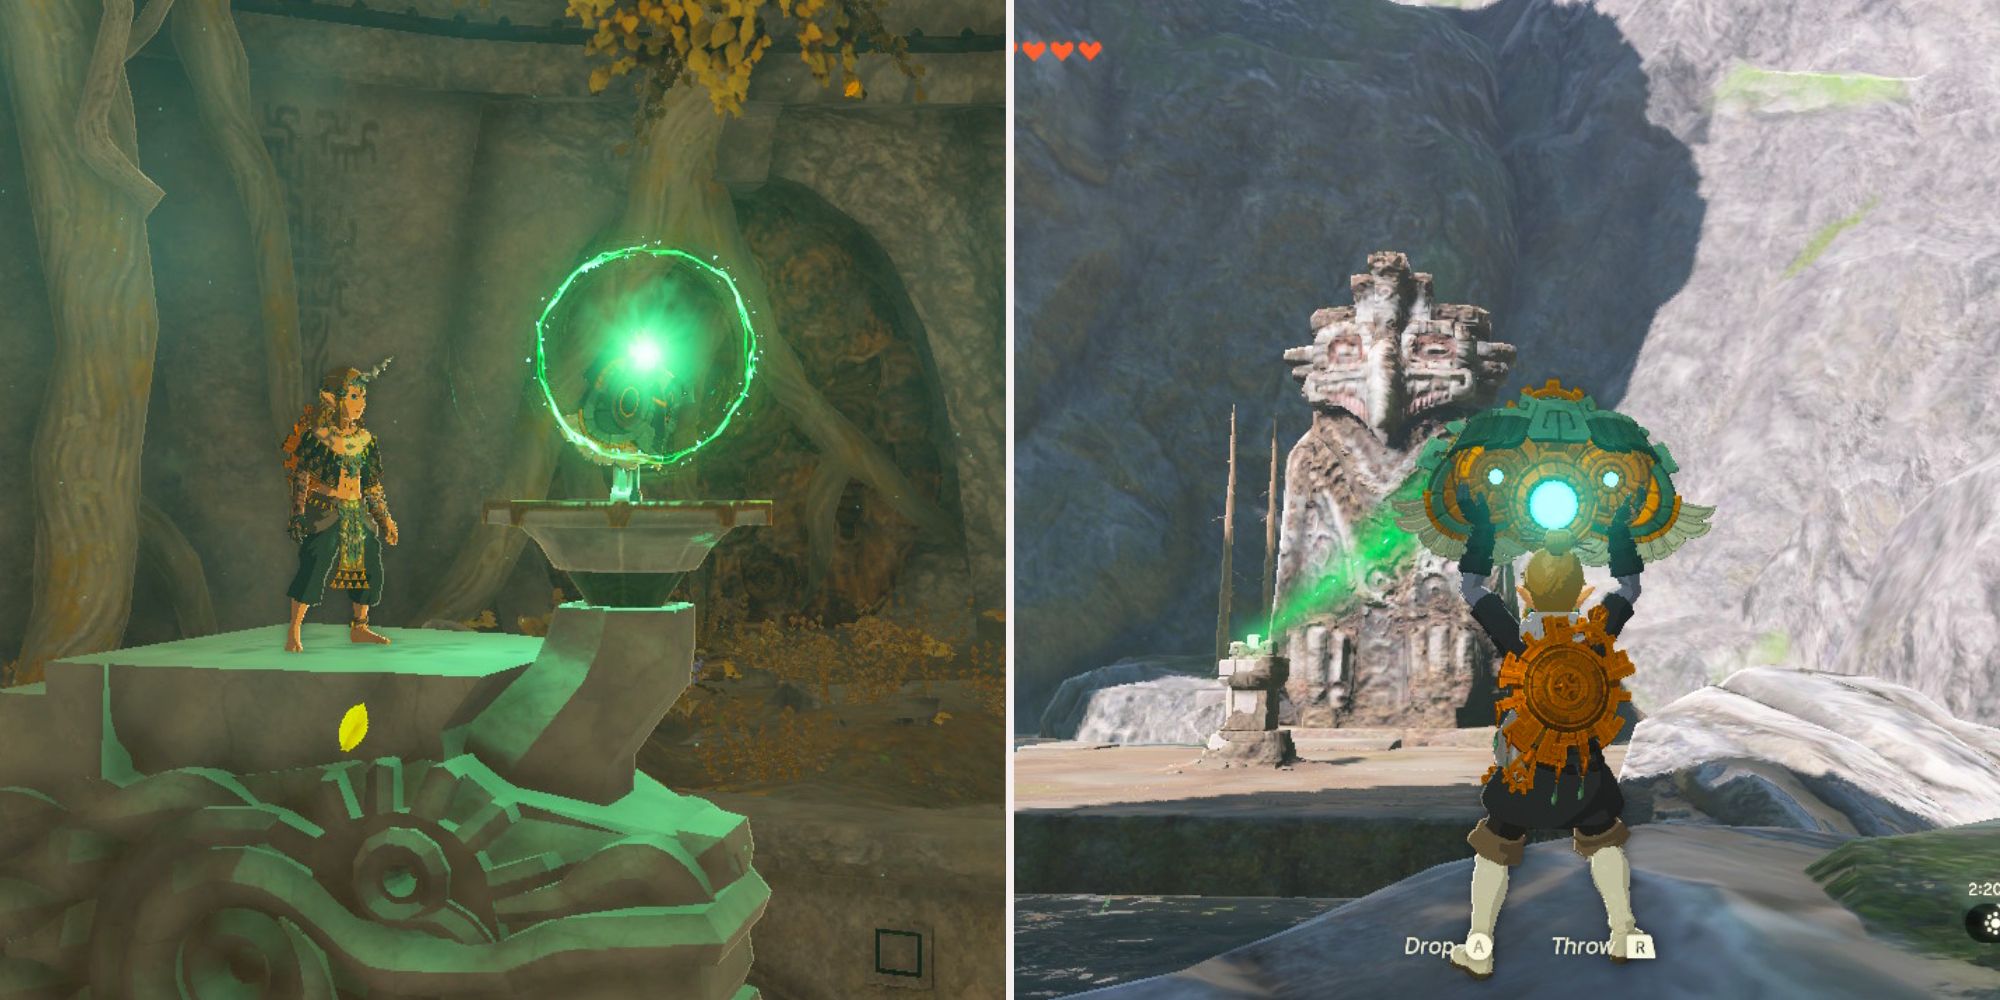
Interacting with the Zonai mask shoots out a green light that acts as a homing beacon, directing you to where you need to take the mask. Right when you exit the chamber, you will see several Zonai devices and a Zonai Device Dispenser around the corner.
This Zonai Device Dispenser can give you gliders, fans, and rockets.
Construct a glider using whatever materials you want, but add at least one rocket and a fan to reach your destination faster. Launch yourself from Dragonhead Island and follow the light to Tobio’s Hollow Chasm on the Surface below.
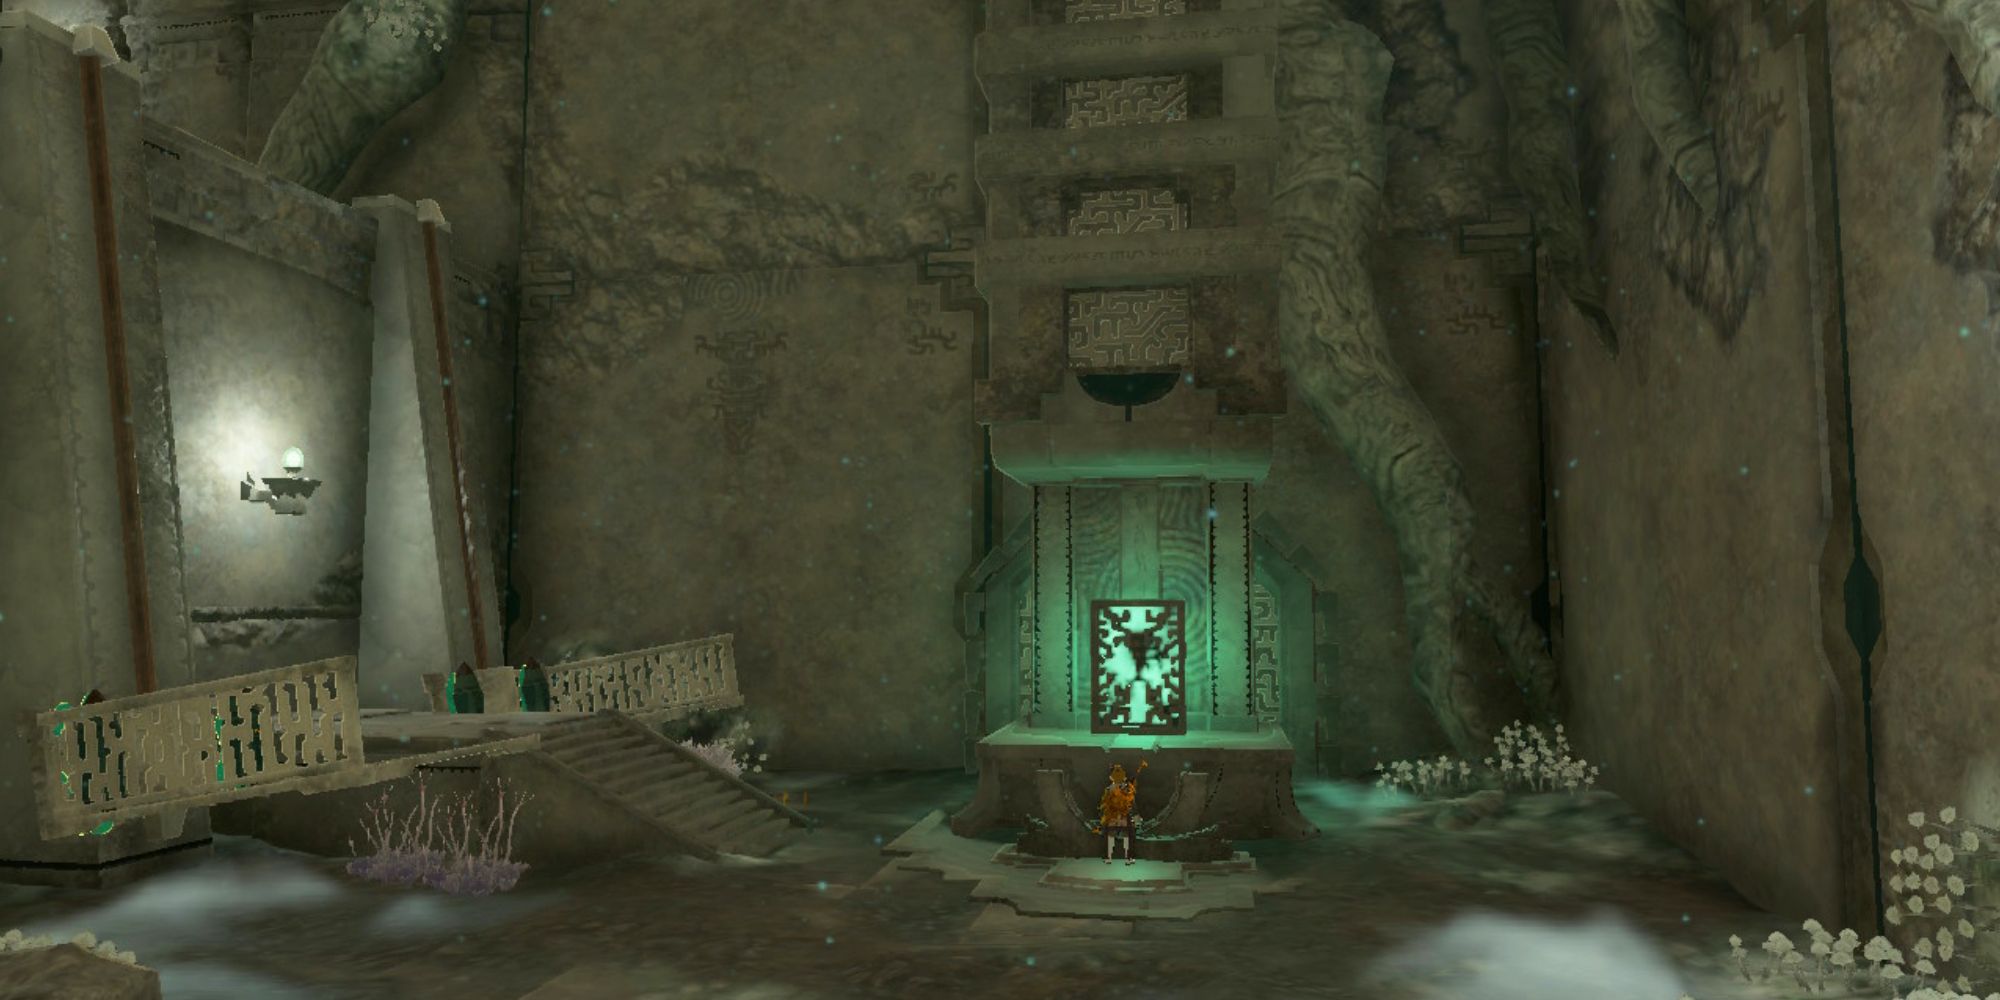
Place the Zonai mask on the pedestal, and the platform you stand on will take you down into the Depths. Once it settles, you’ll hear a voice call out to you that guides you on.
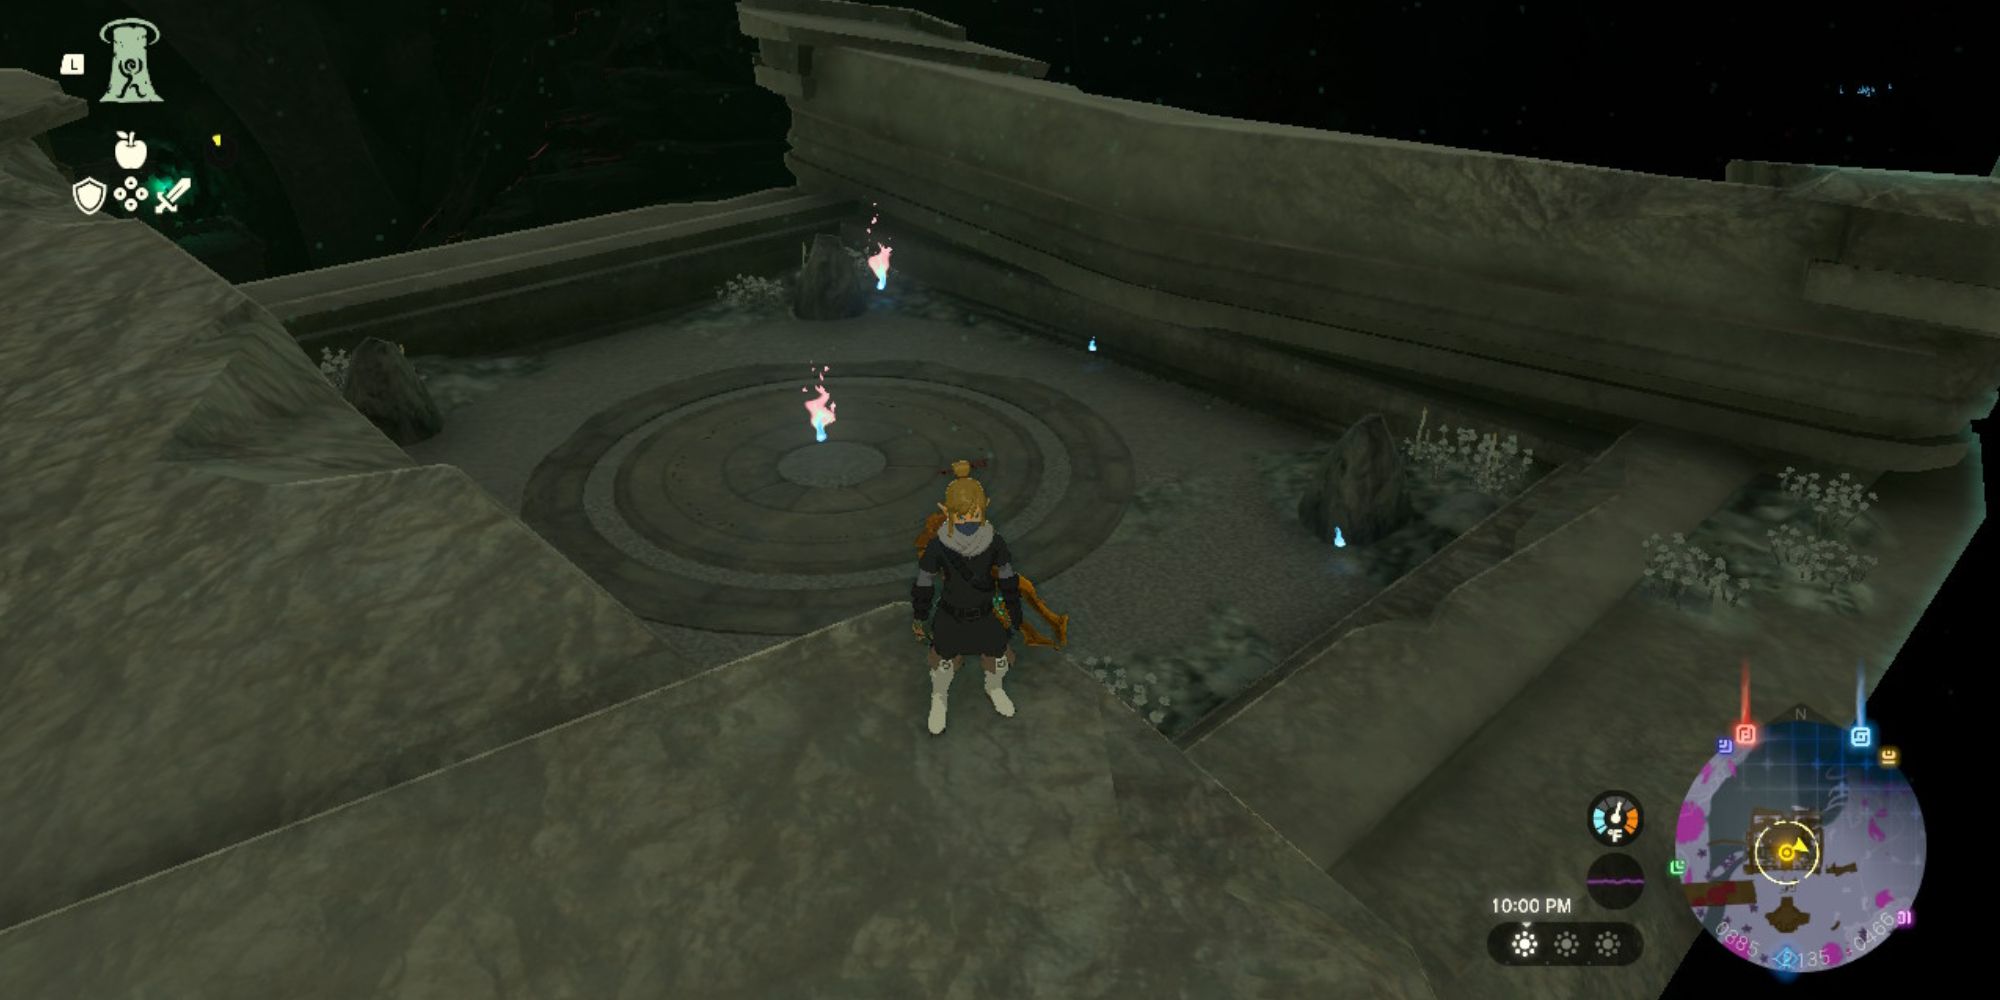
Now that you are in the Faron Grasslands Depths, go to the Muokuij Lightroot right behind the platform and activate it. You’ll add light to the area and create a teleport point if you ever want to leave.
Carry the head and follow the green light once again. You’ll enter the Construct Factory, and see an empty construct assembly spot. Rotate the Zonai mask until it will fit into the spot for the construct’s head.
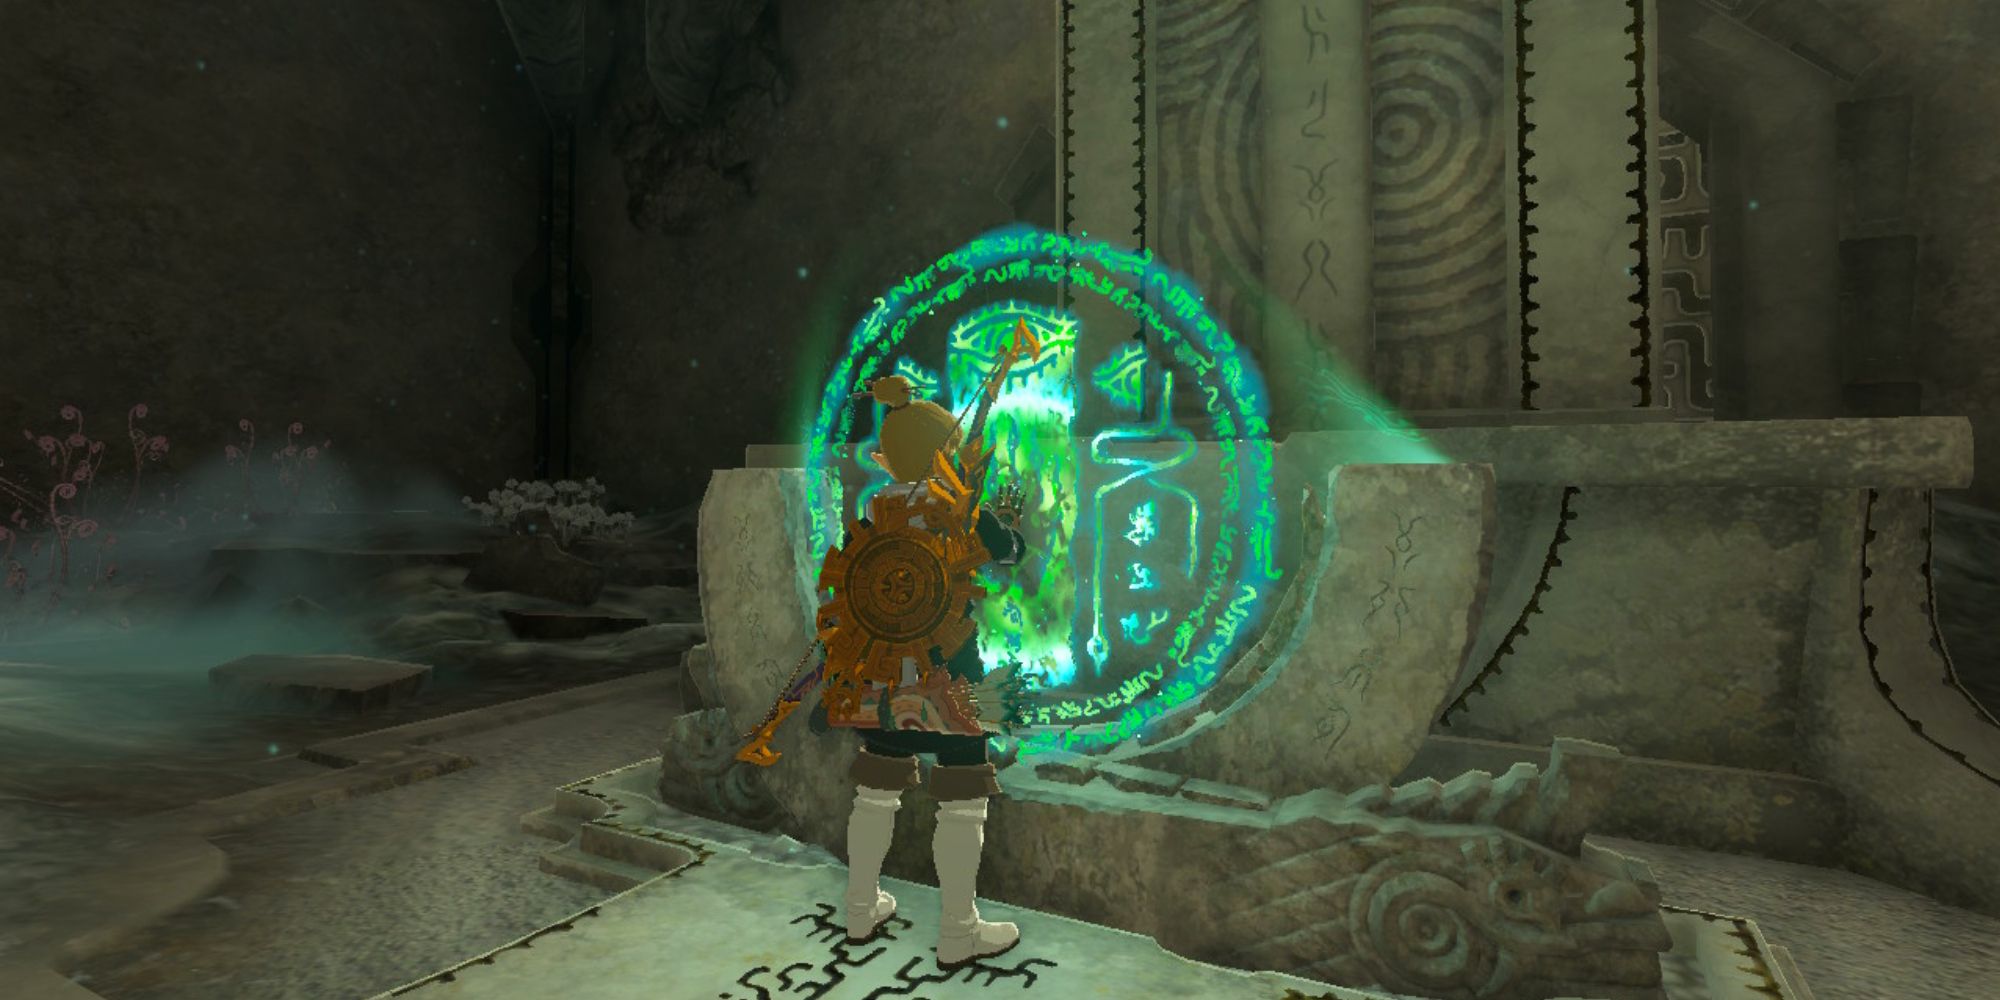
Mineru, the Sage of Spirit, will talk to you. She explains that there are four storehouses that each hold a different part for a construct, and she needs you to retrieve them all and bring them back to the main factory. There will be glowing green lamps to indicate the entrances to the storehouses.
Before you leave the Construct Factory, you can climb and explore its different floors to find numerous Poes, plus some Large and Grand Poes.
To help as you retrieve the construct parts, head south of the Construct Factory to the Uisihcoj Lightroot and activate it. From here, there are two of the storehouses close by you can start with.
Right Leg Depot
From the Uisihcoj Lightroot, head east and cross the industrial-like catwalk to get some height. Then you can glide to the entrance of the Right Leg Depot.
Once you enter here and interact with the Zonai sigil, it will drop out a box containing the Right Leg. The door will close behind you, forcing you to make your way through the depot to get out.
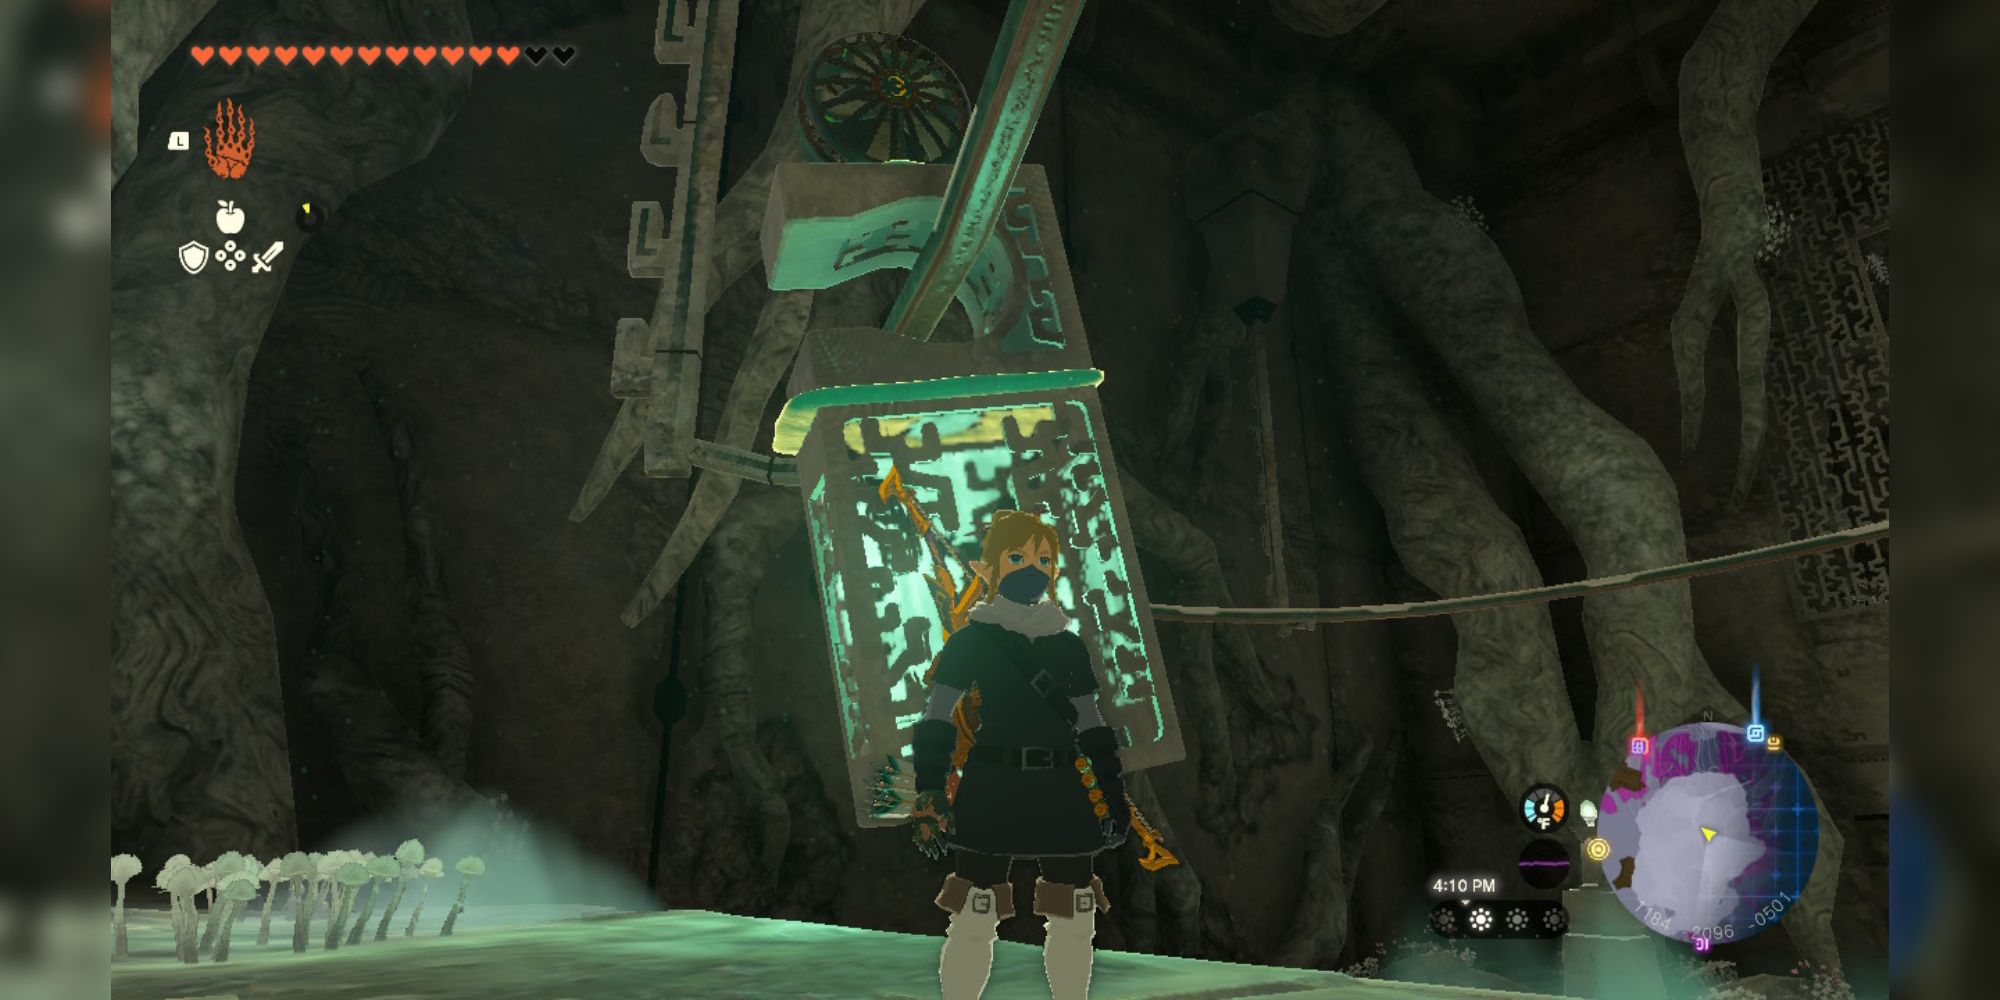
The next room will have a complicated twisted rail that leads up to the next floor, with some hooks and fans on the ground. To save yourself some trouble, attach a fan and hook to the box – see the image below for reference.
Put the hook on the rail, turn on the fan, and it will easily glide up the rail.
Ascend up to the next floor, and there will be a rail track and some gliders.
If you continue further in the room, you’ll find a chest that contains three Zonaite.
Assemble a glider, and attach the box for the Right Leg. Hop on, slide down the rails, and glide back to the Construct Factory. Once you get there, carry the box to the empty construct spot in the center.
The box will break, and then you can rotate and fit the part into the correct spot.
Right Arm Depot
From the central factory, go across the bridge to the west. You can avoid the Bokoblin mob and run to the field to the right of the bridge. Head to the spot underneath the entrance to the depot, and Ascend up.
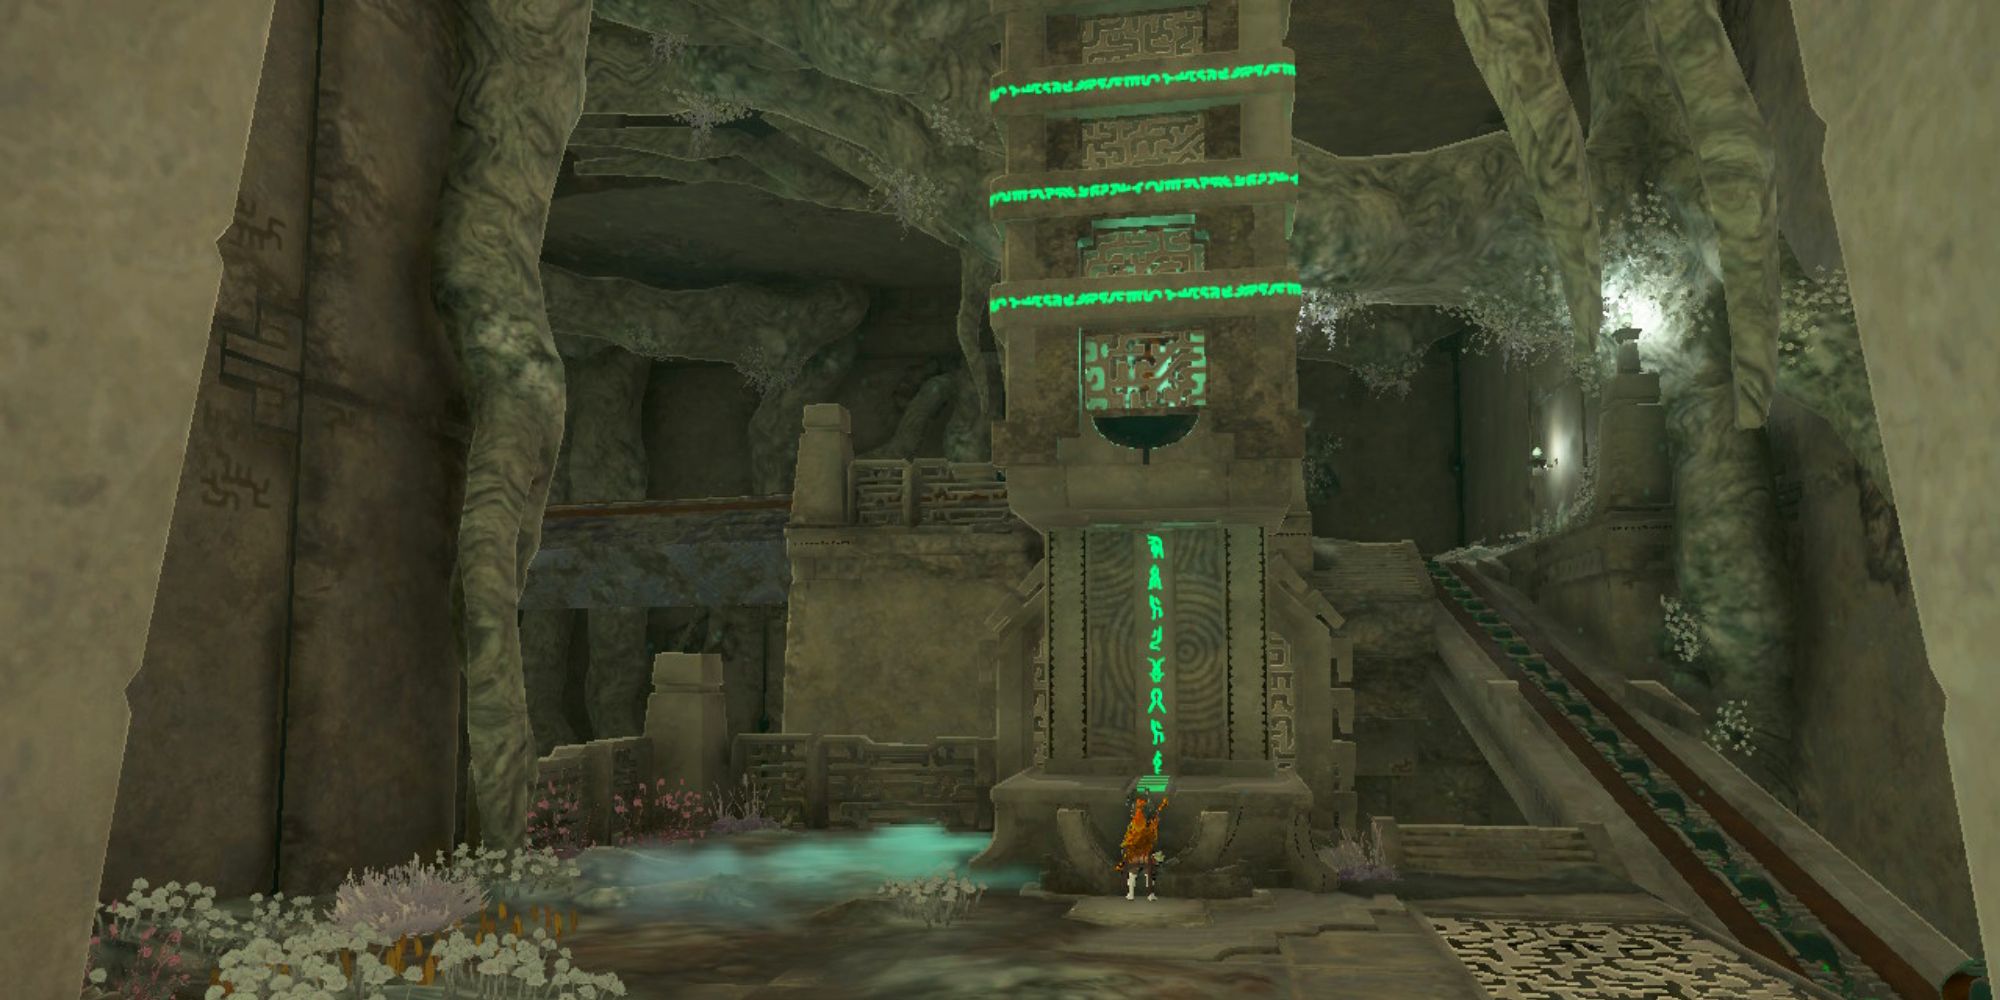
Interact with the Zonai sigil to get the box for the Right Arm. To the right, you’ll see a conveyor belt made of Zonai wheels. Just lift the box and set it on the conveyor belt, and it’ll make its way up to the second floor.
Before you follow the box up, if you go down to the lower level and make your way to the opposite side of your starting location, you’ll find a chest that contains a Large Zonaite.
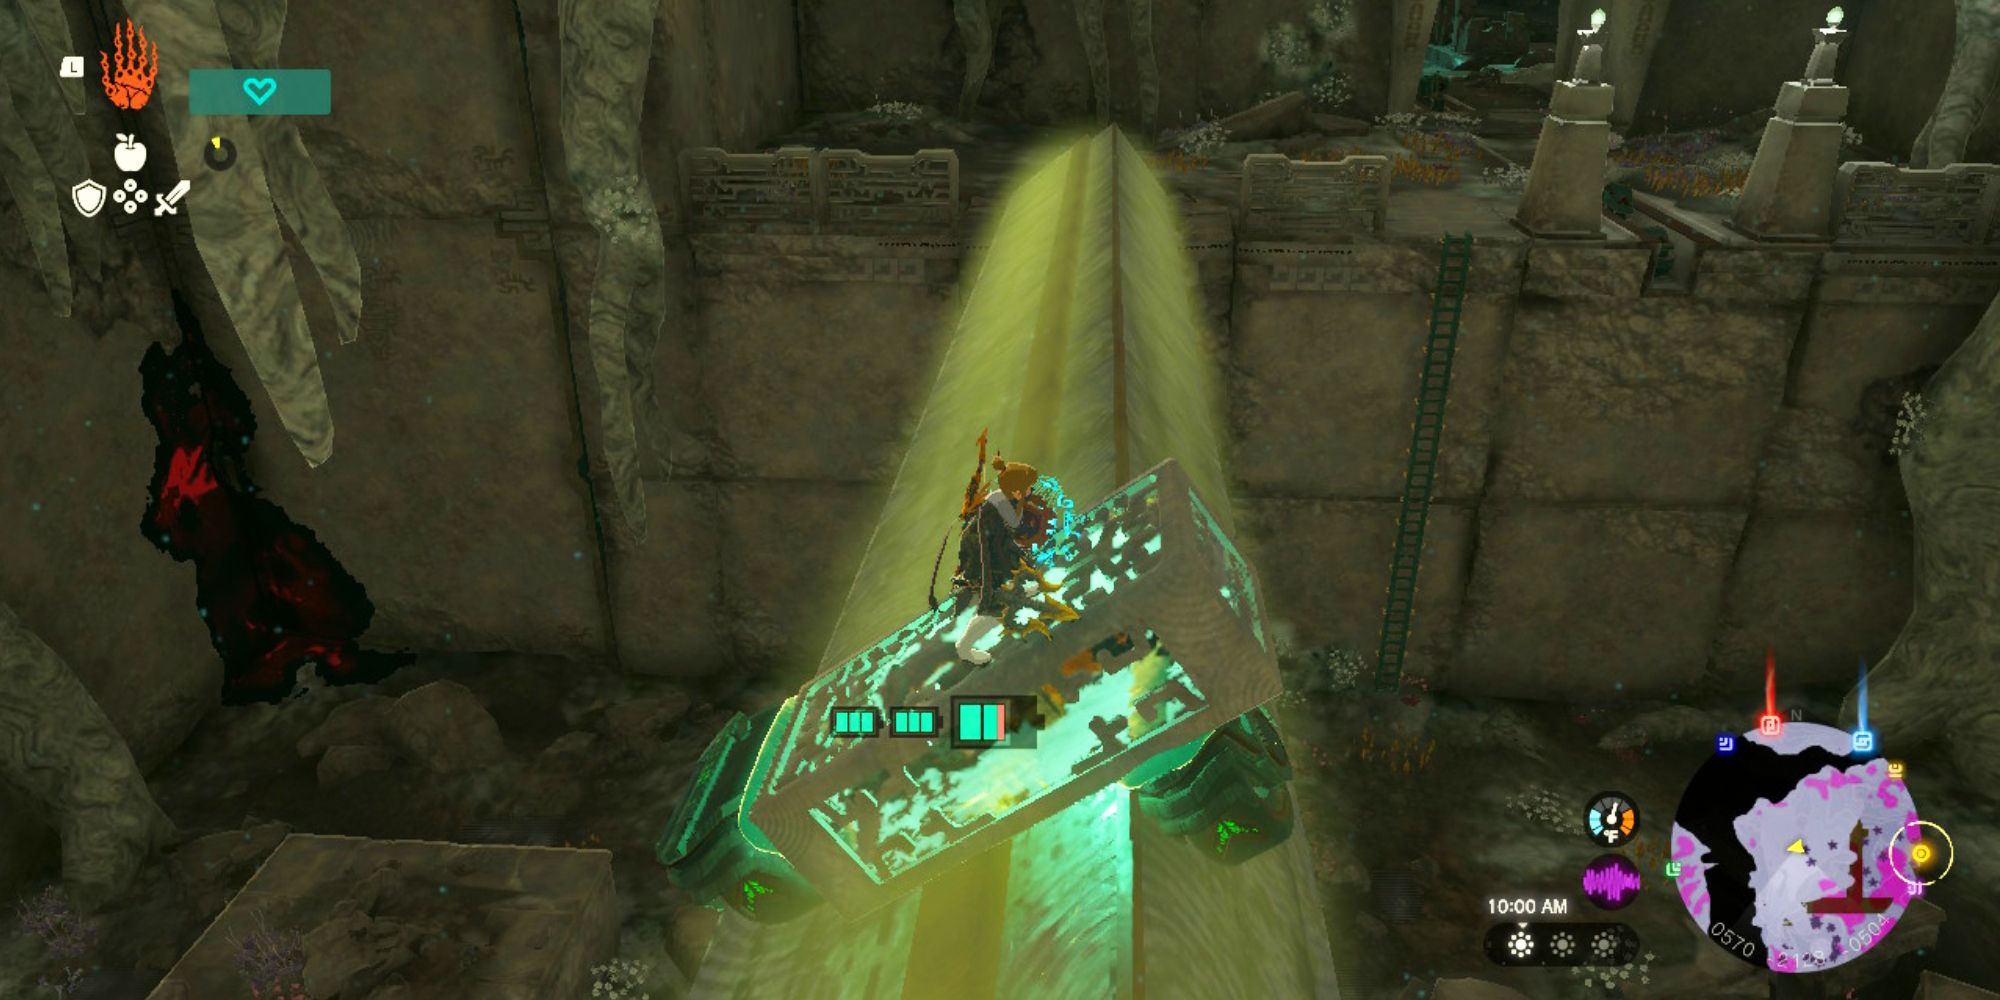
On the second floor, you’ll see a large gap between you and the other side of the room. An electrified fallen pillar is the only way to cross the gap. Thankfully, there are several wheels around that you can make use of.
Attach two wheels to the Right Arm box, and you can scoot across the electrified bridge without getting hurt.
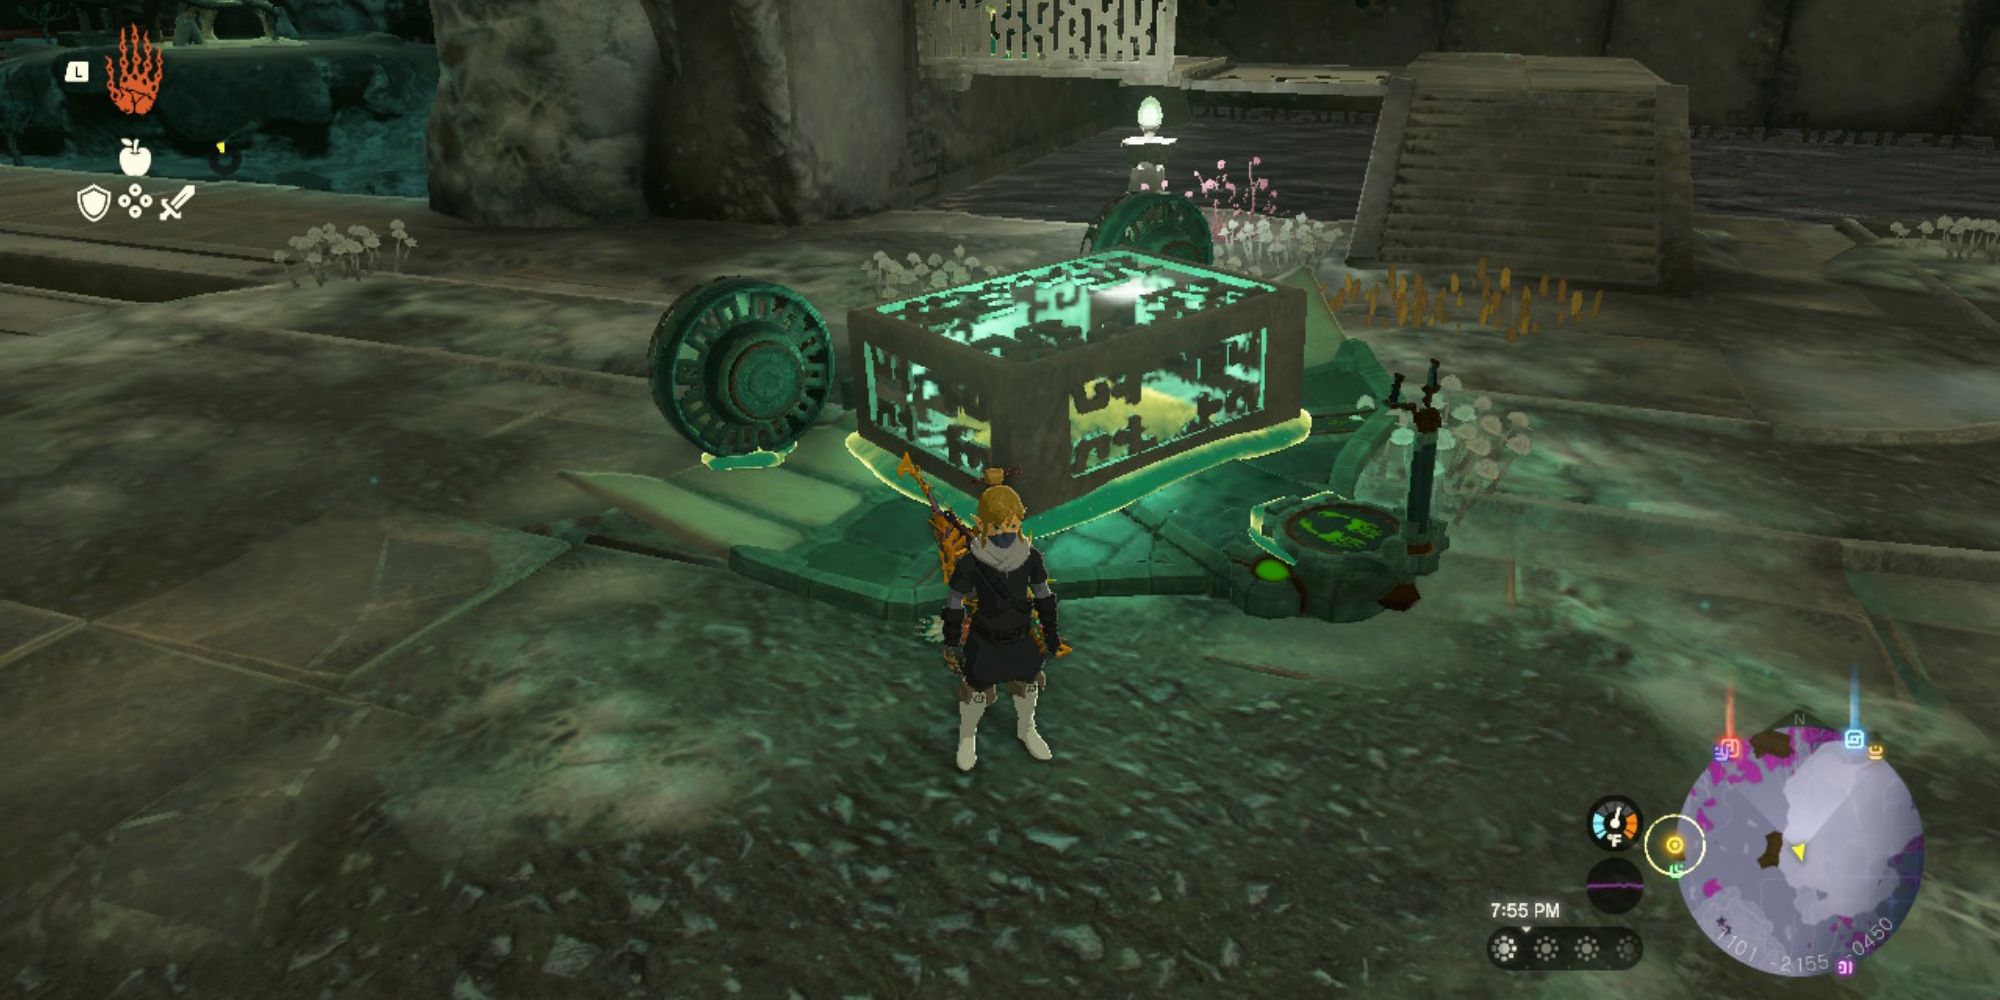
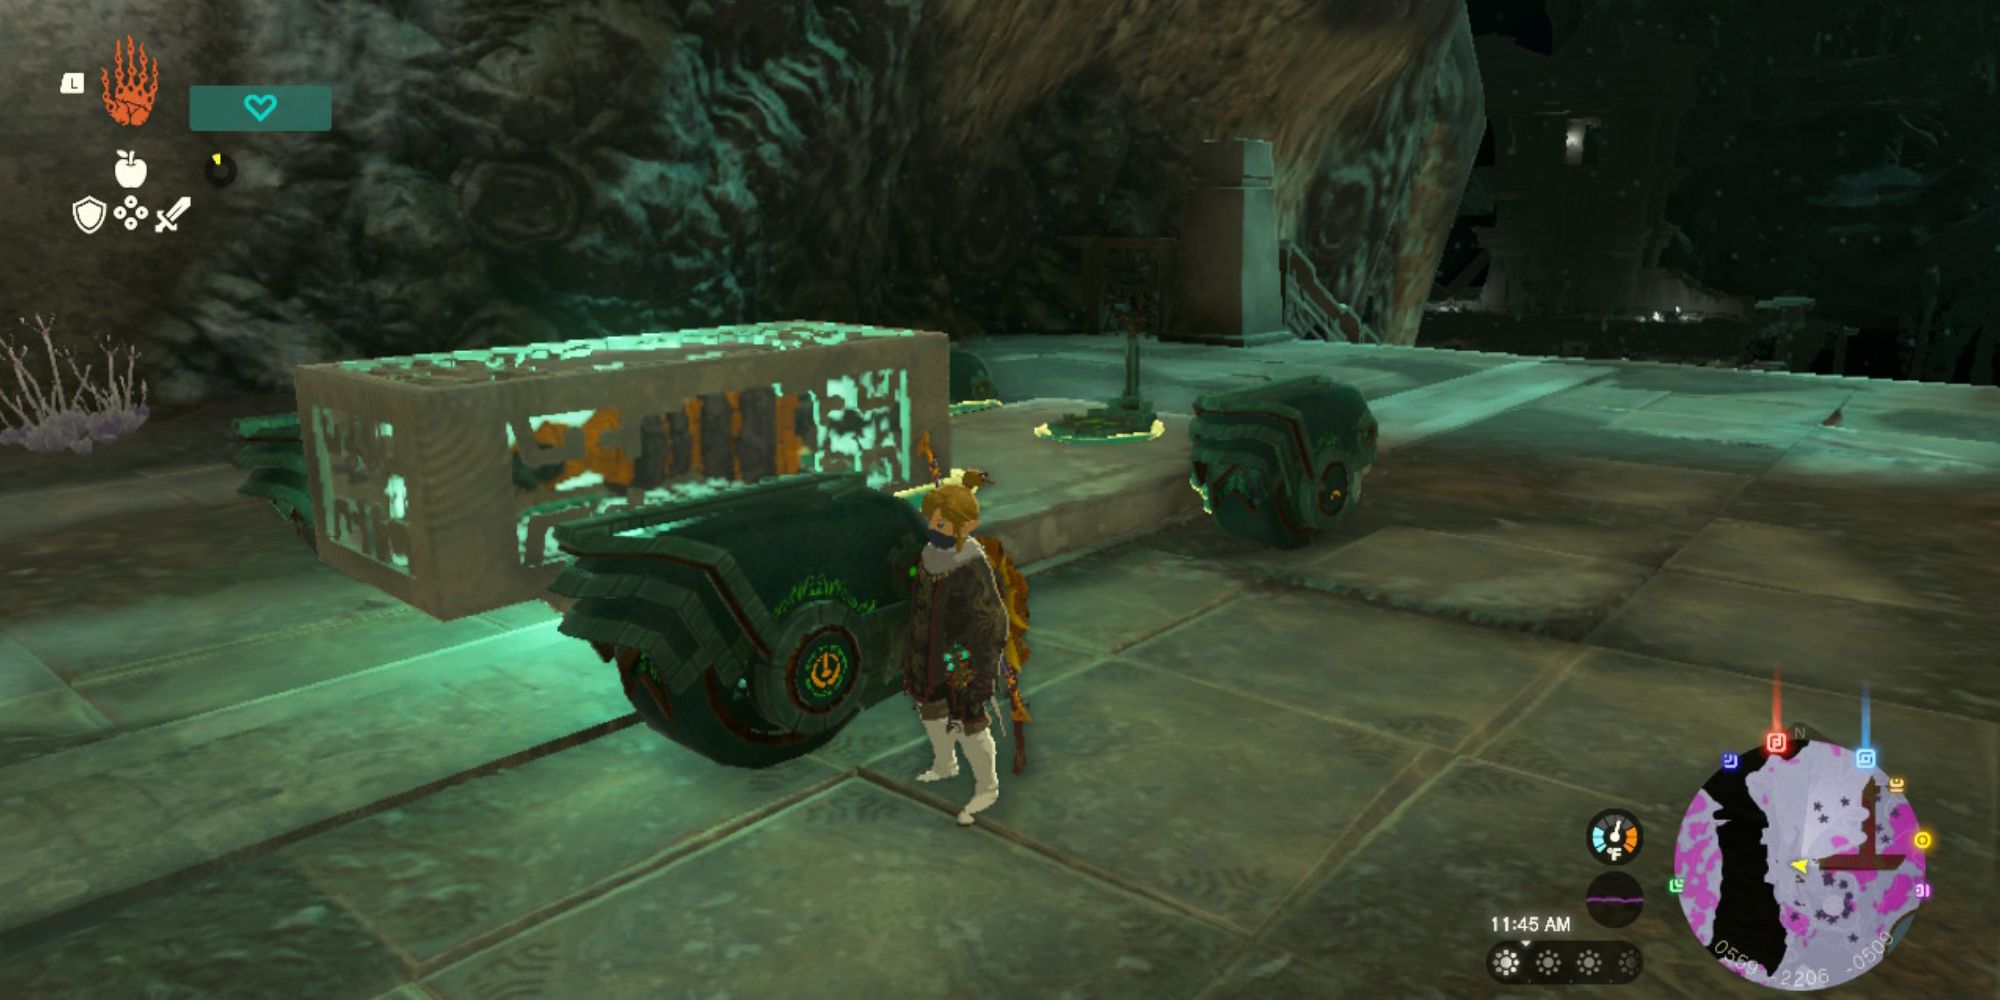
Now that you are at the exit, there are some stone slabs that will be useful. Assemble a small vehicle using the stone and wheels, and attach the Right Arm box.
You can drive down the stairs and back to the Construct Factory, where you can insert the Right Arm in the appropriate spot.
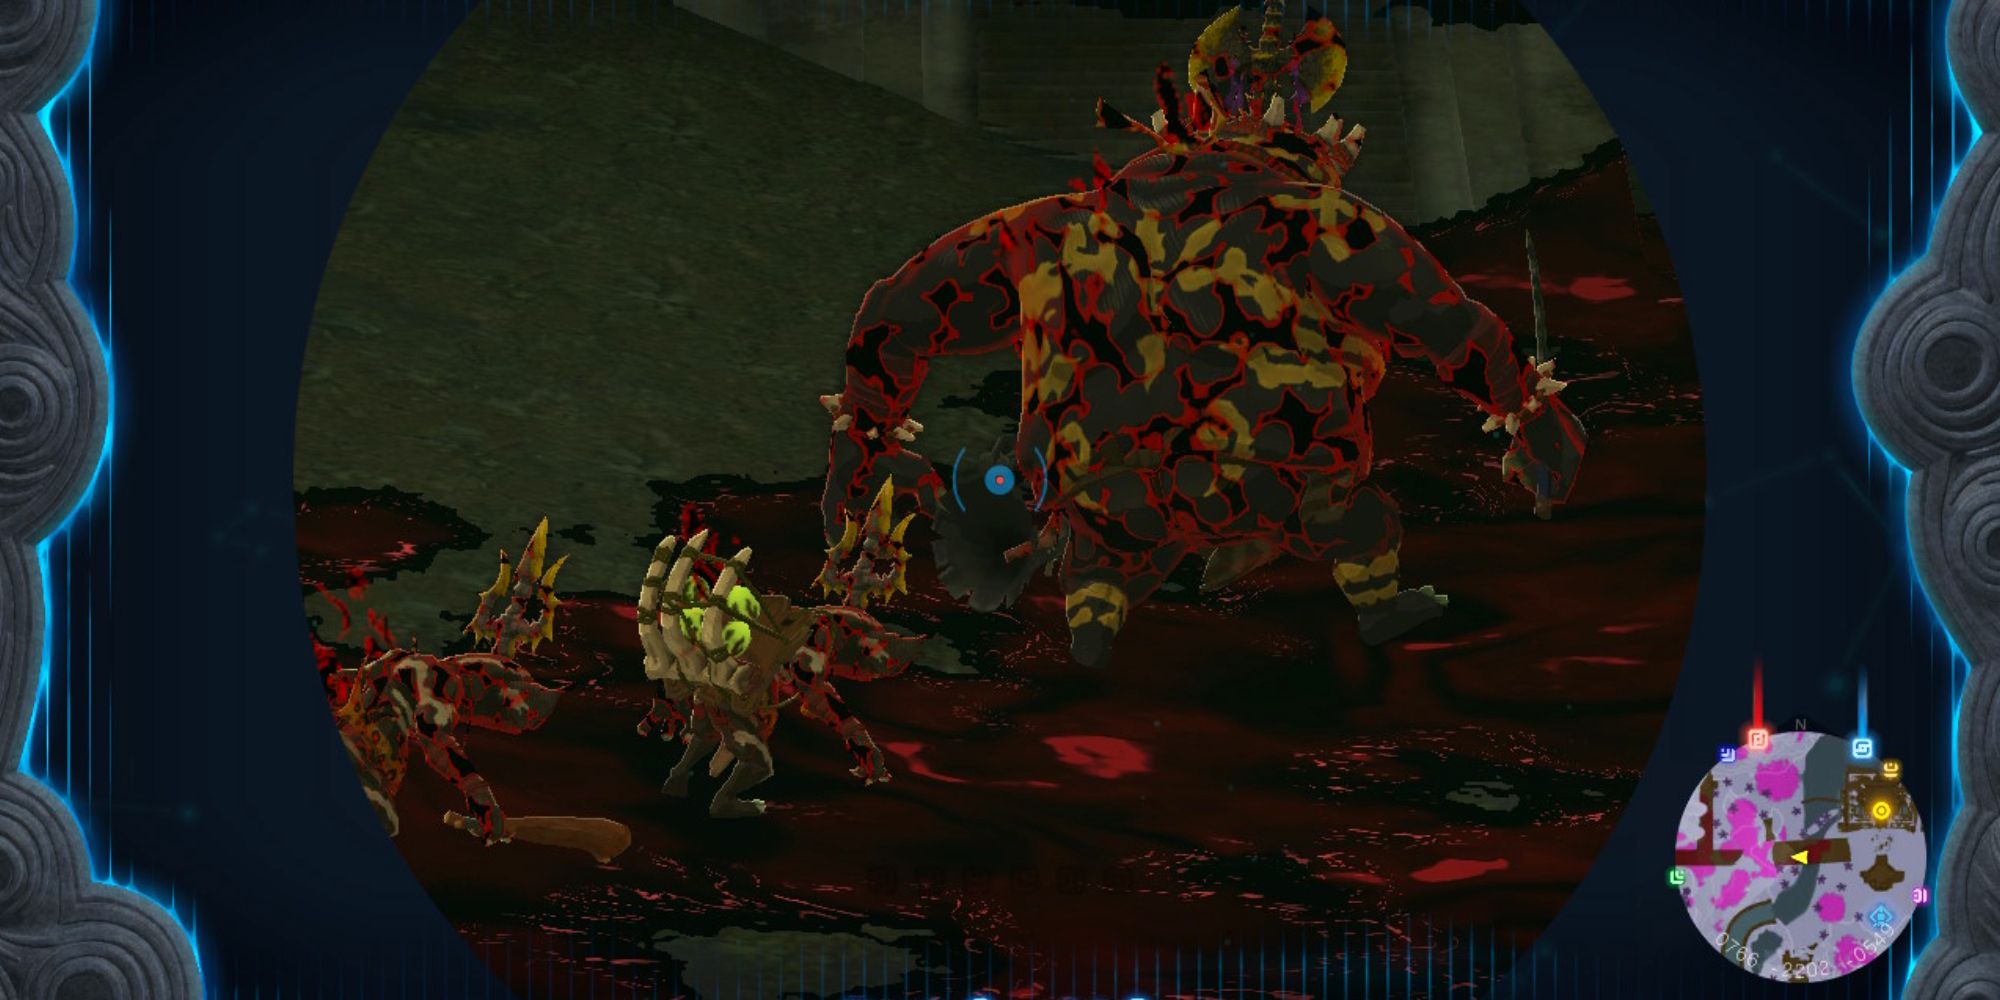
If you wait for the mob of Bokoblins to be out of the way of your path, you can drive right past them without fighting.
Left Leg Depot
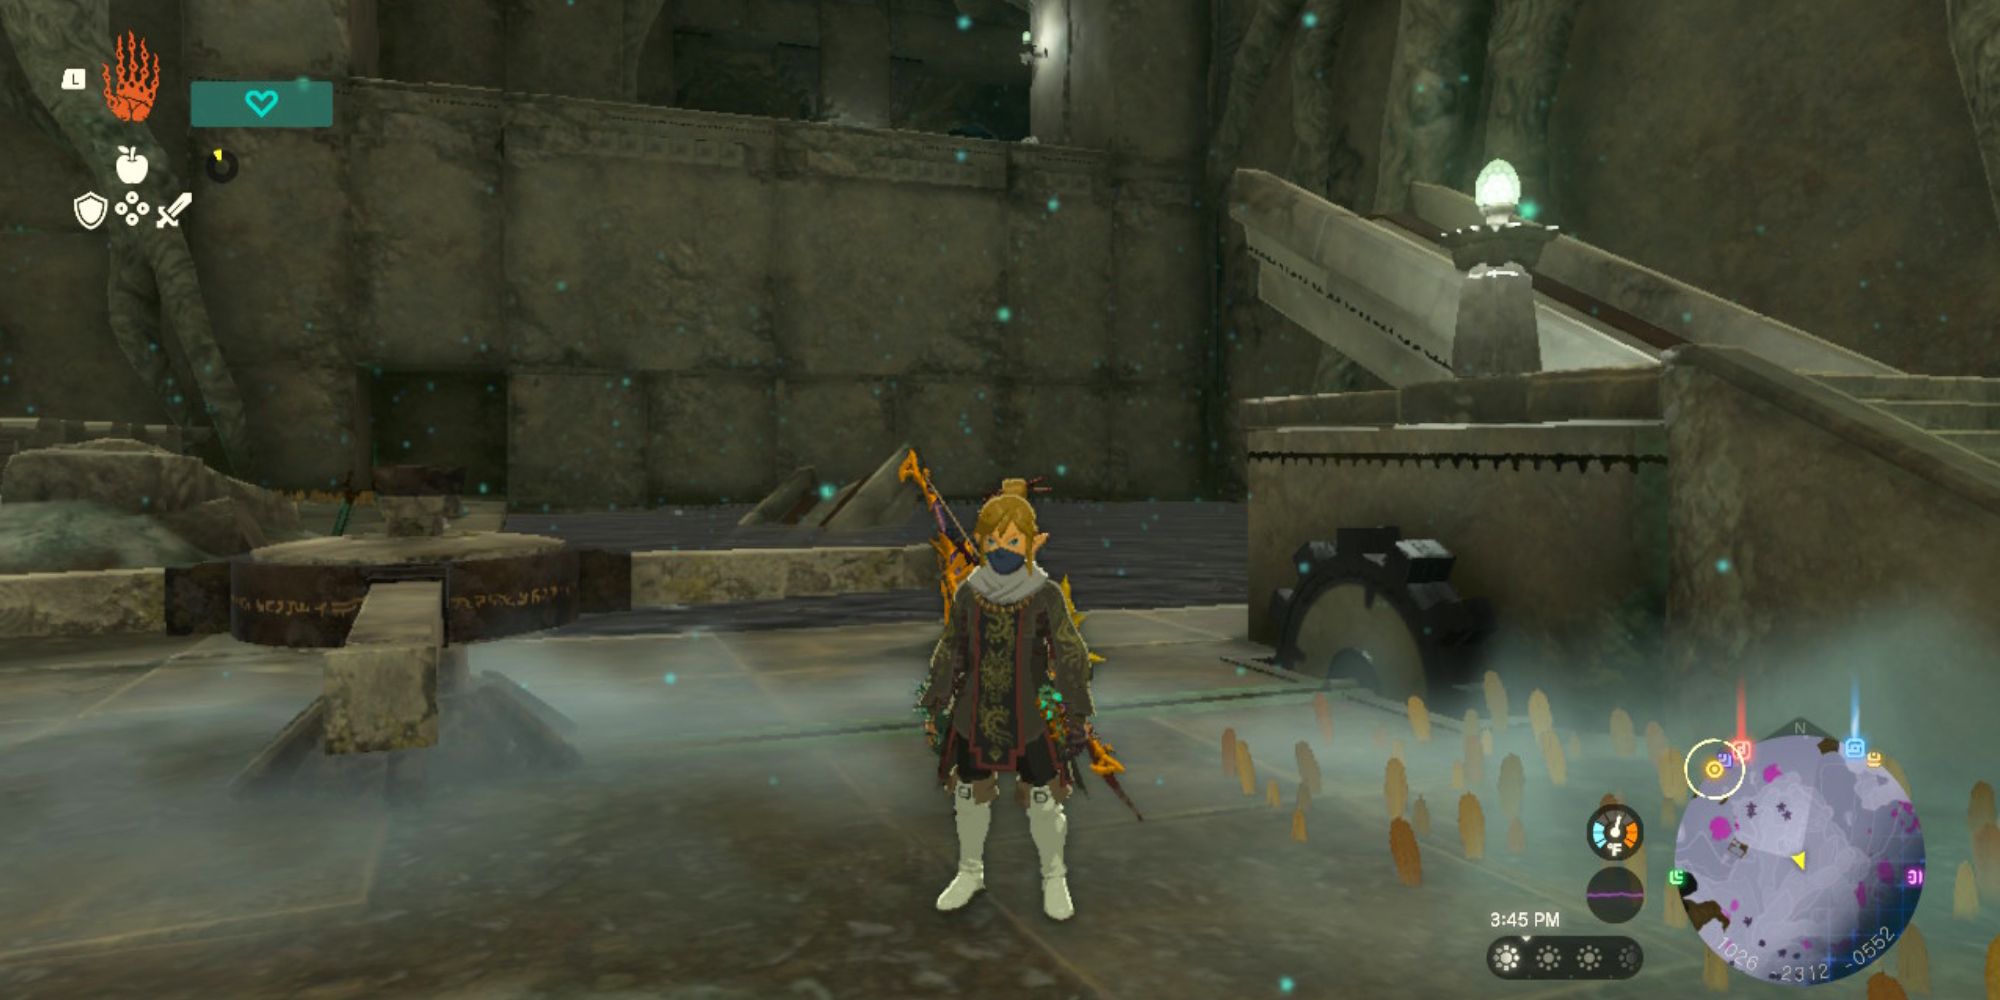
From the Muokuij Lightroot, head east to reach the Left Leg Depot. Interact with the Zonai sigil to get the package, and you’ll again be locked in the depot. Next to you is an elevator with a rocket attached, and you can put the box there to lift it to the next floor up.
On this floor is a large flooded area, and your goal will be to get the box across it and up onto the ledge. Rotate the axle you see until the launchpad next to it is at a 45-degree angle.
Make sure to attach one of the rockets lying around to the Left Leg box. Set the box on the angled launchpad, activate the rocket, and it should fly up to the ledge without a problem.
Now that you are at the exit, you can find a way to easily transport the box back without carrying it the whole way. Nearby is a laser barrier that leads up to an area that contains some stone slabs stuck to carts, bomb flowers, and a chest containing a Large Zonaite.
Use a mix of Ultrahand and Recall to lift one of the stone slabs up to block the lasers for a few seconds so you can run underneath it.
Now that you have a cart, attach the box on top. Take one of the rockets close by and attach it as well. Now you have a small vehicle that will quickly transport the Left Leg back to the Construct Factory.
Left Arm Depot
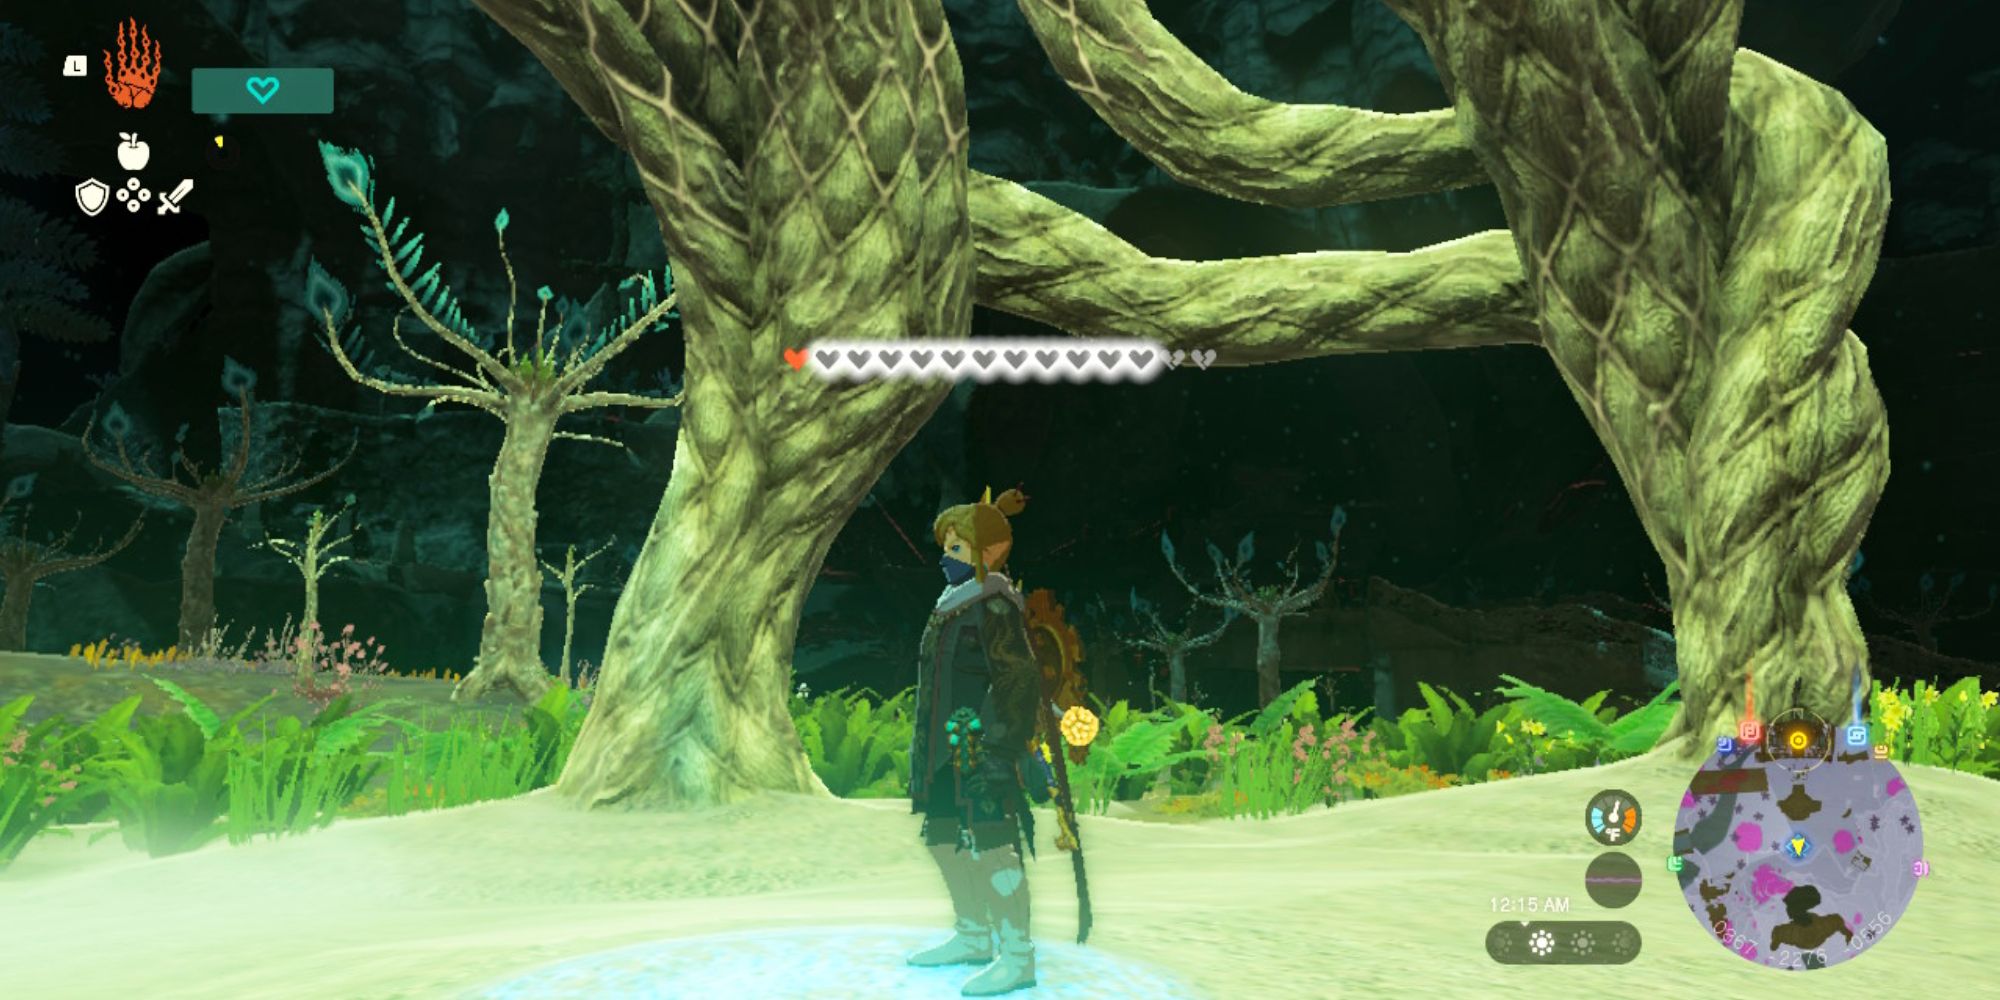
The Left Arm Depot is southwest of the main factory. Head that way, and be prepared to meet some gloom-covered Evermean trees. Once you arrive at the depot, interact with the Zonai sigil and get your box from the chute.
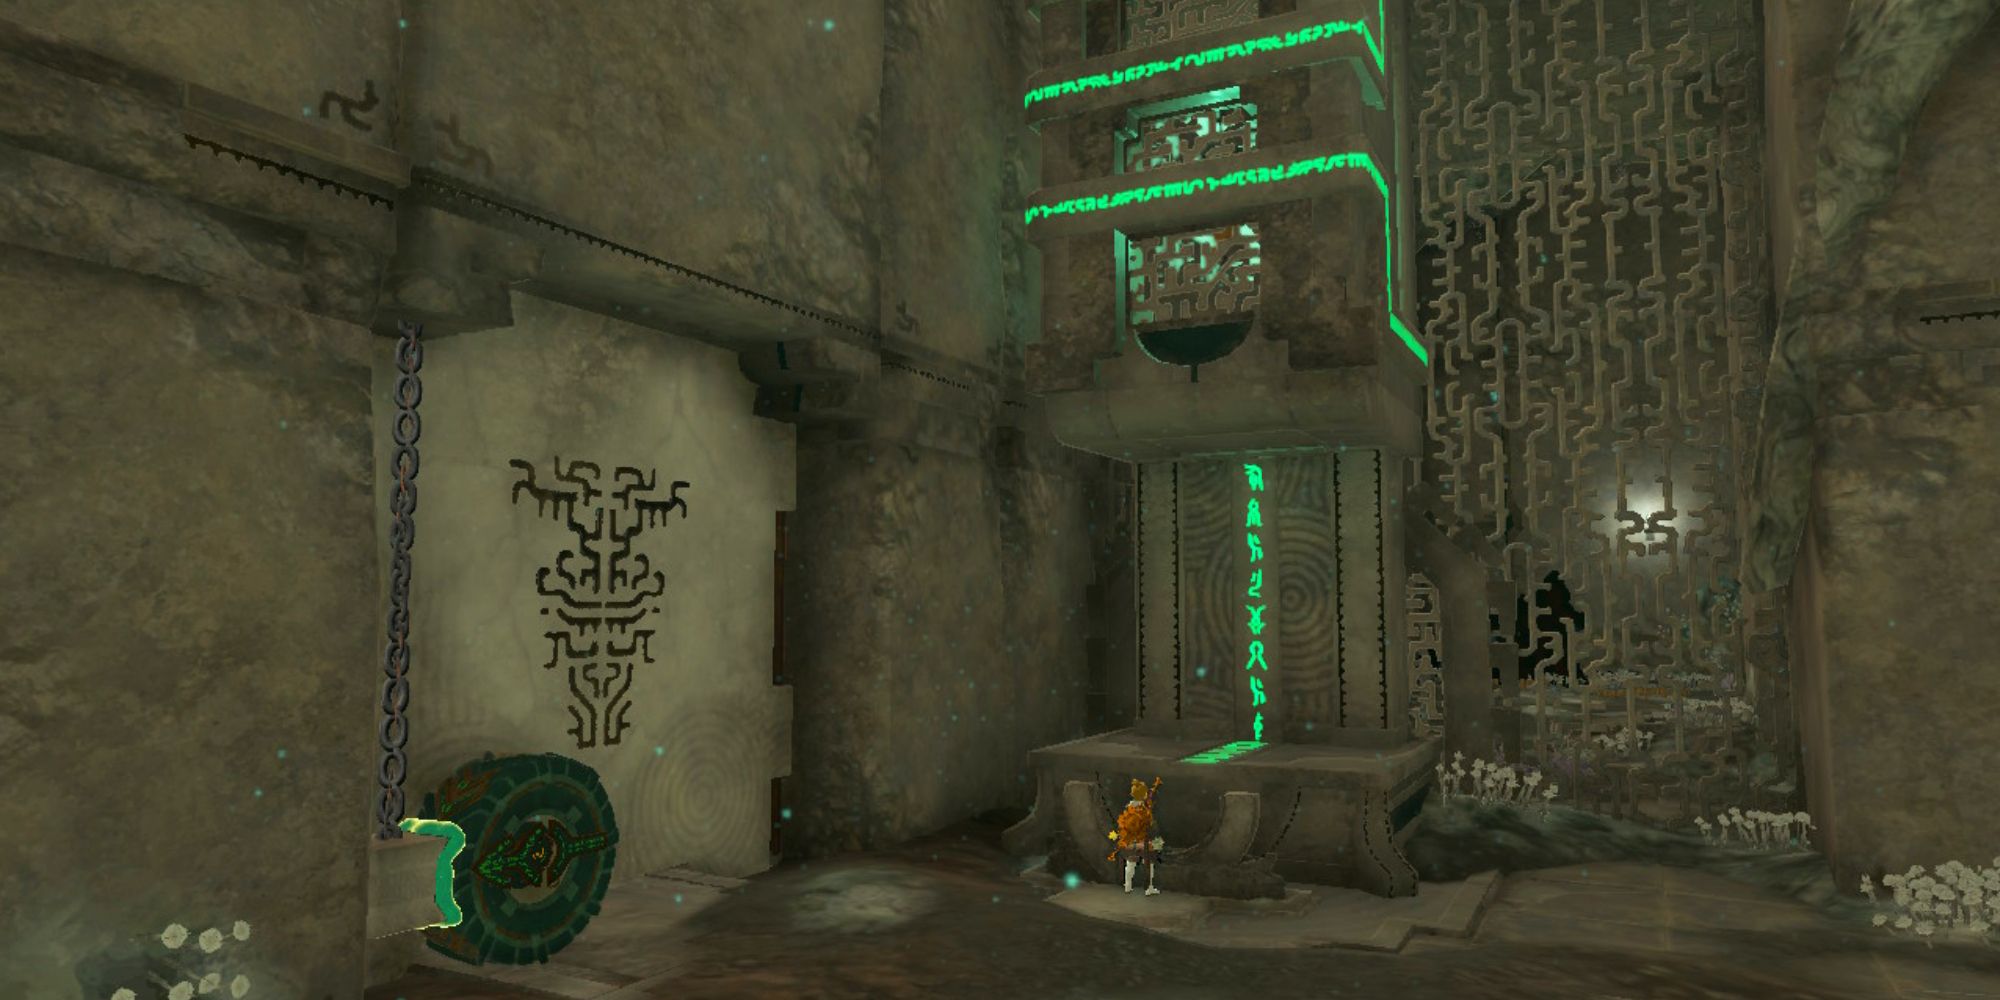
To the left of the chute is a door with wheels attached to chains at its sides. Hit the wheel to lift the door, and you’ll be in a room with lava flowing through it.
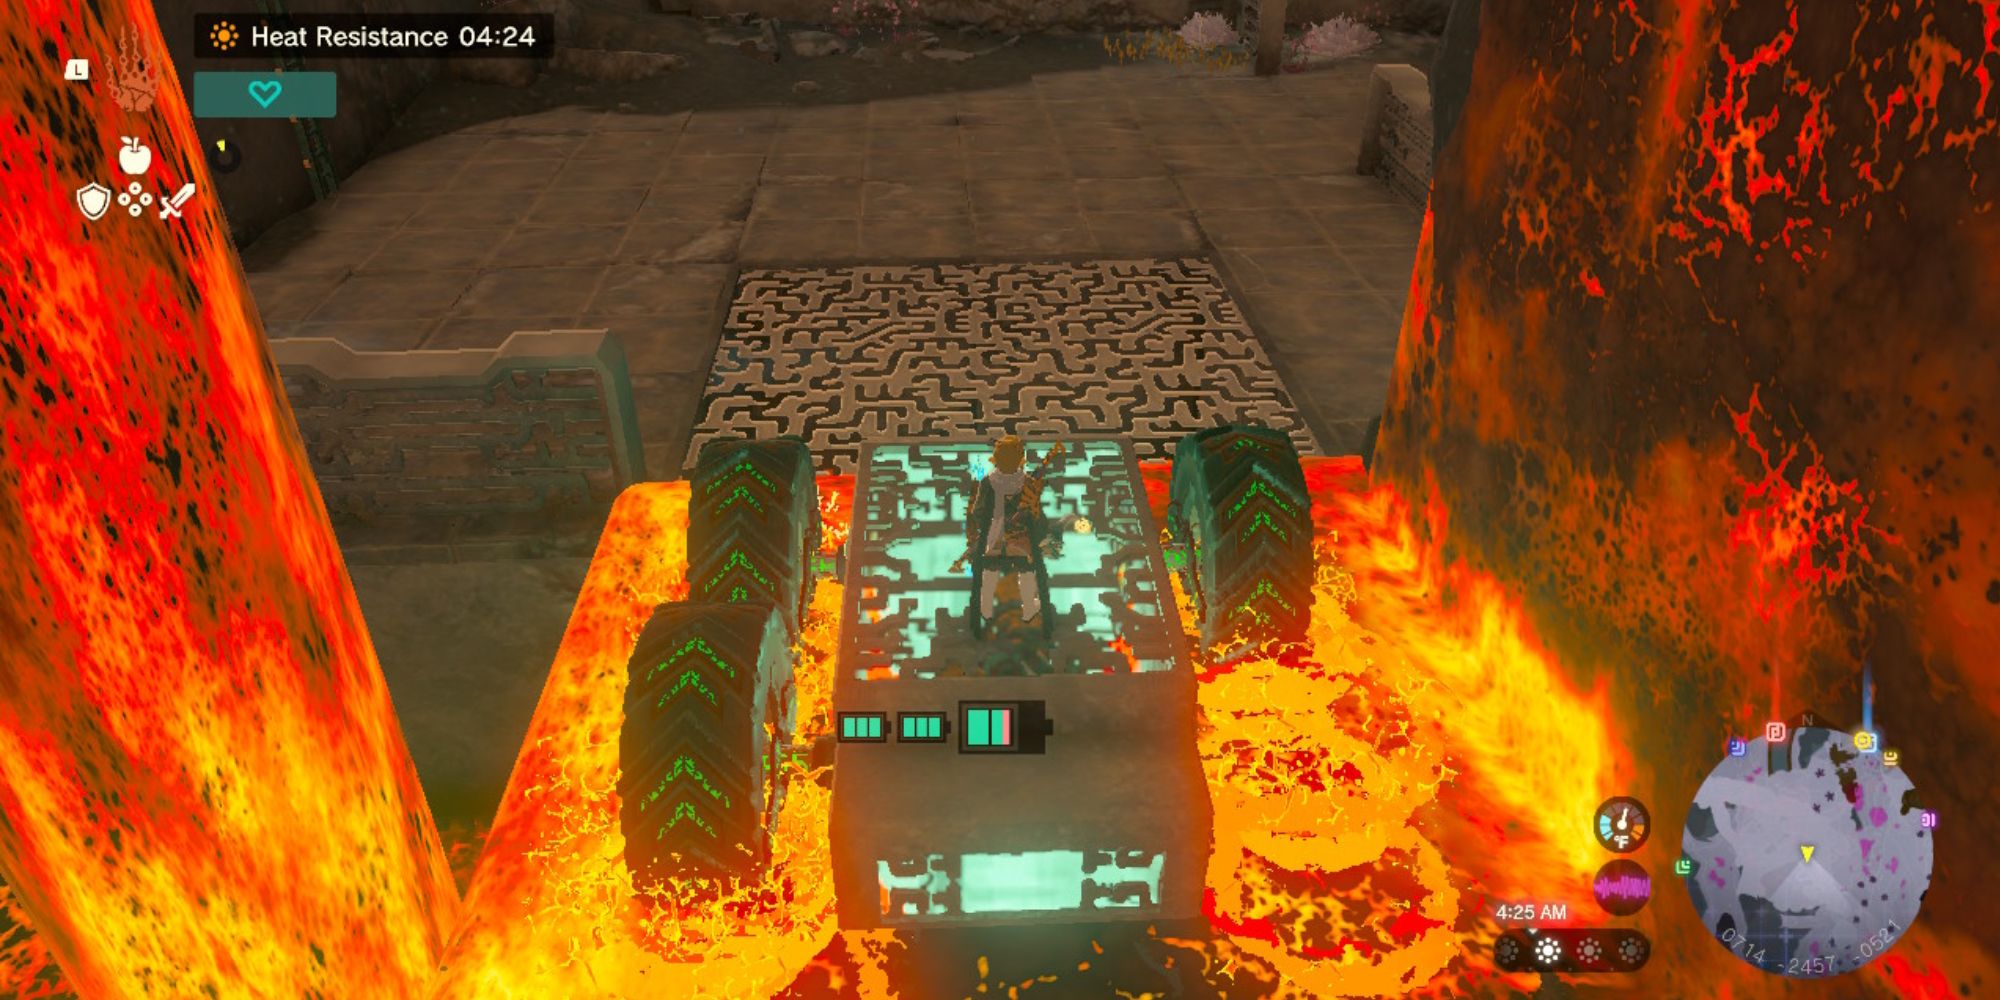
Detach the wheels connected to the door you just came through, and attach them instead to the Left Arm box. Drive your makeshift vehicle across the lava to continue.
In this area, there will be a couple of ladders you can climb to reach an upper ledge. In this area will be a Grand Poe and a chest containing five Steering Sticks.
To move forward, you’ll need to cross another lava chamber. Your old setup won’t work, so you will need to turn the Left Arm box lengthways, and attach a wheel to each side. Set the box along the track created by the grates, and you can drive right across.
In this next room, you’ll see a door and chains that look similar to the one at the entrance. While you can try and attach the wheels in a way that will lift the door, you can also just use a mix of Ultrahand and Recall to lift and freeze the door for enough time.
Once through the door, you are at the exit to leave the depot. A stream of water will flow down from your location and pass by the Construct Factory. Just drop the box in the stream, and you can follow it down to your destination.
There are some fans rotating propellors in the room that you can use if you want the box to move down the stream faster.
Once you have transported all four construct parts to the central Construct Factory, a new construct will be created. As the construct comes alive, Mineru tells you that she needs your help to recover her secret stone at the Spirit Temple.
Learn To Pilot Mineru’s Construct
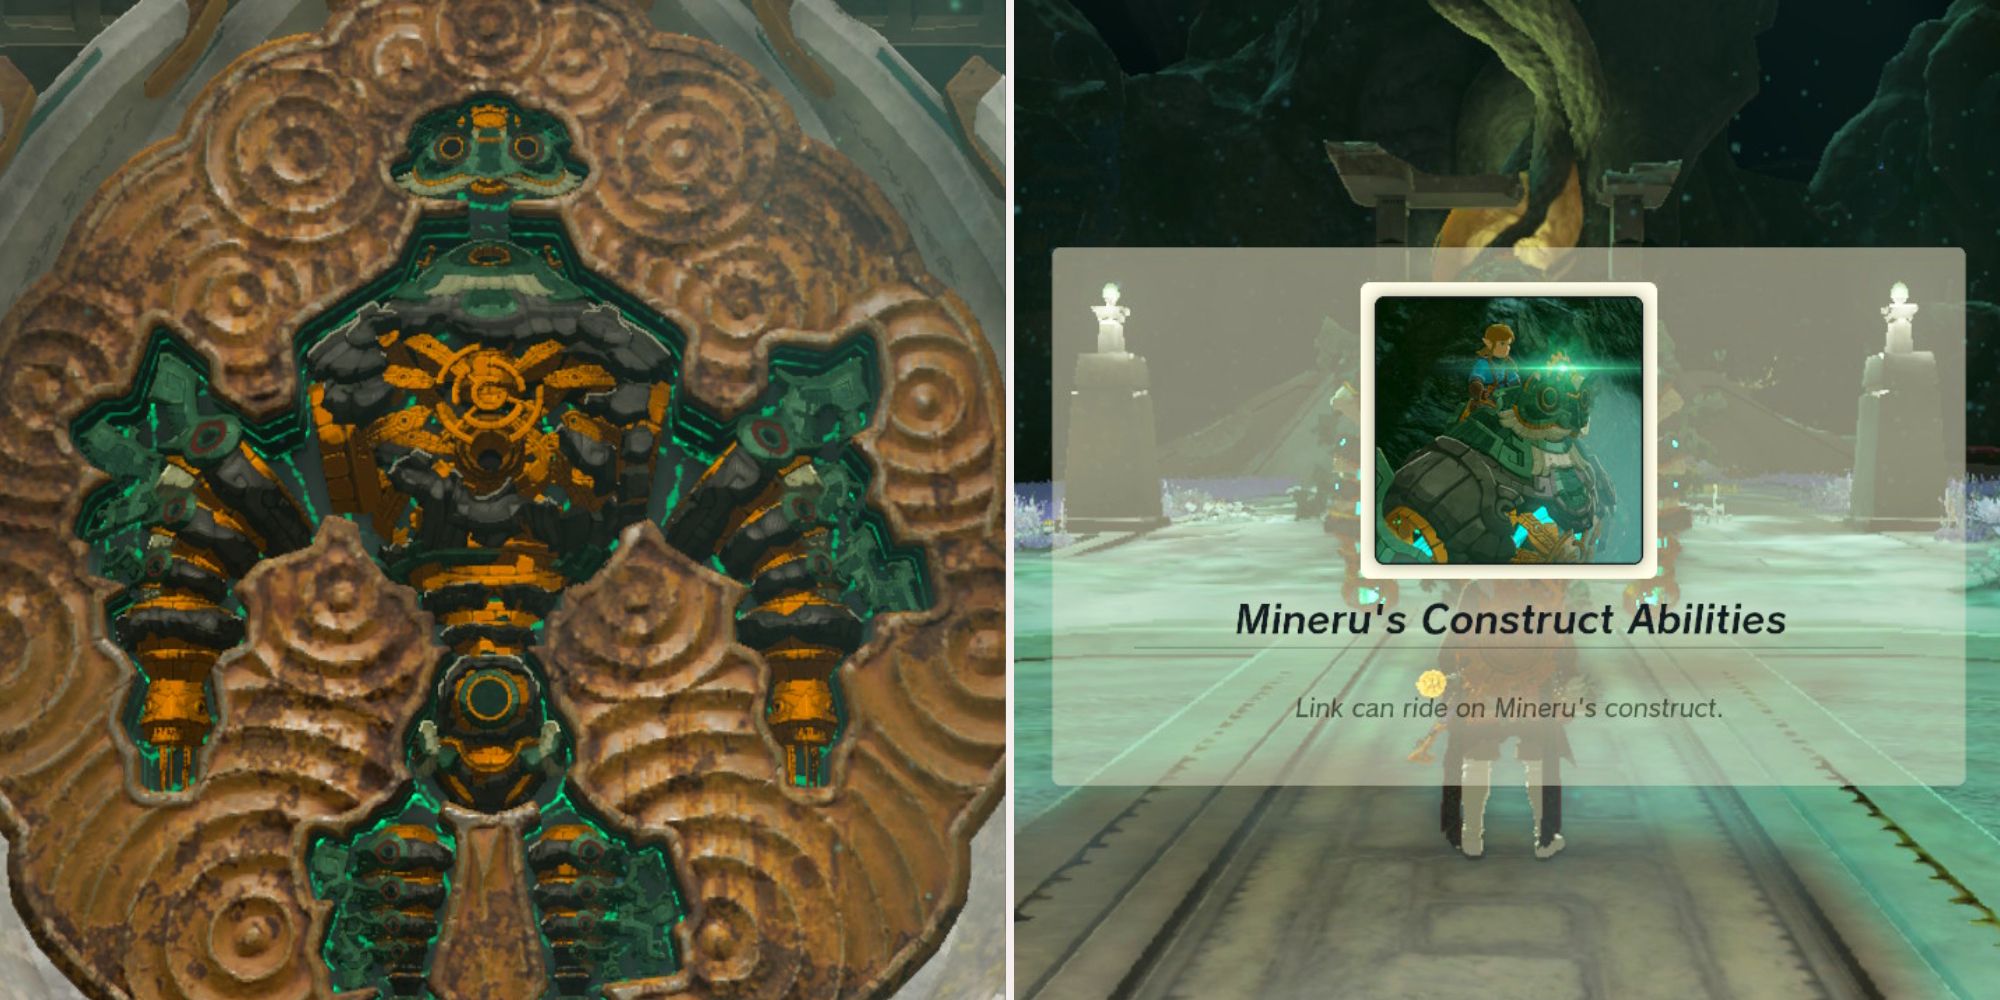
Link can now control Mineru’s Construct. You are able to attach weapons and items to each arm and the construct’s back. Go ahead and attach some weapons to the Construct from the armory at your location.
Continue to make your way to the waypoint Mineru marked on your map. Take the time to get used to the controls for piloting the Construct, and how movement works. Moving drains energy consistently from your Energy Cells, and resting the Construct will recharge it.
Piloting Mineru’s Construct across gloom-covered ground doesn’t damage Link, which will help with traversing the Depths.
To get to the waypoint, you’ll make your way through the Depths and stop at different armories along the way. As you go, you’ll come across different enemies, from Bokoblins to Lizalfos. Take the time to practice combat with the Construct. At times, it will be easier to hop off the Construct and fight as Link on the ground.
Make sure to utilize the different materials at each of the armories. For example, attaching a fan to the Construct’s back will help it run faster.
At one armory, you will eventually find a cannon. Attach this cannon, as it will be immensely useful in a short while.
Along the way you will reach another Lightroot. Activate the Sijotu Lightroot to light up the area, and help you recover any hearts you lost while fighting enemies to get here.
Keep going past the Lightroot and you’ll encounter a Hinox. It might be easier to hop off and fight on the ground to quickly deal with the Hinox.
Save the cannon, because right past the Hinox will be a ton of rocks and boulders blocking your way. There will also be a huge Zonaite deposit over here as well. You can use both the cannon on Mineru’s Construct and Yunobo’s ability to clear out all the rocks and Zonaite deposits.
The final armory before the Spirit Temple will have some more items you can attach, and you’ll need to fix a rocket on the back of the Construct to fly up a cliff.
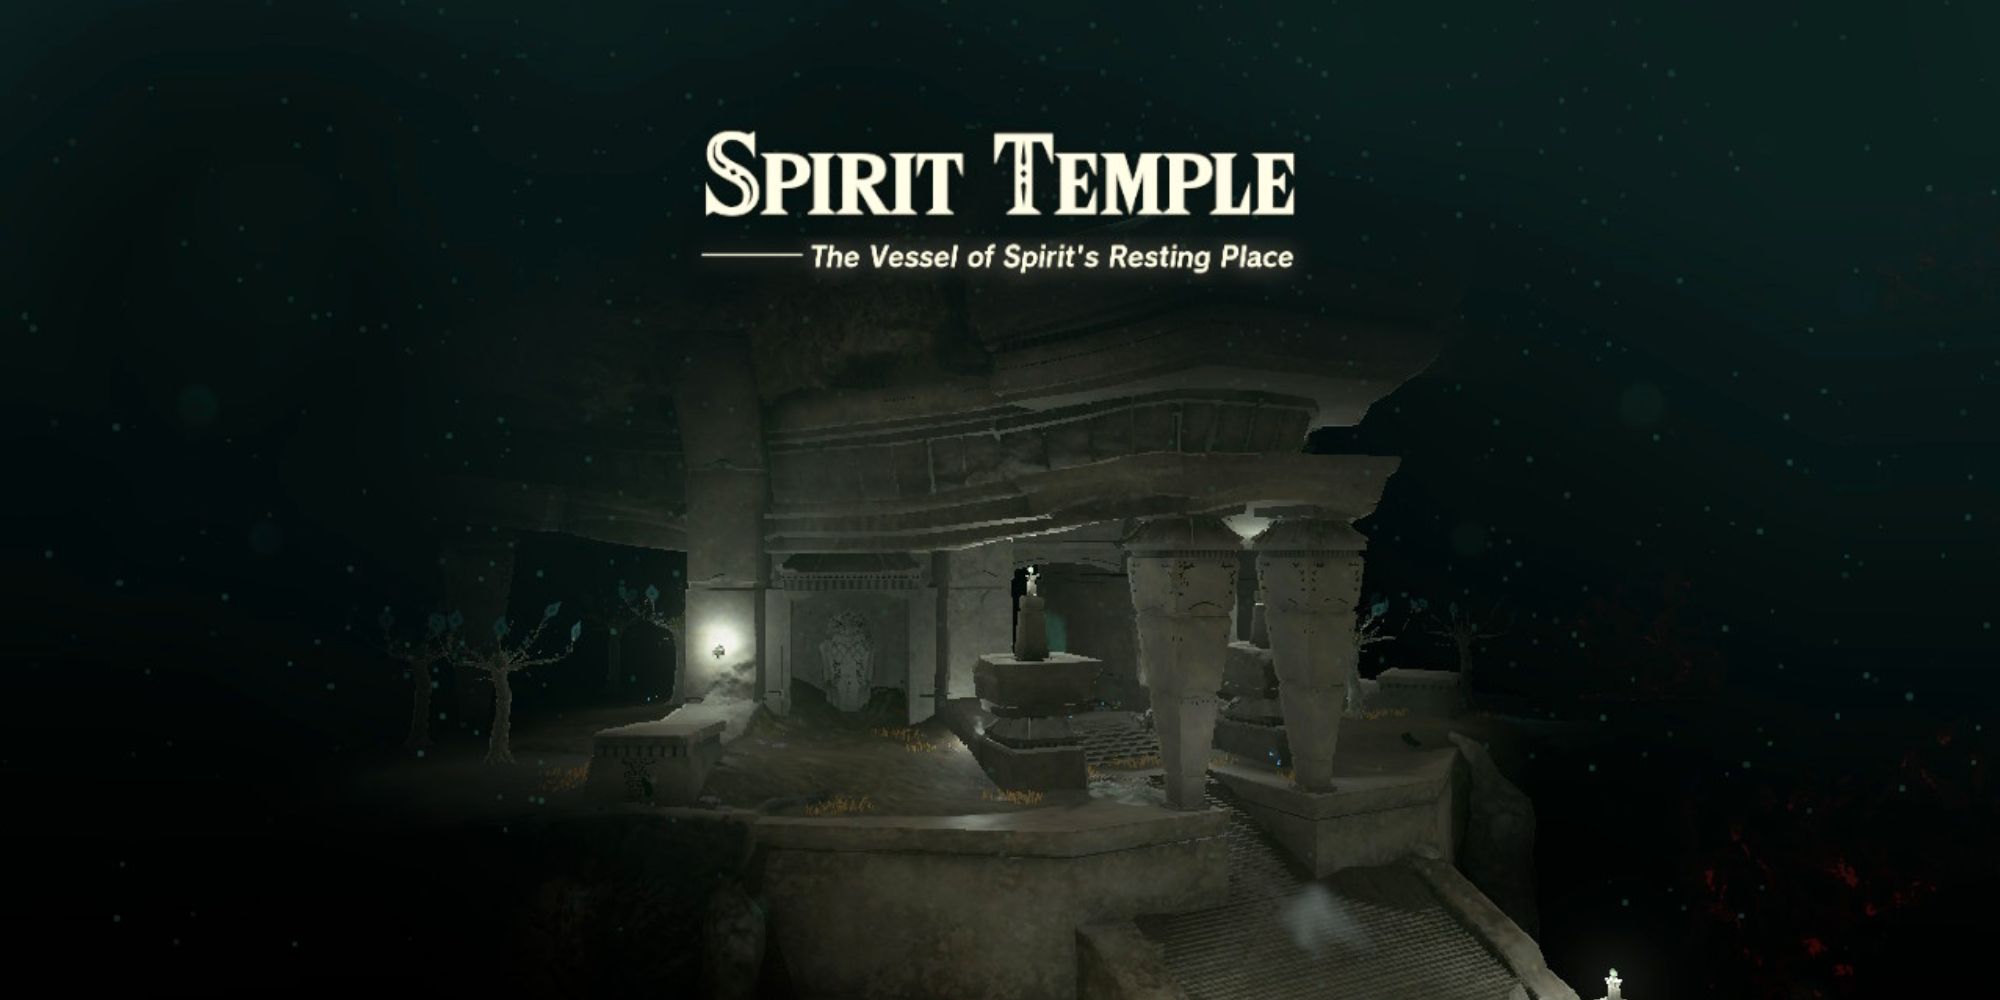
The Spirit Temple
Once you arrive at the Spirit Temple, Mineru’s Construct will have an interaction near the entrance. A teleport point will activate, and the platform you’re on begins to descend.
Once you reach the bottom, you will enter a large chamber with a raised platform. Gloom covers the ground, and at the other end of the room, you will see the secret stone. Only cross the platform when you are ready for an upcoming boss fight.
Seized Construct Boss Fight
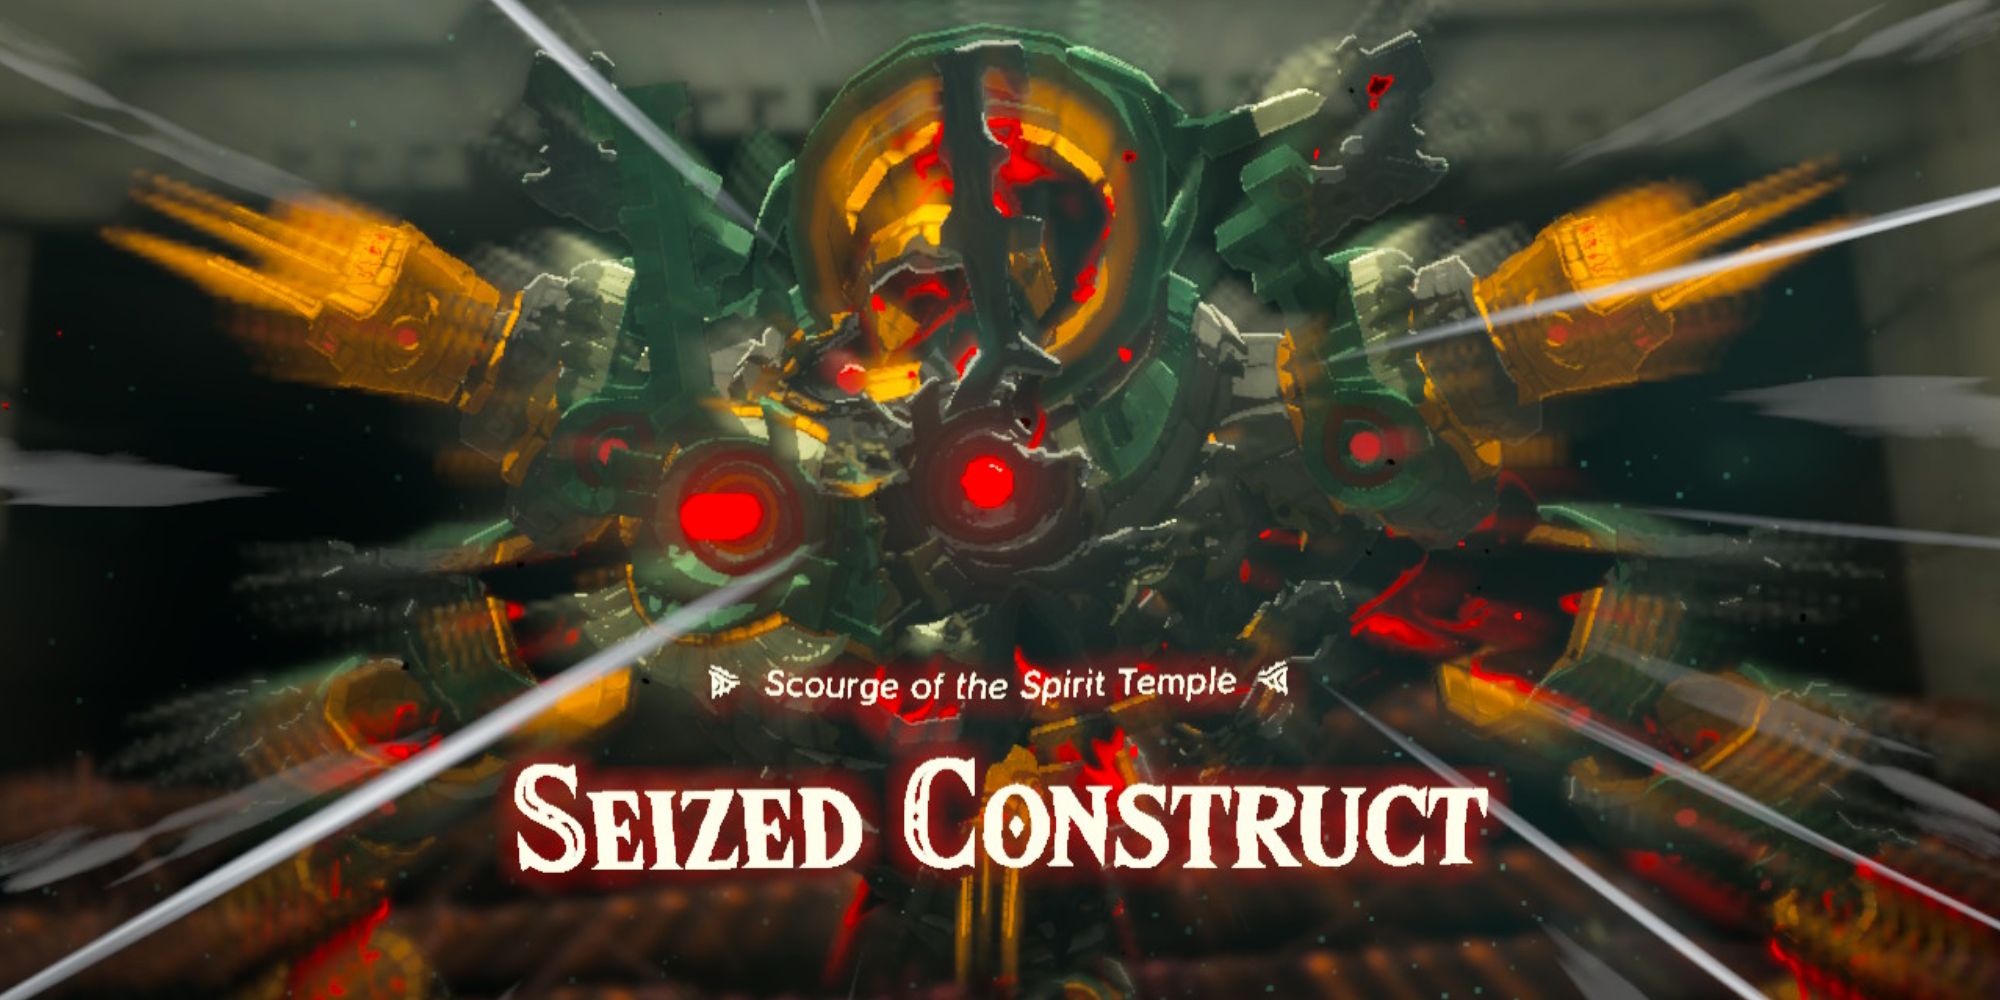
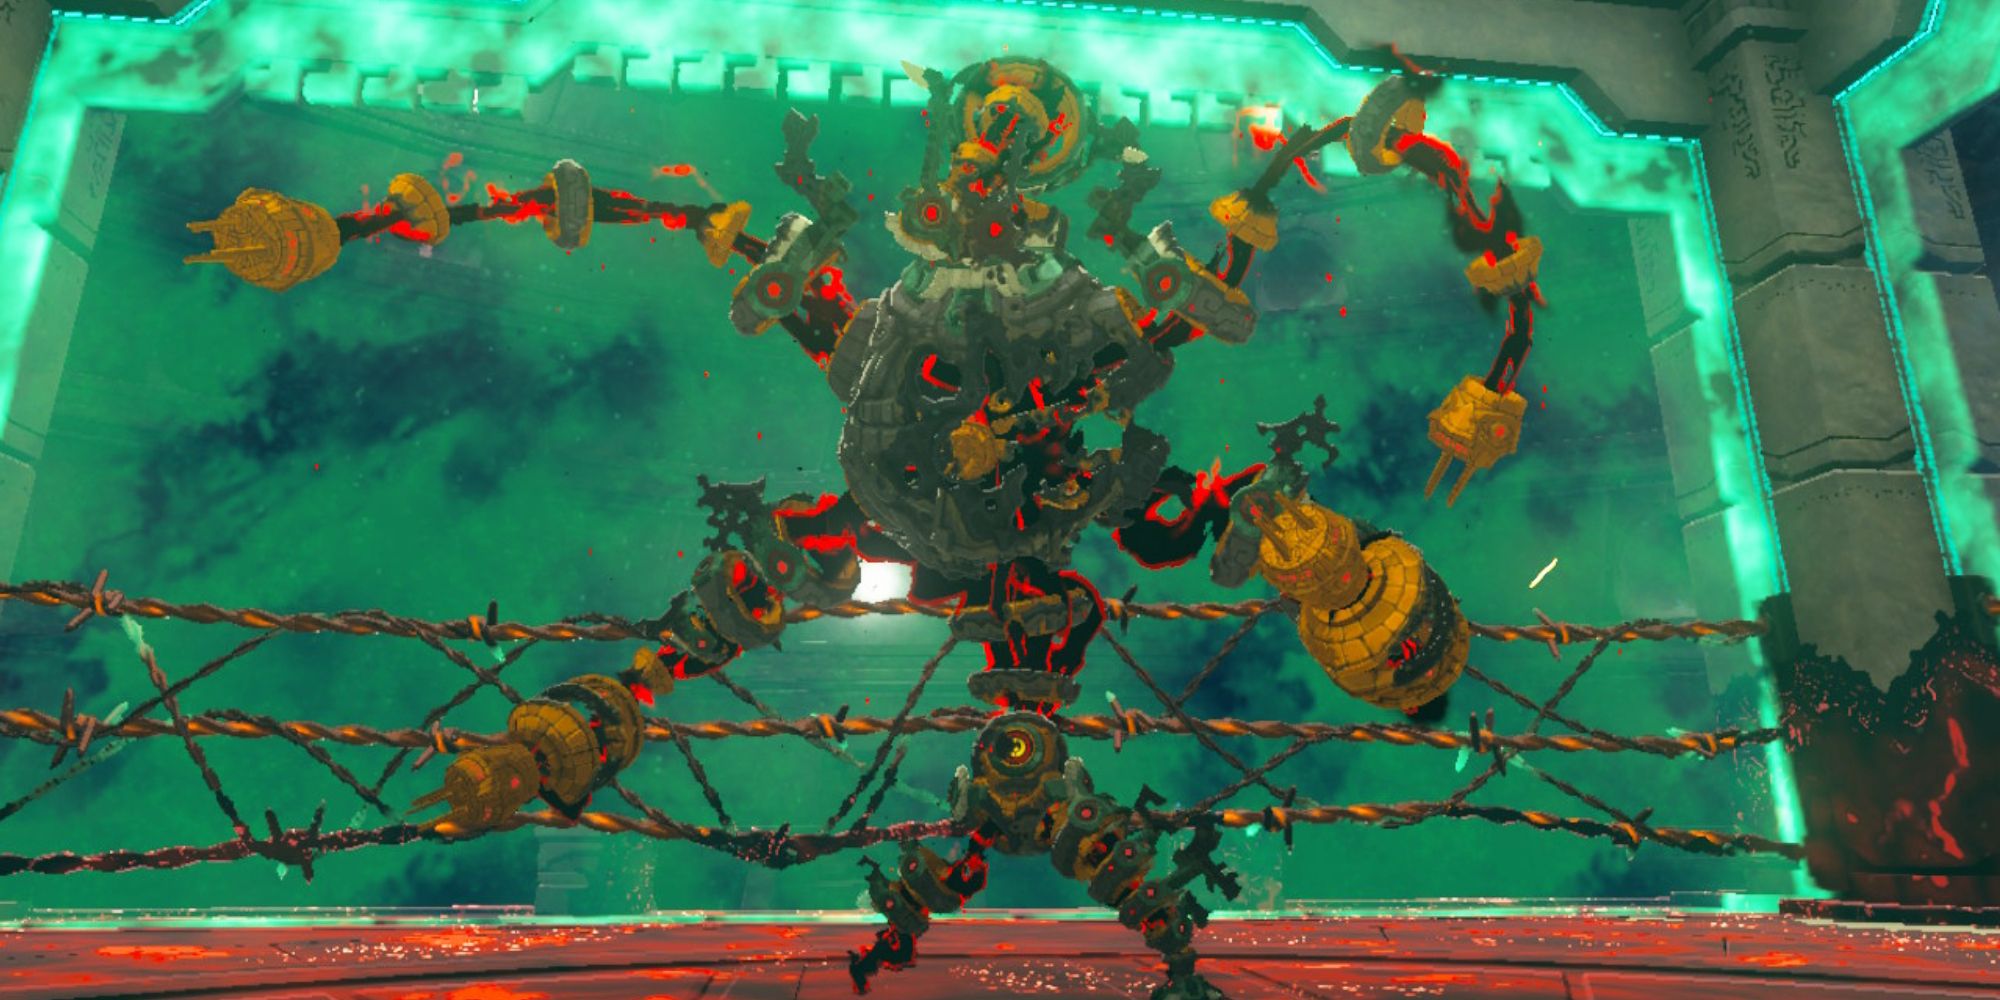
Crossing the room will initiate a boss battle with the Seized Construct, Scourge of the Spirit Temple. A former construct created by Mineru is hijacked by the gloom and traps you in a boxing ring surrounded by barbed wire. Getting to the Spirit Temple was all the practice you’re going to get piloting Mineru’s Construct, and you’ll need to use it to defeat your enemy.
Phase One
In the first phase of the fight, the Seized Construct will slowly make its way toward you with spiked balls attached to its hands. You can put your guard up to block its attacks, then proceed to use your own weapons to attack it back.
You will need to hit the Seized Construct into the barbed wire to deal the most damage.
Your attacks are slow, so when the Seized Construct winds up for an attack, it’s better to just guard.
Next, the Seized Construct will have cannons attached to its hands. You will need to close the distance between the two of you while it attacks you. Bob and weave side to side to avoid the cannon firing at you.
Since the Seized Construct drops its weapons after you hit it against the barbed wire, you need to attach the dropped cannons to Mineru’s Construct. This will make the next phase of the fight much easier.
On the third try, the Seized Construct will have Shock Emitters attached to its arms. It will slowly come at you while waving its arms around, so just sidestep out of the way. Repeat your attacking process like before, and you’ll knock it down to half health.
Phase Two
In the second phase of the fight, the Seized Construct not only gets two additional arms, but it also begins to hover off the ground.
Since you should have attached a cannon from phase one of the fight, use that cannon to shoot the Seized Construct down from its flight. Once it’s on the ground, attack it, pushing it into the barbed wire.
After a couple of cycles of these attacks, you will defeat the Seized Construct. Pick up the Heart Container you receive from the boss, and continue on to the secret stone. Mineru will talk to you and join you as the Sage of Spirit.
Completing Guidance From Ages Past
Mineru recounts much of the story beats to you that you may have missed if you haven’t been doing The Dragon’s Tears main quest. How certain scenes play out depends on whether you have retrieved the Master Sword.
If you don’t have the Master Sword, Mineru will give you additional hints about its whereabouts and task you with retrieving it next.
If you already have the Master Sword, those quests will already be completed, and you will need to report back to Purah at Lookout Landing to begin the final quest, Destroy Ganondorf.
#Complete #Guidance #Ages #Tears #Kingdom

Comments