
Wi-Fi is the most convenient method to connect to the Internet. Wired connections are so underused many thin and light laptops do not even have a LAN Port anymore. And thus, the sudden disappearance of the Wi-Fi option can definitely make you pull your hair out.
Fortunately, the issue is typically software-related and hence can be easily resolved using the methods mentioned here in this guide.
1. Restart Your PC
Restarting your PC might seem basic or even unnecessary. However, sometimes there could have been an issue with the update, or a third-party service/software might be creating an issue.
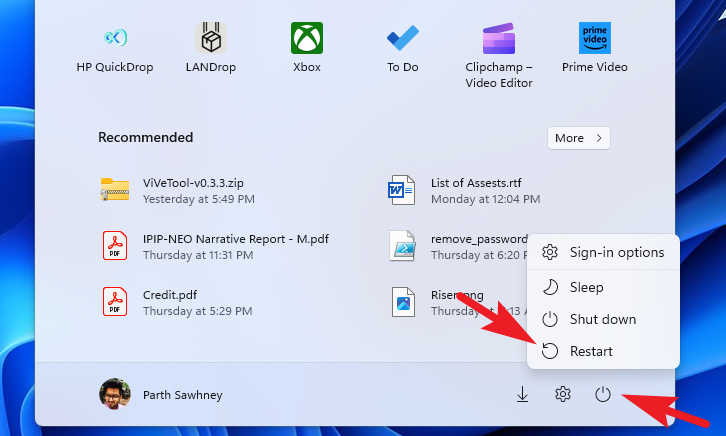
Head to the Start Menu and click on the ‘Power icon’. Then, select the ‘Restart’ option.
2. Check the Physical Wireless Switch
Some laptops have a physical switch that can turn off wireless. Check your laptop’s user manual or look for a switch on the sides of the laptop or a keyboard function key that may control this feature and make sure you haven’t accidentally turned it off.
3. Run Internet Connections and Network Adapter Troubleshooter
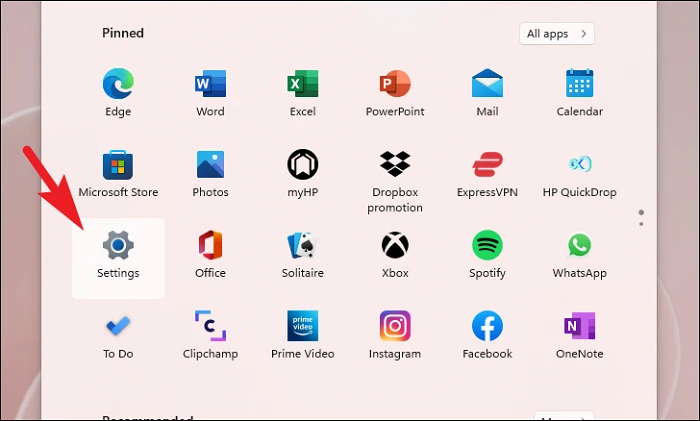
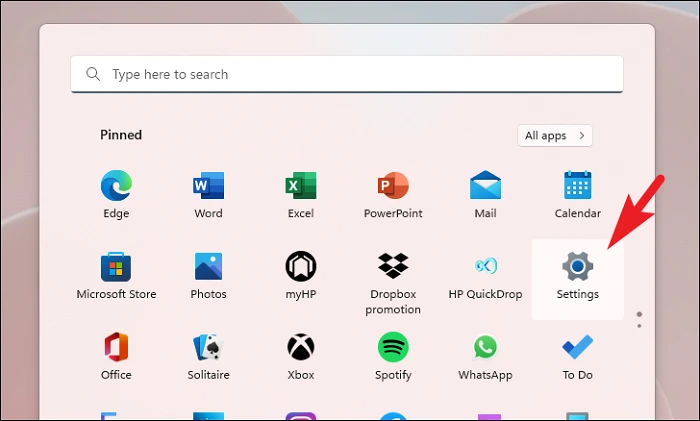
First, open the Start Menu and click on the ‘Settings’ tile to proceed.
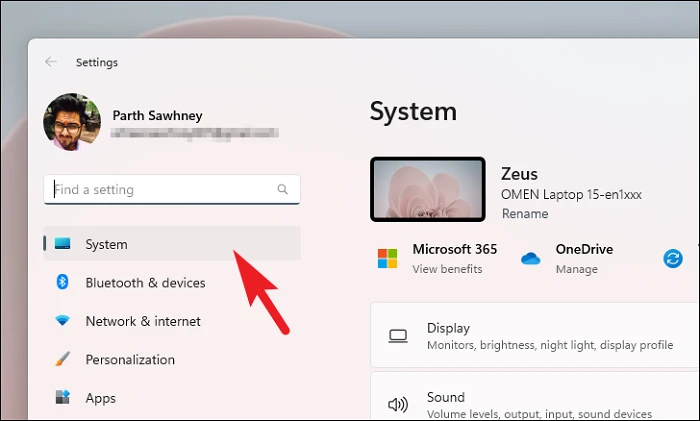
Then, click on the ‘System’ tab from the left sidebar to continue.
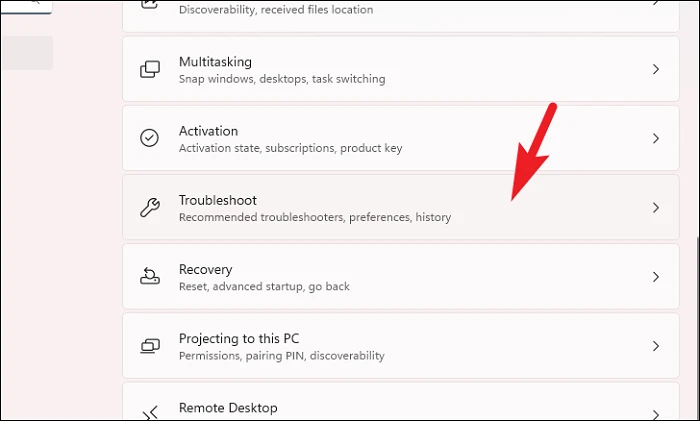
Next, from the right section, click on the ‘Troubleshoot’ tile.
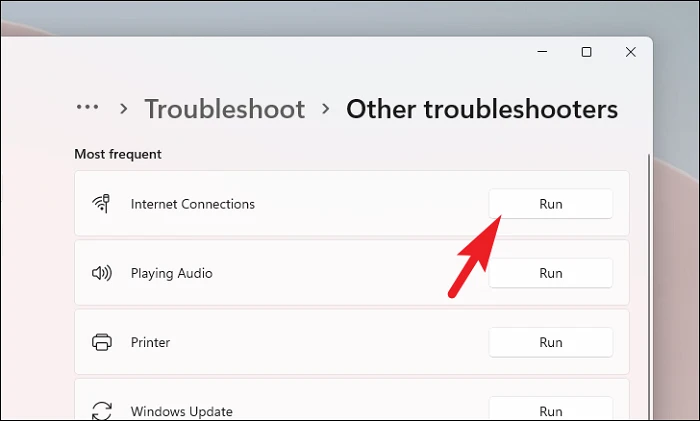
Afterward, click on the ‘Other troubleshooters’ tile.

On the next screen, click the ‘Run’ button following the ‘Internet Connections’ tile.
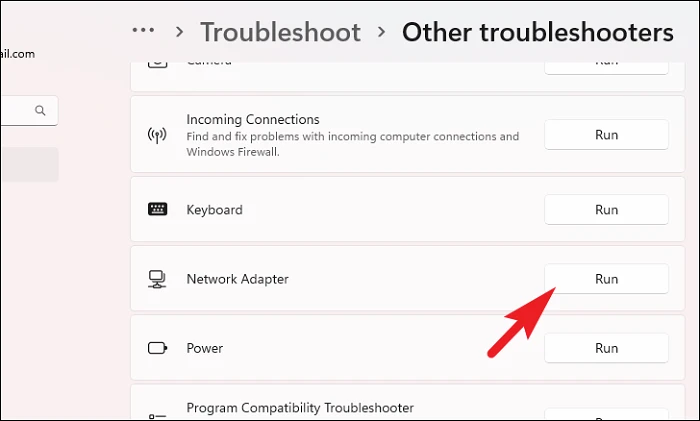
If the ‘Internet Connection’ troubleshooter is not able to resolve the issue, you can also run the ‘Network Adapter troubleshooter’.
To run the Network Adapter troubleshooter, click on the ‘Run’ button present on the ‘Network Adapter’ tile.
After that, select the ‘Wi-Fi’ option and click ‘Next’.
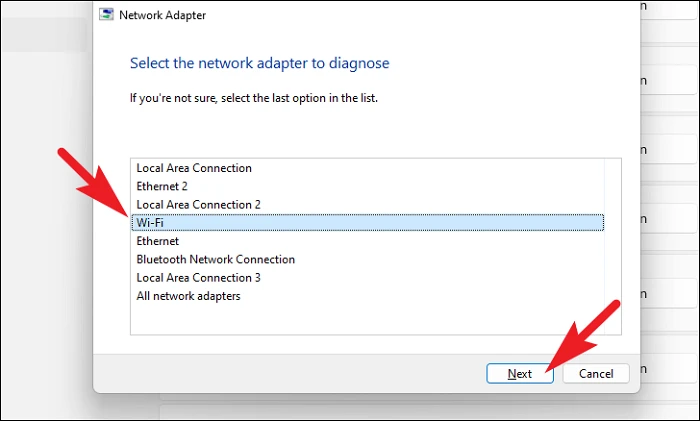
Windows will now check for errors in the network adapter and report back with anomalies, along with the suggestive steps to resolve the issue.
4. Enable Wi-Fi Adapter
There is a possibility that your Wi-Fi adapter has been turned off, and that could be the main culprit behind the issue.
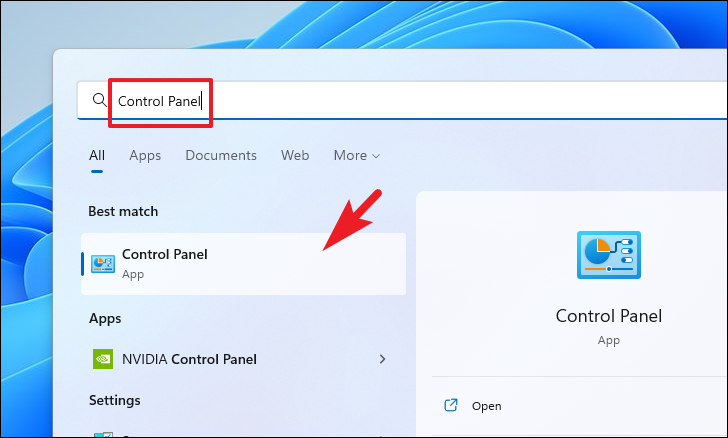
To do so, first head to the Start Menu and type Control Panel to perform a search for it. Then, click on the ‘Control Panel’ tile.
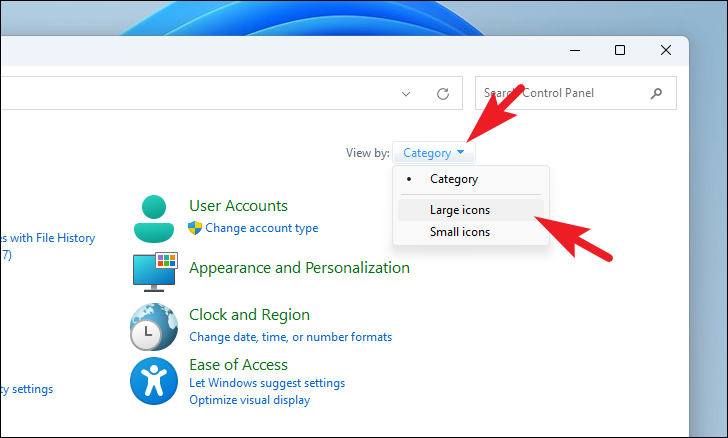
Then, from the Control Panel window, click on the drop-down menu present in the top right corner of the window and select the ‘large icons’ category to continue.
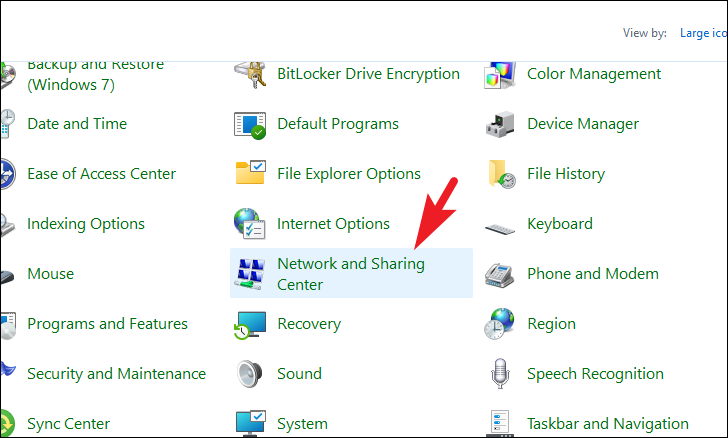
After that, locate and click on the ‘Network and Sharing Center’ tile to proceed.
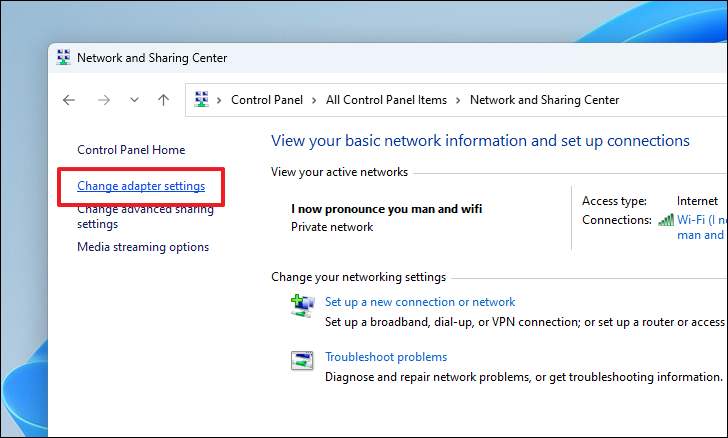
Now, click on the ‘Change adapter settings’ option from the left sidebar to continue. This will open a new window on your screen.
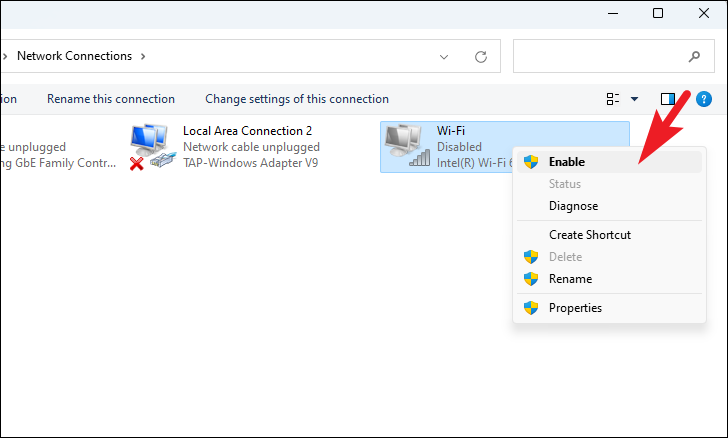
After that, from the separately opened window, locate the ‘Wi-Fi’ adapter and right-click on it to reveal the context menu. Then, click on the ‘Enable’ option from the list to continue.
5. Update Wi-Fi Driver
Updating your drivers is pretty elementary. However, if they haven’t been updated lately, there’s a pretty good chance you will be able to fix the solution by doing this simple step.
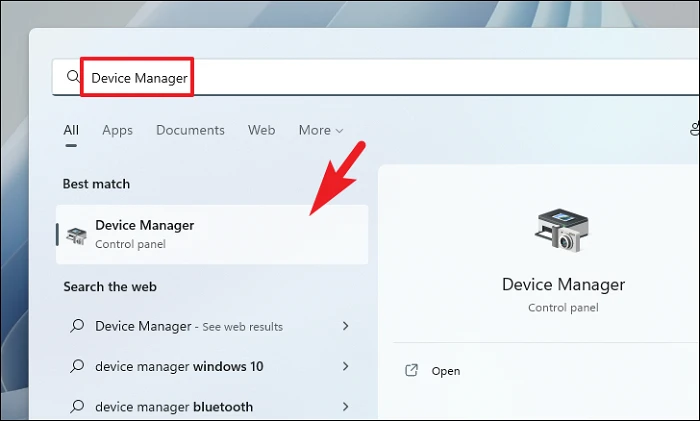
First, head to the Start Menu and type Device Manager to perform a search. Then, from the search results, click on the ‘Device Manager’ tile.
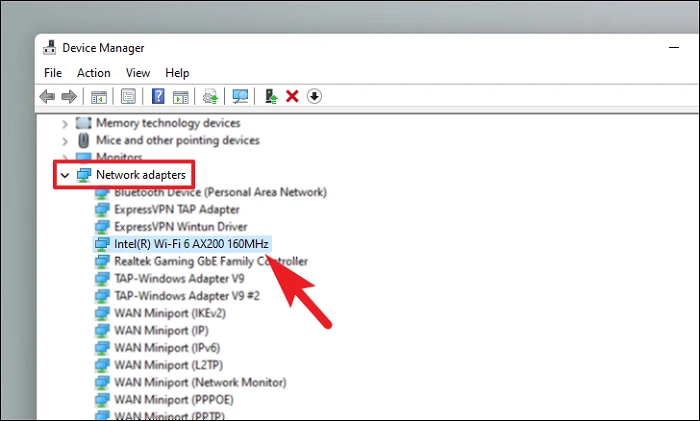
Afterward, locate and double-click on the ‘Network adapters’ option. Once the category expands, find the Wi-Fi component and double-click on it. This will open a separate ‘Properties’ window on your screen.
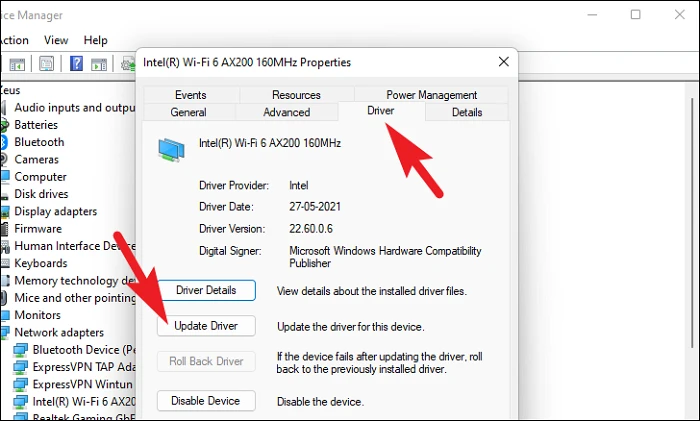
Then, click on the ‘Driver’ tab present on the WiFi properties window. After that, locate and click on the ‘Update Driver’ button to continue. This will again open a separate window on your screen.
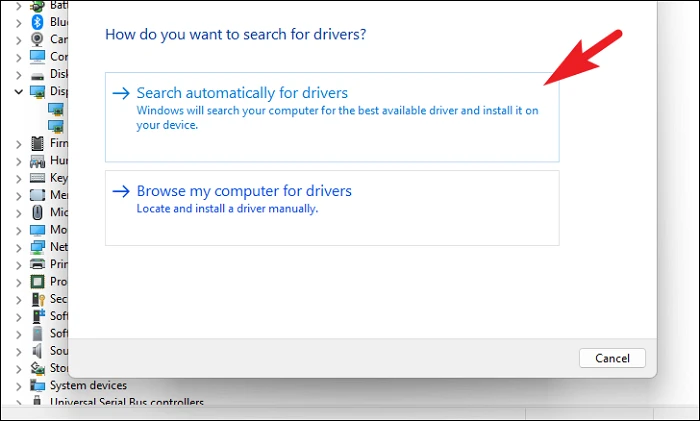
Now, click on the ‘Automatically update drivers’ option if you desire to let Windows find a driver for the installed component. Otherwise, if you already have a package downloaded, click on the ‘Browse my computer for drivers’ option.
6. Install or Roll Back Windows Update
Though Windows typically manages updates itself, if you had them turned off, an outdated system can also be the reason for the issue. On the flip side, if you are facing an issue after a recent system update, rolling back to the previous build can resolve the issue.
To update the system, head to the Start Menu and click on the ‘Settings’ tile to proceed.
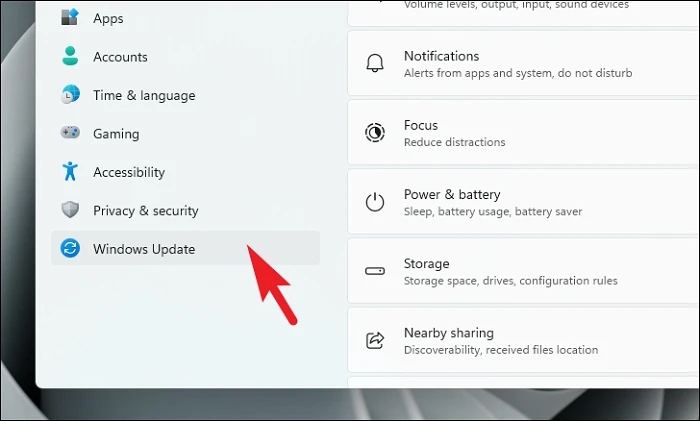
After that, ensure you have selected the ‘Windows Update’ tab from the left sidebar.
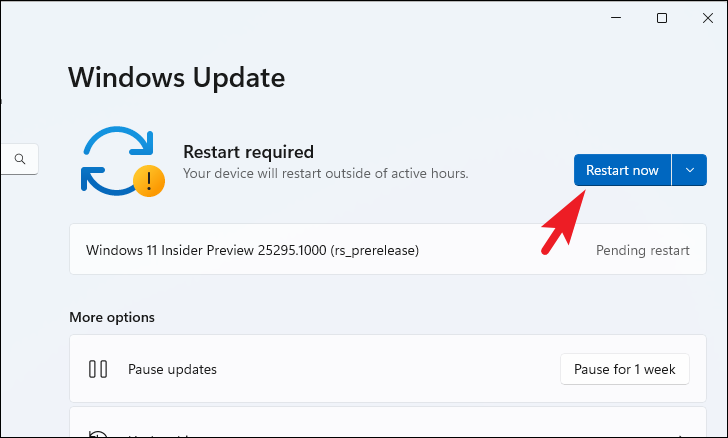
Then, from the right pane, click on the ‘Download & install/Restart now’ to install pending updates.
Once the updates are installed, check if the issue has been resolved.
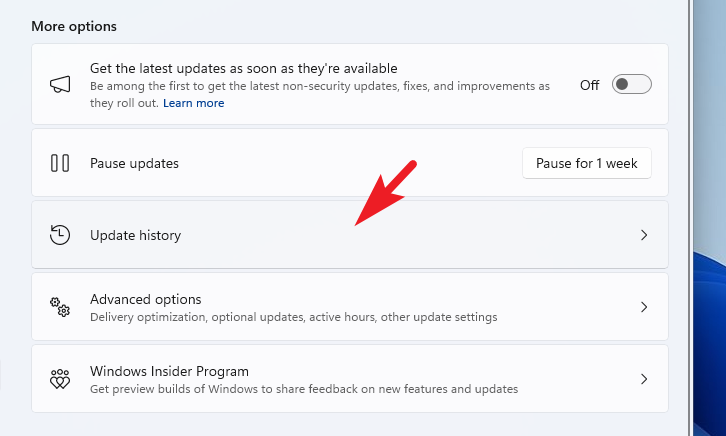
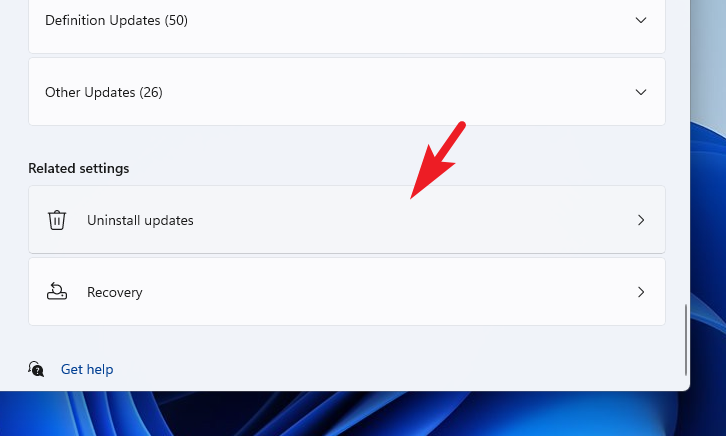
To uninstall recent updates from the Windows Update screen, click on the ‘Update history’ tile to continue.
After that, scroll down to the bottom of the page and click ‘Uninstall Updates’ to proceed.
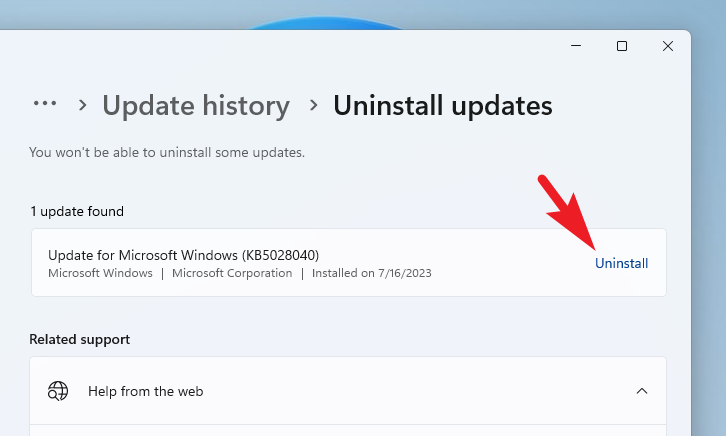
On the next screen, you shall be able to see all the recently installed updates with their timestamp. Click ‘Uninstall’ on the most recent update. This will bring an alert window to your screen.
Provide the confirmation to delete the update by clicking on ‘Uninstall’.
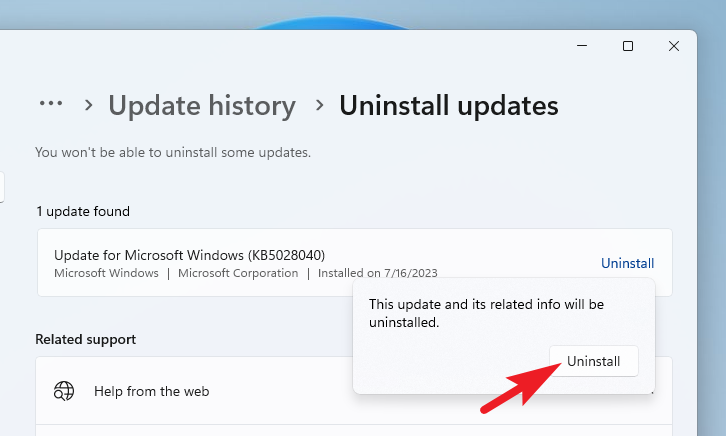
Once the update has been successfully uninstalled, restart your PC and check if the issue has been resolved.
7. Ensure WLAN Service is Turned On
When your device boots up, several services start along with it. Hence, if the WiFI option suddenly disappeared or is greyed out on your device, it is worth ensuring that the service responsible for WiFi is working properly and is scheduled to turn on along with Windows.
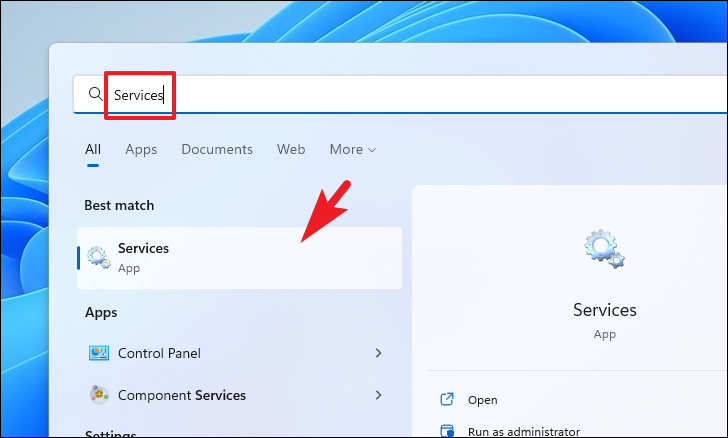
To open the list of services, head to the Start menu and type Services to perform a search. Then, from the search results, click on the ‘Services’ tile to open it.
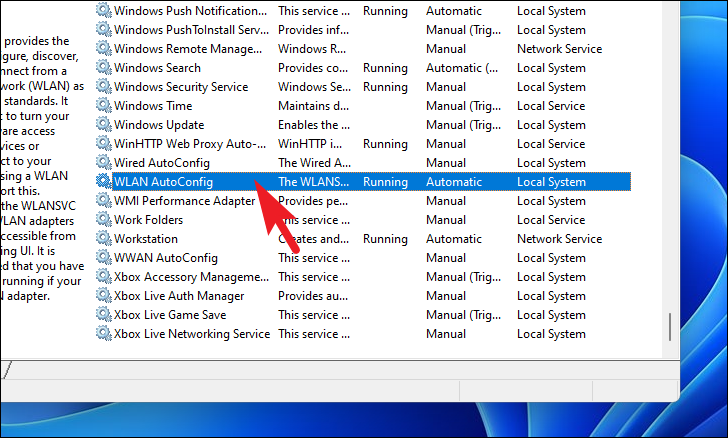
Then, on the Services window, scroll down to locate and double-click on the ‘WLAN AutoConfig’ service to open its properties. This will open a separate window on your screen.
Tip: Once on the Services window, press the ‘W’ key on your keyboard to directly jump to services starting with the alphabet.
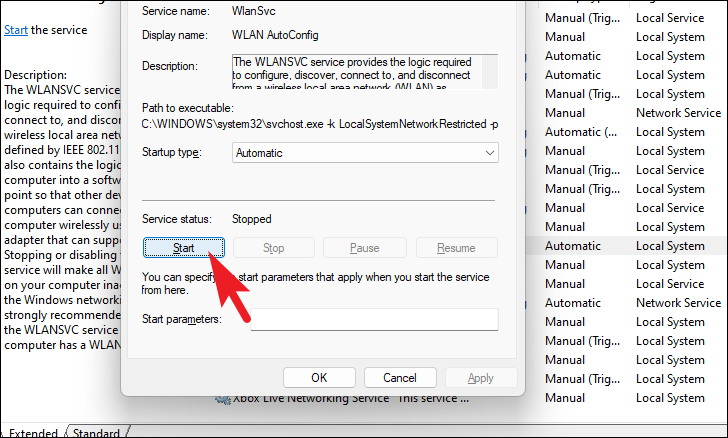
From the separately opened window, on the ‘General’ tab, navigate to the ‘Service status’ option and make sure it displays ‘Running’. Otherwise, click on the ‘Start’ button,
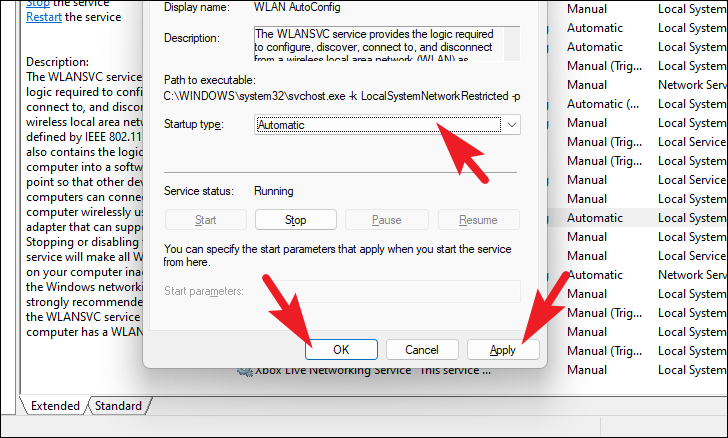
Next, navigate to the ‘Startup type’ option and click on the drop-down menu following it. Then, select the ‘Automatic’ option to start the service automatically when Windows starts. After that, click ‘Apply’ and ‘OK’ to save the changes.
8. Adjust Wi-Fi Adapter Properties
First, head to the Start Menu and type Device Manager to perform a search for it. Then, from the search results, click on the ‘Device Manager’ tile to proceed.

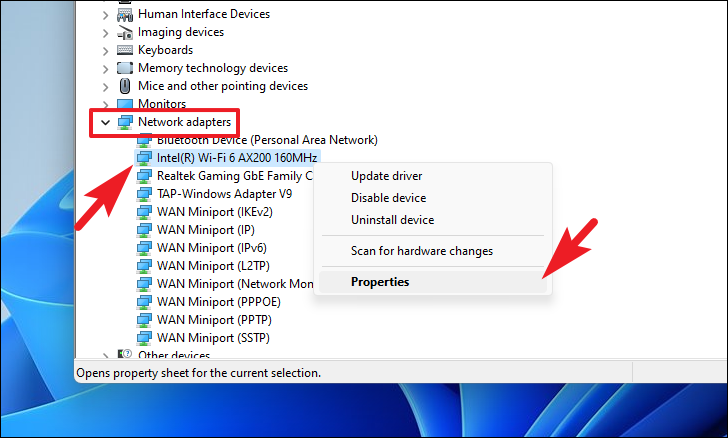
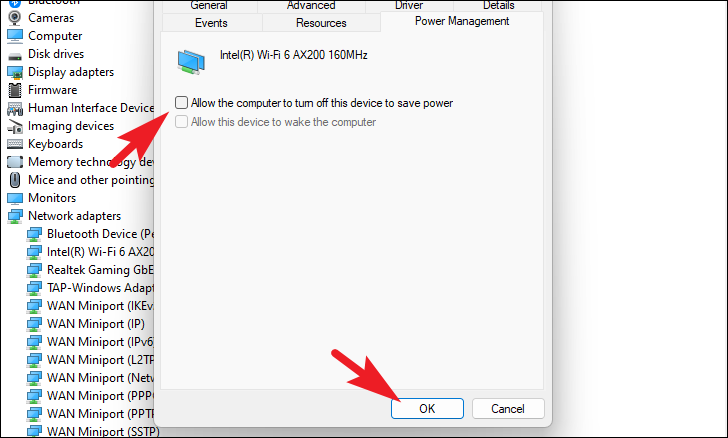
On the Device Manager screen, locate and double-click on the ‘Network adapter’ option. Then, right-click on the ‘WiFi’ sub-category and select the ‘Properties’ option.
From the properties window, click on the ‘Power Management’ tab and then uncheck the ‘Allow the computer to turn off this device to save power’. Once done, click ‘OK’ to save changes.
9. Reset Network Components
Resetting all network components like Firewall settings, TCP/IP settings, renewing the IP configuration lease, Windows socket, and flushing the DNS will eliminate any underlying issues.
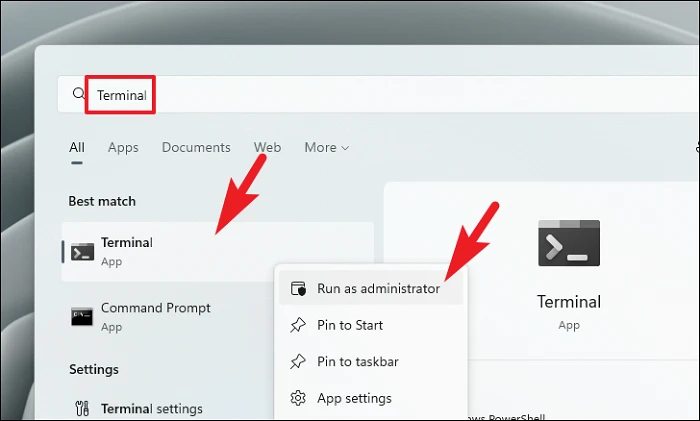
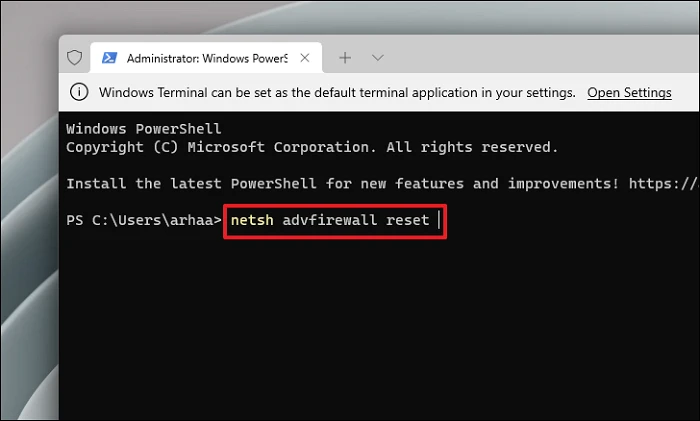
First, head to the Start Menu and type Terminal to perform a search. Then, from the search results, right-click on the ‘Terminal’ tile and select ‘Run as administrator’.
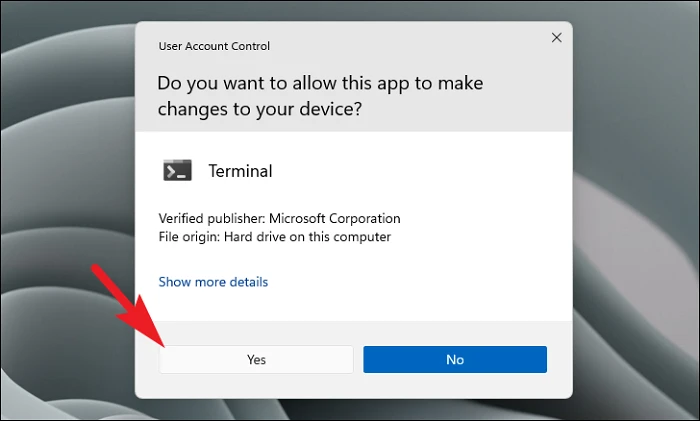
Now, a UAC (User Account Control) window will appear on your screen. If you are not logged in with an admin account, enter the credentials for one. Otherwise, click on the ‘Yes’ button.
Then, click the chevron (downward arrow) and select the ‘Command Prompt’ option.

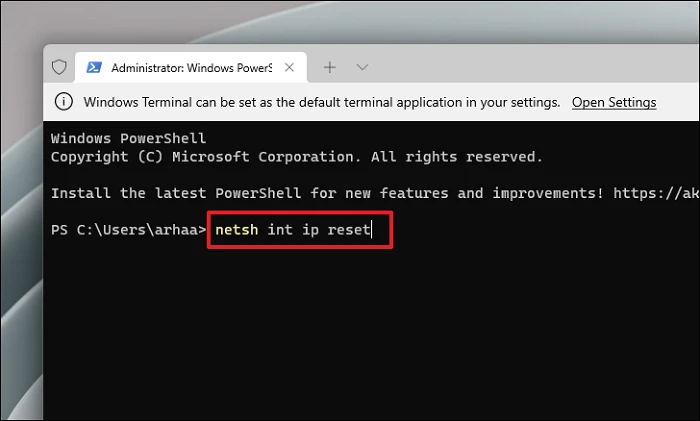
After that, type or copy+paste the below-mentioned command and hit Enter to execute.
netsh int ip reset
Similarly, type or copy+paste the below-mentioned commands one by one and hit Enter after entering each command to execute them individually.
netsh advfirewall reset
netsh winsock reset
ipconfig /flushdns
ipconfig /release
ipconfig /renew
After executing all the commands, restart your PC and check if the issue has been resolved.
10. Perform Network Reset
If no fix seems to be working, you can uninstall and reinstall all network adapters on your device. However, be aware that by doing this, all your saved network credentials will be reset.
First, head to the Start Menu and click on the ‘Settings’ tile.
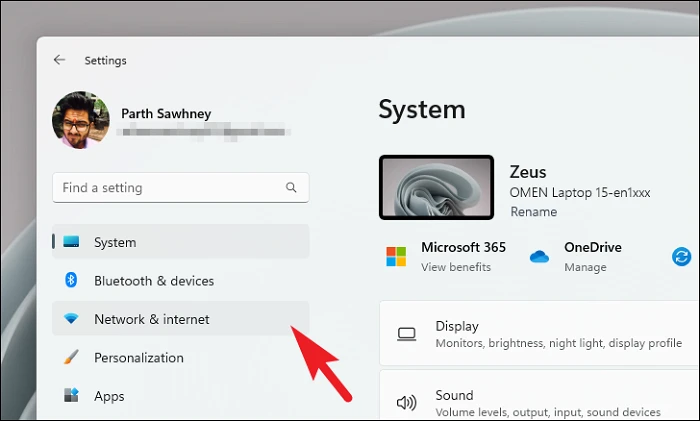
Next, from the left sidebar present on the ‘Settings’ window, click on the ‘Network & internet’ tab.
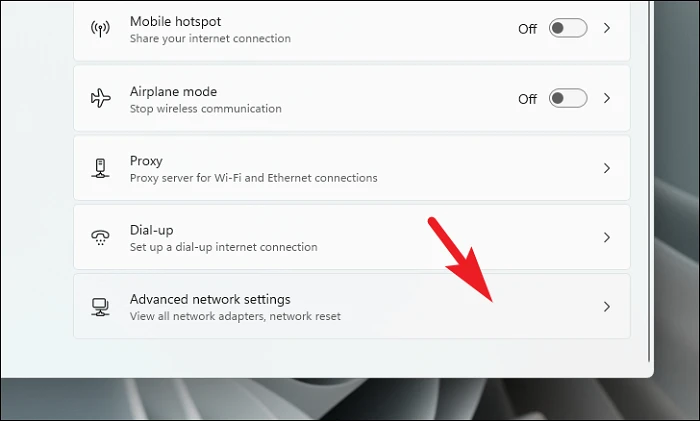
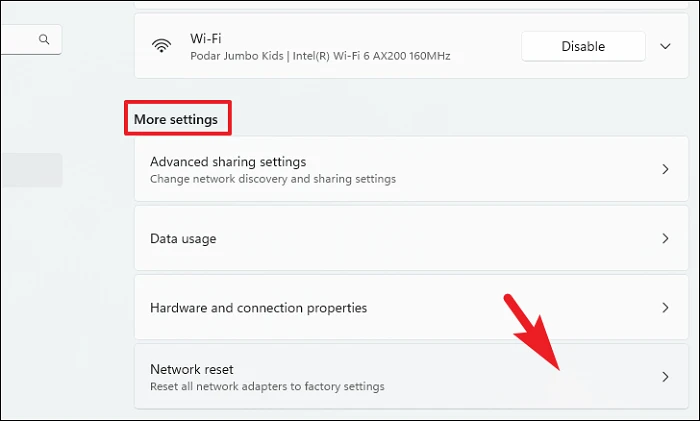
Now, from the right section, click on the ‘Advanced network settings’ tile to proceed.
On the next screen, click on the ‘Network reset’ tile.
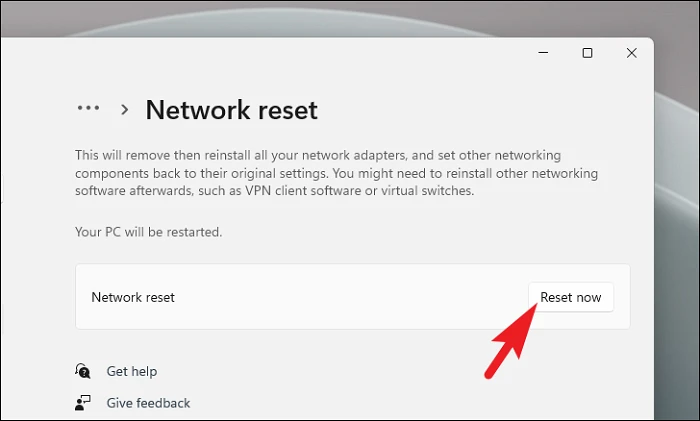
Afterward, click on the ‘Reset now’ button. This will restart your PC.
Note: This will completely uninstall and reinstall all the network adapters on your device. It will also uninstall any VPN software and virtual switches you might have installed on your system.
11. Perform a Clean Boot
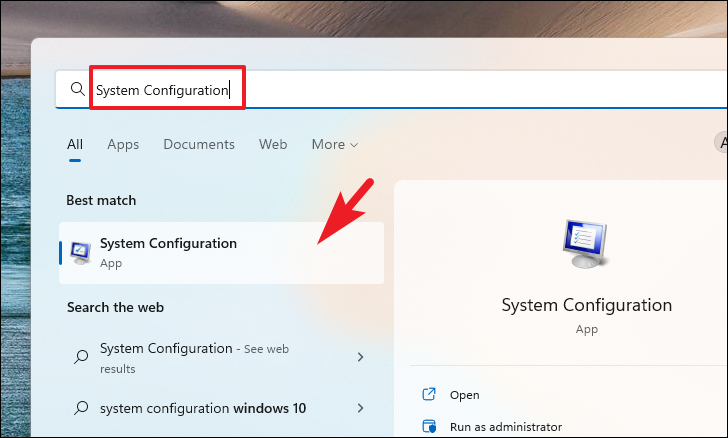
First, head to the Start Menu and type System Configuration. Then, from the search results, click on the ‘System Configuration’ tile.
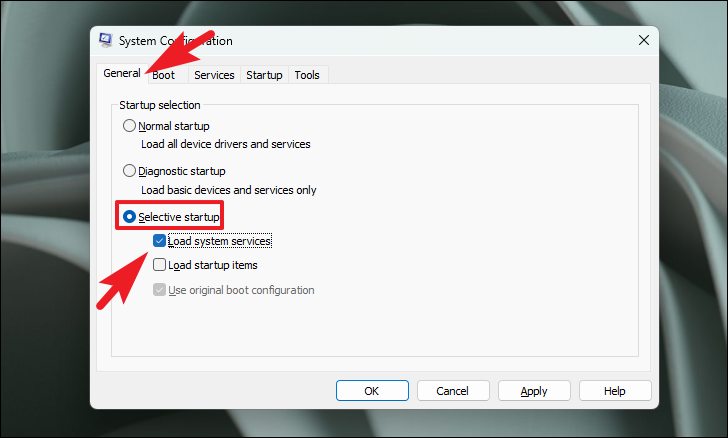
Then, click on the ‘General’ tab and select the ‘Selective startup’ option. Afterward, check the ‘Load system services’ option.
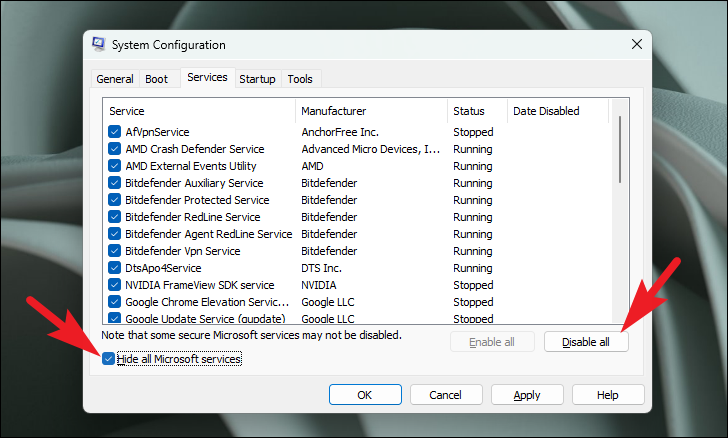
Now, head to the ‘Services’ tab and click the ‘Hide all Microsoft services’ option. After that, click on the ‘Disable all’ button.
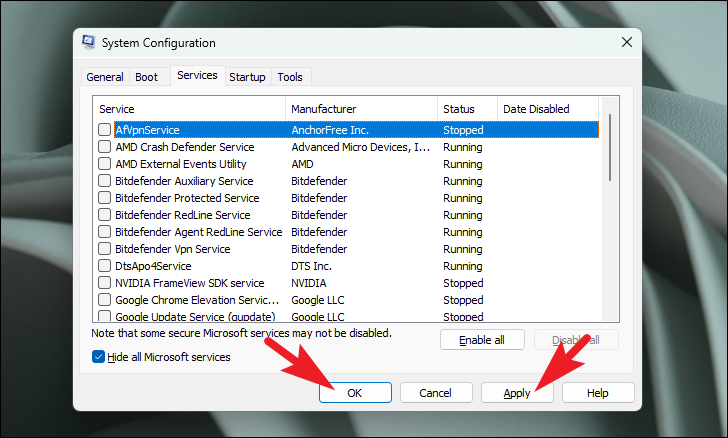
Finally, click the ‘Apply’ and ‘OK’ buttons to save the changes and close the window.
Now restart your PC from the Start Menu and try resetting your PC from the Settings and check if the issue has been resolved.
12. Roll Back to System Restore Point
In case nothing from the above method seems to be working for you, it is time to bring out the big guns. If you created a system restore point before you started facing this issue, you can roll back to the restore point. However, do remember that any apps or data present on the system after the restore point will be lost.
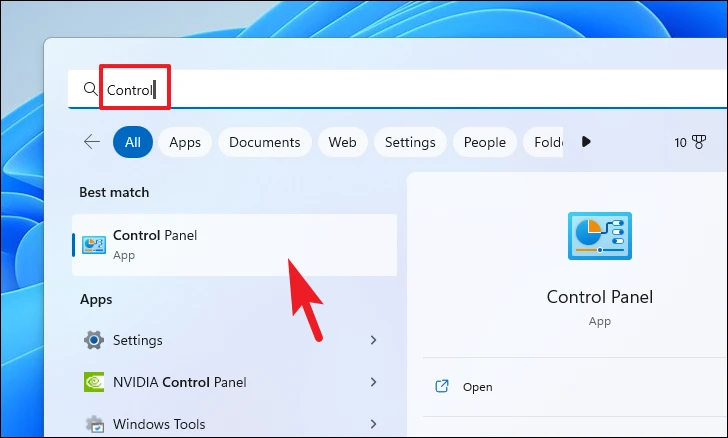
Head to the Start menu and type Control. Then, from the search results, click on the ‘Control Panel’ tile to proceed.
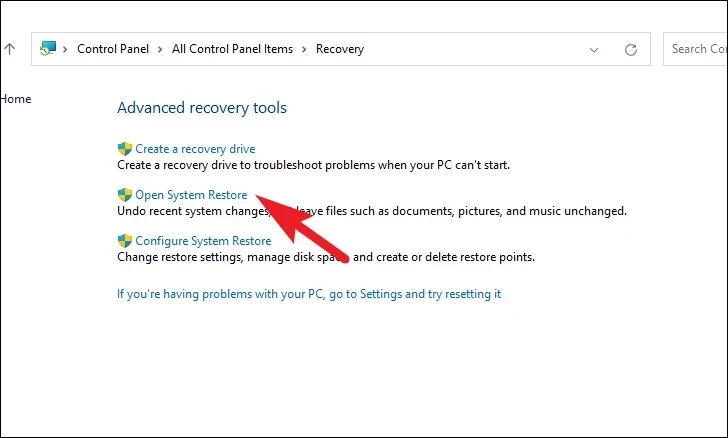
After that, locate and click on the ‘Recovery’ tile from the grid of icons.

Next, click on the ‘Open System Restore’ option from the list. This will open a separate window on your screen.
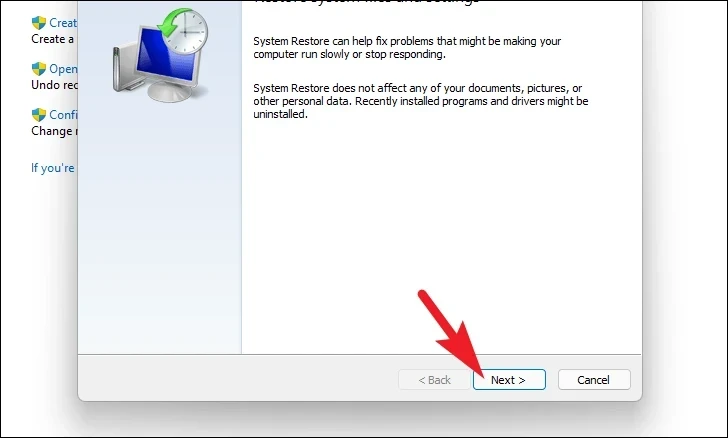
From the separately opened window, click on the ‘Next’ button.
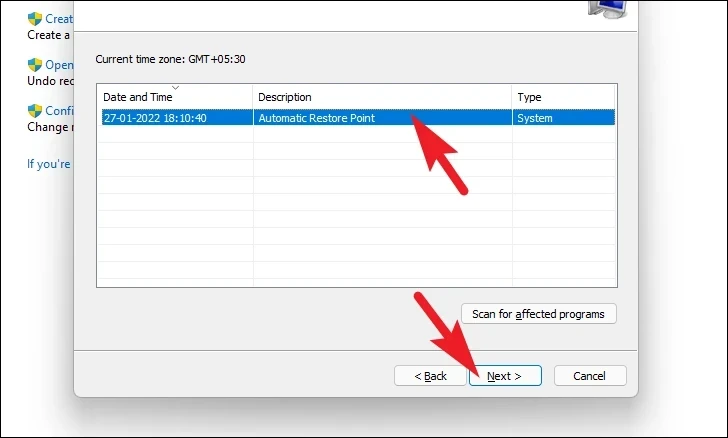
All created system restore points will be listed on the screen. Click to select the desired one and then click ‘Next’ to initiate the rolling back process.
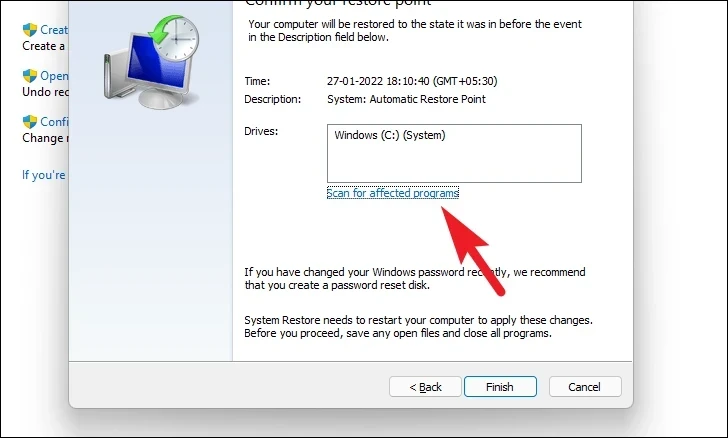
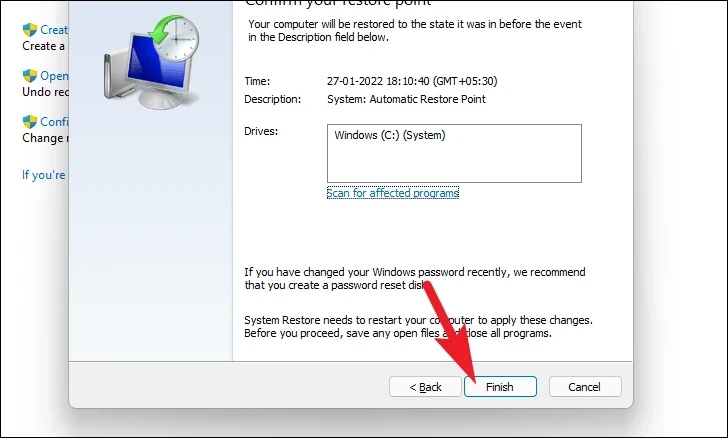
On the next screen, a list of drives that the rollback will impact will be displayed, along with the timestamp of the restore point. Click ‘Scan for affected programs’ to see a list of impacted programs. A new window will appear on your screen.
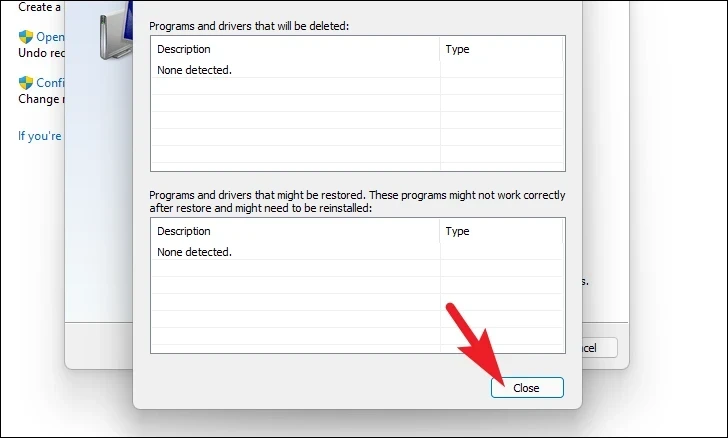
On the new window, you can view the programs that will be deleted and the ones that will be restored. Click on the ‘Close’ button to navigate to the previous window.
Finally, click the ‘Finish’ button to initiate the rollback process.
13. Reset Your PC
In case no method has been able to fix the issue on your PC, the last resort is to reset your PC. Thankfully, you will not lose your personal files and folder. However, resetting your PC removes all the programs that you have installed and also bring all the setting to their default configurations.
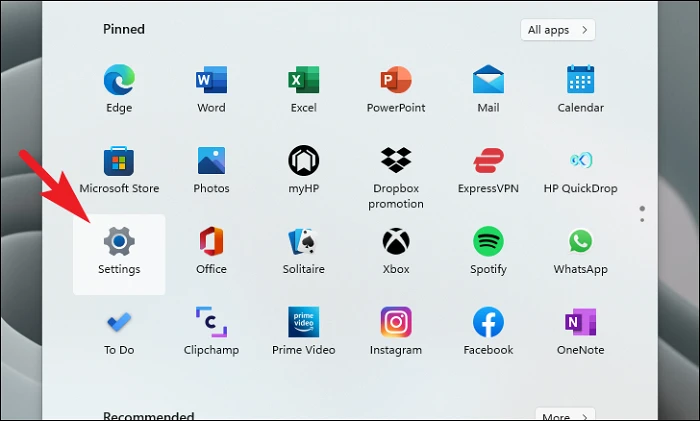
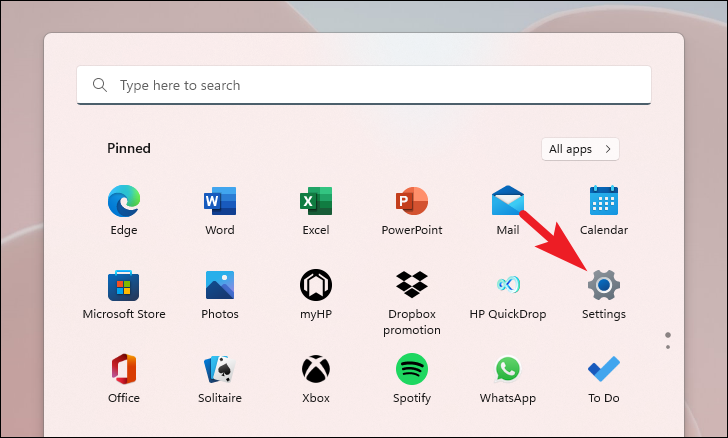
To reset your PC, head to the Start Menu and click on the ‘Settings’ tile present under the ‘Pinned apps’ section. Alternatively, type Settings in the menu to perform a search.
After that, from the Settings window, make sure you have selected the ‘System’ tab present on the left sidebar.

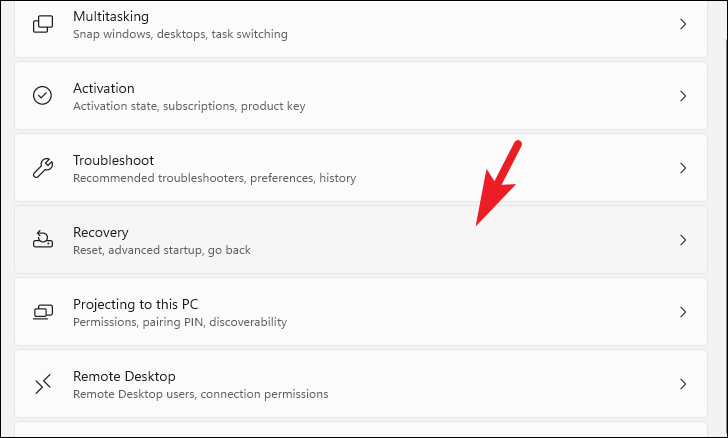
Next, from the right section of the window, scroll down to locate and click on the ‘Recovery’ tile to proceed.
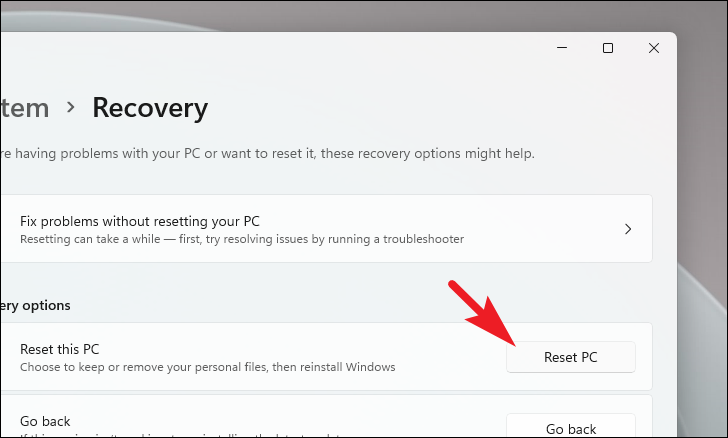
Then, on the ‘Recovery’ settings screen, locate the ‘Reset this PC’ tile and click on the ‘Reset PC’ button present on the far right edge of the tile to proceed. This will open a separate window on your screen.
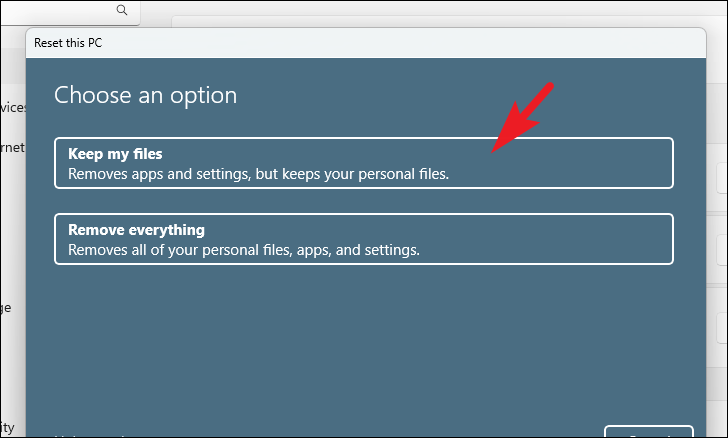
Now, from the separately opened window, click ‘Keep my files’ to proceed. In case you wish to remove all your personal files as well when resetting, click on the ‘Remove everything’ option.
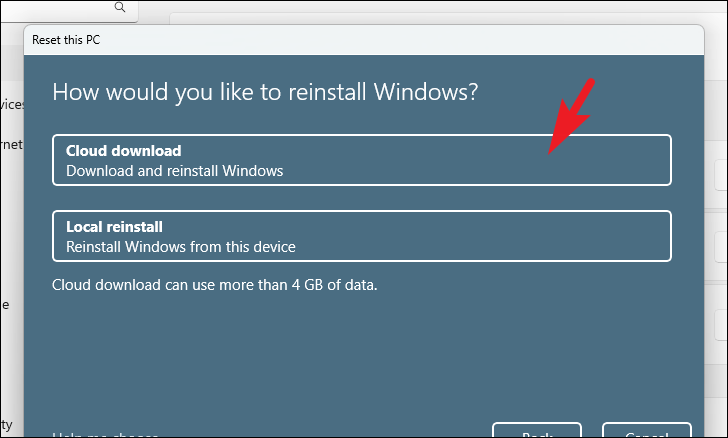
On the next screen, you will need to choose a method for reinstalling the operating system on your machine. Since there could be an issue with the copy already present on your system, it is recommended that you click on the ‘Cloud download’ option.
Note: ‘Cloud download’ will require an active internet connection and consume upwards of 4GB of data.
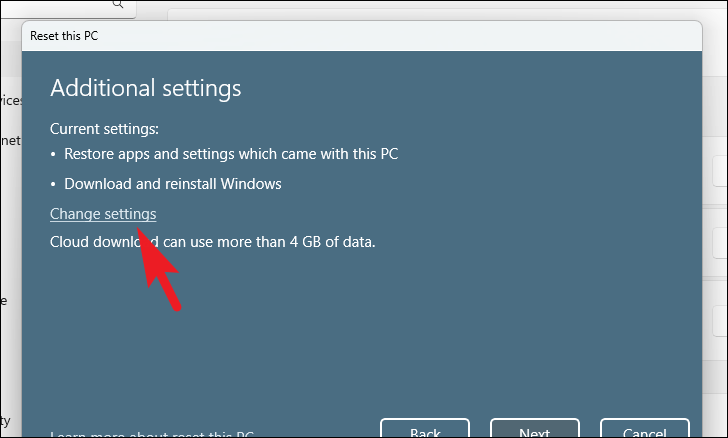
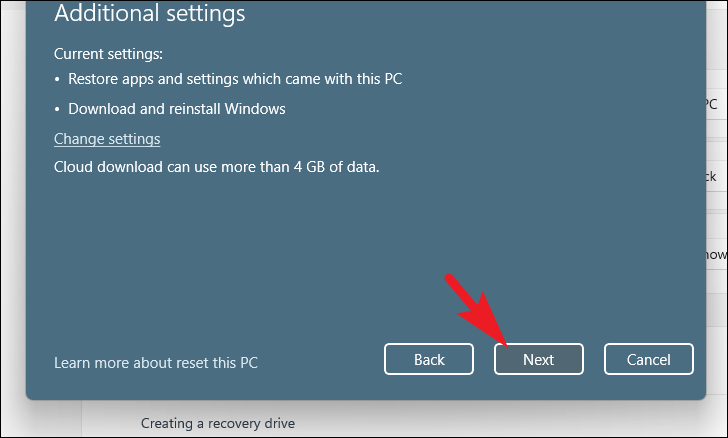
After that, Windows will list the setting that you have chosen. In case you wish to change any of it, click on the ‘Change settings’ option to continue.
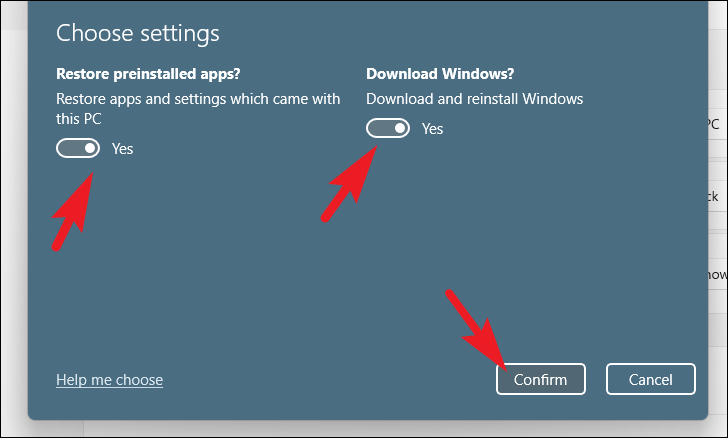
If you chose to change the settings, on the next screen, you can choose not to restore the apps and settings by clicking on the toggle switch present under the ‘Restore preinstalled apps?’ option to bring it to the ‘No’ position. You can even switch from the Cloud download to locate the install by clicking on the toggle switch present under the ‘Download Windows?’ option to change the install method. Once adjusted according to your preference, click the ‘Confirm’ button to proceed.
After that, from the main window, click on the ‘Next’ button to continue.
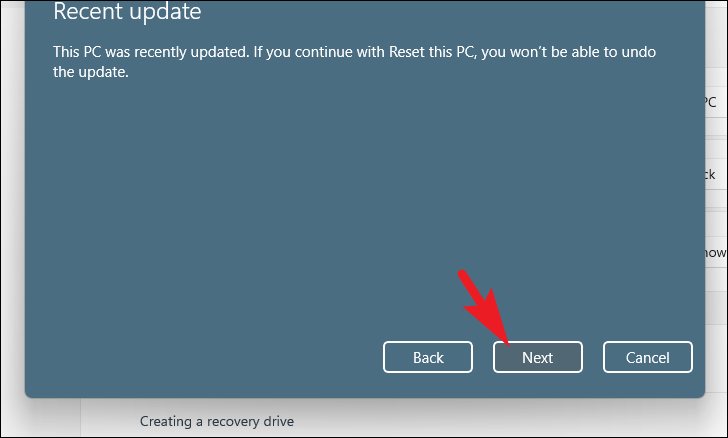
In case your PC was updated recently, you will receive a message on the screen stating that you will not be able to roll back once you reset the PC. To continue, click on the ‘Next’ button.
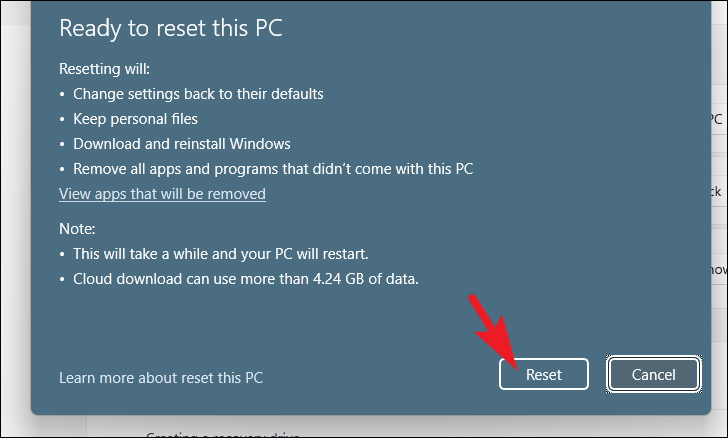
After that, Windows will list all the impacts resetting your PC will have on your system. Read them carefully and click on ‘Reset’ to commence the process.
The disappeared WiFi option issue can be really irksome and might test your patience. However, you should definitely be able to resolve it using the methods mentioned above.
#Fix #WiFi #Option #Issue #Windows
Comments